- Author admin caroline@plants-knowledge.com.
- Public 2023-12-17 03:39.
- Last modified 2025-01-24 12:45.
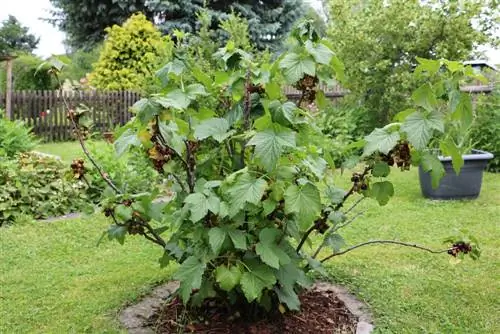
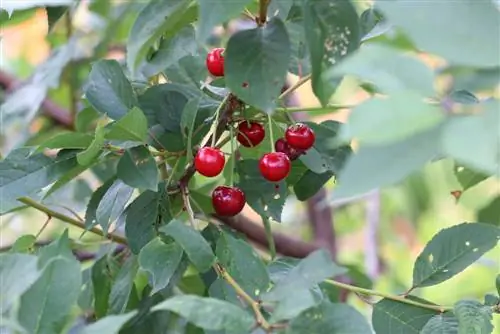
Berry bushes are very popular with hobby gardeners. And there are many reasons for this, because the tasty berry fruit is very rich in vitamins and easy to care for. In addition, it's not just families with children who enjoy snacking on the fruit straight from the bush or processing it into delicious jams, juices and other things. The shrubs are commercially available and can be planted quickly and easily in your own garden. A little care is required for fertilizing and cutting so that the harvest is plentiful every year.
Plants
If you want to plant new berry bushes in your garden, you have to put in a certain amount of effort in advance so that the plants produce the greatest possible yield later. There are different varieties to choose from, such as raspberries, blackberries, gooseberries, currants, or even cranberries and blueberries. Planting and the essential preparation of the garden bed require various tools and accessories that should be prepared in advance. The location and the condition of the soil are also important in order to achieve a good yield every year. So that the soil meets all the requirements on the day of planting, it should be prepared in advance.
Sales variants
All varieties of berry bushes are available in different versions in well-stocked specialist shops. There are bare-root shrubs that should be planted immediately after purchase, as well as bales and containers. Both still have soil around the roots, and container goods are also in a pot. So with these two variants it's not so bad if you have to wait a few weeks after purchase to be planted in the garden bed if you always keep them sufficiently moist.
Tip:
Whether you choose container goods, bale goods or bare-root goods when purchasing is always a question of cost. The bare root product is the cheapest version, while container products can be a lot more expensive.
Time
The time of planting also depends on whether container or bale goods or bare-root shrubs were purchased. The ideal time for planting is always autumn, when the leaves have been shed. However, container and bale goods are also forgiving if they are planted at any other time. This must only be done on a frost-free day and the ground must not be frozen.
Tip:
As a rule, the shrubs should be purchased so that they can be planted immediately in the garden. Hobby gardeners should therefore choose the day for planting so that there is enough time to carry out the purchase and planting.
Tool
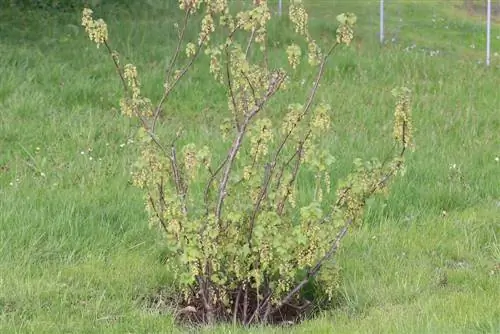
If you plan to plant berry bushes in the garden bed, you will also need various tools and other accessories. If you prepare everything in advance, you can progress your work more quickly. The following tools and accessories are required for planting the berry bushes:
- Digging Fork
- Spade
- alternatively wheelbarrow
- Roses scissors for the possible first cut
- are there voles in the garden vole baskets
- Narrow-meshed wire mesh is also helpful
- Mulch
- Gloves, especially when planting bushes with thorns
Location
The location is ideally sunny and warm. Even partial shade is generally tolerated quite well. The following locations are particularly suitable for one or more berry bushes:
- a garden bed in the middle of the garden
- as a trellis on a garden border or a south wall of the house
- no conifers nearby
- these promote possible fungal infestation
- in the middle of a large meadow
- as a border for a flower or garden bed
Tip:
The sunnier the location for the tasty berries, the richer in vitamins the delicious fruit will be.
Preparation and soil conditions
If you plan to plant one or more berry bushes in a garden bed, then this should be well prepared several weeks in advance. A pH between 5.5 and 6.0 is ideal for most shrubs. If you don't know the pH value of the garden soil, you can do a quick test to prepare the soil accordingly. These rapid tests are available from well-stocked garden shops. In this way, you can determine what the condition of the soil is like and act accordingly. The bed for the shrubs should be prepared two to three weeks before planting as follows:
- loose up the whole bed well
- digging with a spade
- fold in mature compost at the same time
- additional lime to a very acidic soil
- If the soil is sandy, add in humus
- deeply loosen stony or clayey soils
- this is how they become water permeable
- still stay moist longer without waterlogging
Preparing the bed a few weeks before planting has the main advantage that the microorganisms can already decompose the organic fertilizer and the plant can absorb it completely from the day it is planted. If you fertilize with compost, it takes a few weeks until it can benefit the plant as fertilizer and be absorbed by the roots.
Tip:
If you want to plant cranberries or blueberries, you should avoid liming, even if the soil is acidic. Lime is not tolerated well by these two types of berries; they prefer acidic soil. If different berry bushes are to be planted together in one bed, divide the soil into different sections and give these berries better rhododendron soil.
Inserting the bushes
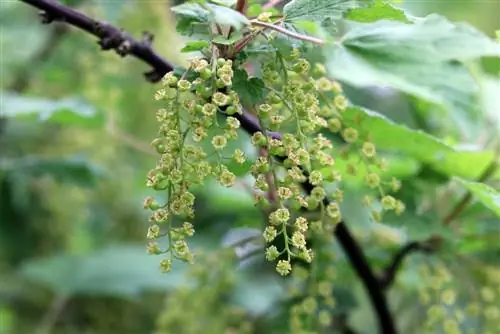
The berry bushes can be planted two to three weeks after preparing the garden soil. For this purpose, enough planting holes are dug all around at a distance of about one meter to the next bush. Care should be taken to ensure that there is enough space left during the harvest to be able to walk easily between the individual bushes. Since the berries cannot tolerate waterlogging, drainage made of stones or shards of pottery should be placed on the ground in each planting hole. This ensures that excess irrigation water or rainwater can drain away unhindered. There are also voles in some gardens. If this is known, a vole barrier should also be placed around the roots in each hole. The planting proceeds as follows:
- Put bare roots or root balls in the water
- If the bush hasn't been pruned yet, cut it back now
- also remove damaged roots
- Insert shrub
- make sure that the roots do not protrude from the surface of the soil
- Fill in soil
- Shake the bush lightly from time to time
- this is how the earth is distributed better
- Earth around lightly
- pour well
A good indication of how deep the bushes should be planted is the color of the bark, which indicates how deep they have previously been in the ground in the garden trade. If the plant sags a little after the first watering, it should be pulled up slightly again. It is also helpful to build a small wall of earth around the plant so that the water can collect and drain away better here. To ensure consistently moist soil, it is advisable to cover the surface with mulch.
Fertilize
As a rule, berry bushes such as raspberries, blackberries or currants and gooseberries do not need to be excessively fertilized if the soil has been well prepared before planting. But regular fertilizer applications over the summer, when the berries are blooming and ripening, can make the harvest more productive. But there are still a few things to consider when it comes to the fertilizers used and the right timing.
Right time
After planting, the berries received basic fertilization for the first few weeks. If the bushes were planted in autumn, the first fertilization takes place again in spring. If it was planted over the summer, the next fertilization can take place in the fall. Above all, the berry bushes should receive regular fertilizer applications:
- once in the spring before the new shoots
- once in autumn before hibernation
- fertilize very sparingly or not at all over the summer
- Ideally once before the fruit is ripe
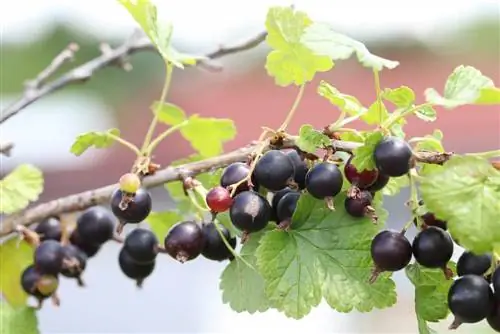
You should also make sure that it is not too hot or raining on the day of fertilization. An overcast but dry day is ideal here. Because strong sunlight causes the fertilizer given to burn the roots of the berries. If it rains on the day of fertilization, this can greatly minimize the effect of the fertilizer, as it does not reach the roots with the rainwater but is washed away directly.
Tip:
Autumn fertilization is necessary for the berry bushes so that they can prepare and strengthen themselves for the next season.
Fertilizers
Organic fertilizer is better than mineral fertilizer for berry bushes. The mineral, chemically produced fertilizer can distort the taste of the fruit. But usually a balanced mix of both is best for the tasty berries. The following fertilizers can be used:
- ripe compost
- or cow dung
- is already offered in pellet form
- is easier to fold in this way
- is usually mixed in in spring and autumn
- use special berry fertilizer for summer fertilization
- is offered in liquid form in garden shops
Compost has the disadvantage that it has to be added again and again to achieve a good result. Since the berry bushes are shallow-rooted, this work must be carried out very carefully so that the roots are not damaged by the spade or garden fork. But pellets made from cow manure are ideal here, as they fertilize just as effectively and for a long time as your own compost.
Tip:
Blue grain is very popular as a long-term fertilizer among many hobby gardeners. In the case of berry bushes, however, this fertilizer can quickly cause over-fertilization, which means that although the shoots become long, they also remain thin and weak and therefore a harvest is missed.
Overfertilization
With soft fruit there is always the risk of being over-fertilized. Therefore, it is better to adhere to the rule and fertilize the bushes only twice a year. Only when the bushes are strong in summer and a lot of fruit has already formed can they be lightly fertilized again with a special commercial berry fertilizer. However, if you regularly fertilize your bushes every few weeks, you are not doing your plants any good and are over-fertilizing them. The harvest will then be lower in such a year. The pH value of the soil can possibly be checked again before summer fertilization. If it is in the green range, fertilizer should not be used.
Cutting
Depending on the shrub and species, the pruning procedure must be followed. But the rule with all berries is that the oldest shoots must be removed so that new fruits can form on the new shoots. Soft fruit has a habit of aging from the inside if it is not cut. If this is the case, then the only solution is a radical pruning, no matter what variety it is.
Appropriate timing
There are two times a year when berry bushes need to be cut. This is a late summer or autumn cut. This depends on the time of harvest, because this cut should be done directly after the harvest. The second cut is winter cut, which can be done in late winter into March. The start of budding is important here because the cut must be done before the first budding. Otherwise, you should pay attention to the following on the cutting day:
- do not cut in direct sunlight
- do not cut on rainy days
- do not cut on frosty days
- an overcast, dry, warm day is ideal
If it is cut when it is raining or frosty, fungi can get into the plant more quickly through the cut and thus damage it. If you cut in strong sunlight, the interfaces can burn.
Cutting tool
The right cutting tool is also important so that the bushes are not damaged when cut. Rose scissors are particularly suitable for cutting thin shoots. If it is a shrub with many thorns or thick branch shoots, then pruning shears are helpful, as they also allow a further distance from the plant. You should also pay attention to the following:
- always disinfect before use
- use pure alcohol or products from the garden store
- If the cutting tool is contaminated, bacteria or fungi can penetrate the interface
- always use sharp tools
- otherwise the interfaces will tear open
- become more susceptible to bacteria or fungi
- work with gloves on bushes with thorns
- long clothing is also ideal
pruning
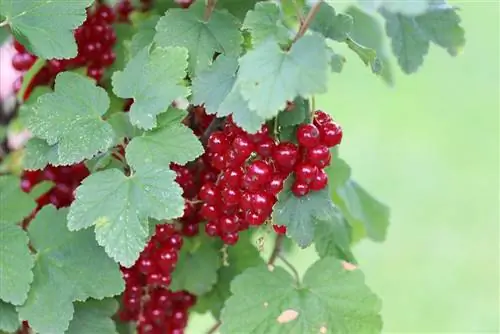
The rule for most berry bushes is that the shoots have to grow for two years, then bear fruit for two years and then have to be cut. This means that all shoots that are older than four years should be cut back, as no yield can be expected. In this way, the plant is regularly rejuvenated and thanks for this with a rich harvest. Therefore, you should proceed as follows when pruning:
- Shoots with dark wood are older
- young shoots are lighter in the wood
- a shrub should not have more than eight to ten main shoots
- cut old shoots near the ground
- cut younger shoots at the tip
- leave at least two eyes
- In the spring, cut all the shoots that no longer sprout again
If a suitable day was not found in autumn to cut the berry bush, then this pruning can alternatively be done in late winter before budding.
Tip:
If you, as a young hobby gardener, do not yet recognize which old shoots can be cut, mark the new shoots every year with a new color, for example a ribbon. This way you can later see exactly which shoots come from which year and when they should be cut overall.
Radical pruning
If a berry bush has not been cared for and pruned for years, it will become bare from the inside, become unsightly and no longer bear fruit. This can be the case, for example, if a garden is newly taken over that already contains tasty berries. In such a case, the shrub should be cut as a whole just above the ground. The new shoots then form directly from the base and form the basis for a new shrub. However, you have to wait two to three years for the first harvest.
Conclusion
Even if it sounds like a lot of work, the berry bushes are still very easy to care for. Of course, a little more time has to be taken into account when planting, but after that the bushes grow almost by themselves. The berry fruit only needs to be fertilized two to three times a year, which only takes a little time. Pruning can also be done at the same time as autumn fertilization. However, this should be done with particular care so that a rich harvest can be expected again next year.

