- Author admin [email protected].
- Public 2023-12-17 03:39.
- Last modified 2025-06-01 06:48.
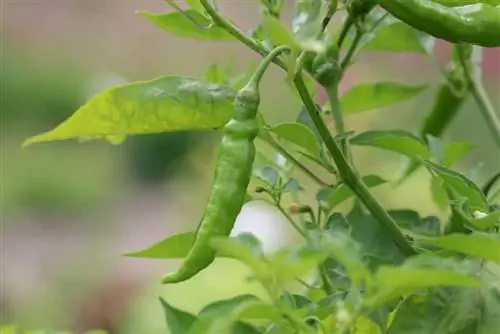
More and more hobby gardeners are enjoying growing the tasty pepperoni. But even people who do not have a garden can grow the nightshade family. With an average height of around 40 to 100 centimeters, the popular plants can easily be cultivated in pots on the balcony. However, to ensure a productive harvest of the spicy pods, a few care steps are essential. From sowing to harvesting - with these care tips you will definitely succeed in growing the popular hot peppers.
Winning seeds
If you want to grow hot peppers, you first have to choose whether to grow the plants or purchase cuttings. Young plants are available in many garden centers from February / March and have the advantage of being grown early. The disadvantage here is that the selection of varieties is usually considerably limited. If you want to grow special or rare varieties of hot peppers, you should consider buying seeds and sowing them. The seeds are available to purchase in garden centers as well as from numerous online suppliers. Alternatively, the seeds can also be obtained relatively easily, both from fresh and dried peppers. It is important to make sure that the fruits are ripe, because the seeds of green fruits rarely germinate. Once you have chosen the right pepper pod, it is best to proceed as follows:
- Open pepperoni lengthwise with a knife
- take the seeds with your fingers
- spread these on kitchen paper
- and let it dry in a warm place
- but do not place in direct sun
- because that could harm the seeds
- wrap the dried seeds in the paper
- because this absorbs the remaining moisture
- and place in a sealable container
- then store in a dark and dry place
- The seeds last for around 2 years
Tip:
When processing the pepperoni, disposable gloves should be worn for safety, as the capsaicin contained in the fruit is very sharp and sticks to the skin for a long time.
The sowing
In the greenhouse, sowing can take place from mid-February as long as the soil temperature is above 20 degrees. Alternatively, the seeds can be sown on the windowsill in January. A window sill above the heater is ideal for sowing, as this ensures the heat required for germination. Seeds are initially required for sowing, but they should not be older than three years. Furthermore, a growing soil and a suitable sowing container, such as an indoor greenhouse, a seed tray or spring pots, are required. The first step is to fill the respective containers with the potting soil. Then sowing the peppers is as follows:
- Distribute seeds in the containers
- around 3 seeds can be placed in a pot
- cover these with a thin layer of substrate
- the layer of soil should not be thicker than 1 cm
- carefully moisten the soil afterwards
- ideally with a fine shower head
- then cover the container with a transparent film
- and place it in a bright and warm place
- Temperatures between 20-25 degrees are ideal
Pricking
The first seedlings usually appear after around 15 to 20 days. As soon as the first leaves have formed, it is the ideal time to prick out the plants. The seedlings are placed in their own pots, which should have a diameter of around 10 to 15 centimeters. In addition, they are no longer placed in potting soil, but rather in a humus-rich and nutrient-rich substrate. Pricking out the plants is an essential step that should be carried out extremely carefully. The seedlings are still very tender and can therefore be easily damaged. Pricking out the plants works best if you proceed as follows:
- Fill pots with the substrate
- Carefully remove plants from the soil and move them
- press the soil gently with the palm of your hand
- place in a bright and warm location
- keep the soil slightly moist at all times
- then gently harden the plants
- by repeatedly putting them outside for hours at a time
- this allows you to familiarize yourself with the outside conditions
Location and substrate
Both peppers that are grown in pots and those that are grown in vegetable patches have special requirements for their location. Pepperoni are absolute heat lovers, so they prefer a place that is as warm and bright as possible. If the plants are grown in a location that is too dark, the leaves will wilt and fall off prematurely. As a result, the plant produces neither flowers nor fruits. The place should also be protected from the wind, because the peppers absolutely do not like drafts. An ideal location, for example, is the south wall of a building, as this not only protects against rain, but also stores heat. In addition, the optimal substrate is essential for the growth of these nightshades. It is important to pay attention to the following:
- Commercial vegetable soil is suitable for growing in pots
- However, this should not be pre-fertilized
- because hot peppers do not tolerate artificial fertilizers
- the soil in the vegetable patch should be moist, nutrient-rich and permeable
- hot peppers also prefer slightly acidic to neutral soils
- the optimal pH value is between 6.0 and 6.5
- However, the pH value should not be above 7
- because this hinders the absorption of food through the roots
Planting in the vegetable patch
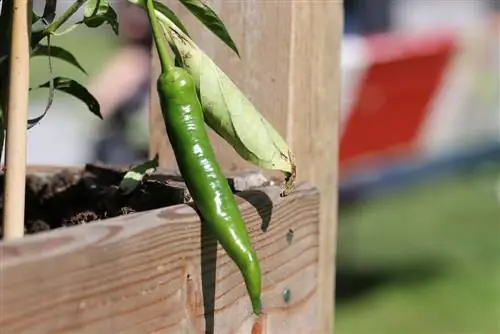
Planting the peppers in the vegetable patch usually takes place after the Ice Saints, as the risk of night frost is significantly lower at this time. It is also best to plant the peppers with a mulching film. On the one hand, this protects the plants from weeds, as they are suppressed by the film. On the other hand, the film retains moisture in the soil and ensures that the soil warms up well. This allows the soil to be up to two degrees warmer, which in turn promotes earlier ripening. Before the mulching film is laid out, it is necessary to first clear the bed of any weeds. The soil is then loosened well and the ground is covered with the mulching film. The hot pepper plants can now be used as follows:
- Cut slits in the foil at the plant locations
- plant the plants as deep as they were previously in the pot
- Additionally insert a climbing aid
- because the weight of the fruit can cause the plants to buckle
- that's why they need to be supported
- The climbing aid also offers support in strong winds
- so that the plants don't tip over so easily
- The planting distance should be around 40-50 cm
- the optimal row spacing is 50-60 cm
Tip:
Although it is recommended to plant the plants with a mulching film, this is not absolutely necessary. However, if you don't use a mulching film, you have to pull weeds regularly!
Putting in a pot
Suitable containers are primarily required for growing in pots. These should have a capacity of at least 5 liters and a depth of around 20 centimeters. Black plastic containers are ideal for this as they have the ability to store heat. It is also an advantage if the pots have drainage holes. This ensures that the excess water can drain away. Since hot peppers do not like wet surfaces, it is recommended to protect them from waterlogging. The best way to do this is as follows:
- form a drainage over the drainage hole before inserting the plants
- Clay granules or coarse gravel are suitable for this
- then add the substrate over it
- ideally mix this with a slow-release fertilizer
- insert the plant
- just as deep as the outdoor plants
Care
The peppers are generally considered to be relatively easy to care for and the required care is therefore rather low. The main task is to provide the plants with plenty of water and nutrients. Thinning, on the other hand, is not absolutely necessary, but can be done if necessary. The professional care of the pepper plants is as follows:
Fertilizing
Ideally, a slow-release fertilizer is added to the soil when planting, as this promotes faster and better root formation. The peppers are then preferably fertilized with a fertilizer that mainly contains phosphorus, nitrogen and potassium. A commercially available vegetable or tomato fertilizer is suitable for this. Alternatively, the peppers can be fertilized with nettle manure, as this is extremely good for them. When fertilizing, you should also pay attention to the following:
- fertilization is carried out every 14 days until the first flowering
- the first flower forms about 3 months after sowing
- fertilization is carried out weekly from fruit formation onwards
- The soil should be slightly moist before fertilization
- If the soil is too dry, the roots can be damaged by the fertilizer
The Pouring
Pepperoni are extremely thirsty and have a correspondingly high water requirement. Particular attention should be paid to sufficient irrigation from the start of fruit formation and towards fruit ripening. We recommend soft, stale water at room temperature for watering. However, the pepperoni gets even better from clean and filtered rainwater. When watering, you should also pay attention to the following:
- water regularly
- the root balls should always be moist
- However, avoid waterlogging
- always water from below
- make sure the leaves don’t get wet
Tip:
When growing in a greenhouse, the problem often arises that the irrigation water evaporates very quickly. However, this can be avoided by mulching the soil with grass clippings.
Pruning and removing the royal flower
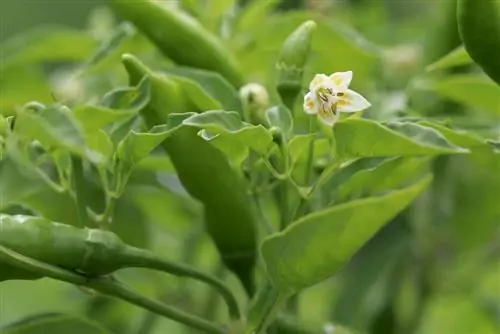
Pruning the peppers is usually not necessary for annual cultivated plants. However, if the plants are grown for several years and overwintered, it is advisable to cut them back before and after the winter months. A tried and tested step, however, is removing the so-called royal blossom. This is the first flower that the plant forms in the fork between the main shoot and the first side shoot. Cutting off the terminal bud has these advantages:
- the plant has more energy
- because she doesn't invest all of her energy into the flowering
- but in the formation of fruits
- this makes the plant grow bushier
- and there are significantly higher yields
The Harvest
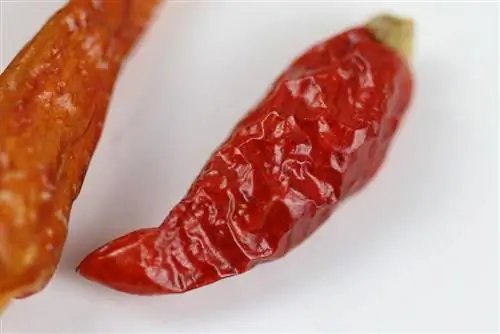
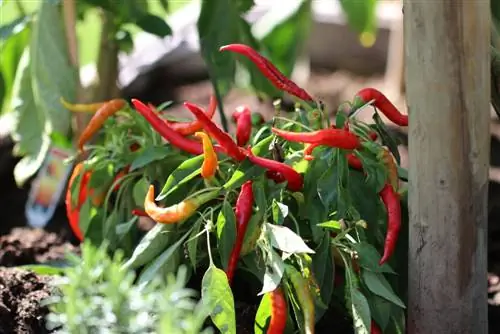
The harvest usually takes place between August and the end of October, whereby the longer the peppers ripen, the more intense their taste and level of spiciness. You can often tell whether the fruits are ripe by their color. In the early stages, the peppers usually have a green color, which changes to yellow, orange or red depending on the variety and ripeness. When the fruits are ripe, they can be harvested as follows:
- never tear off the fruit
- because this can damage the shoots and fruits
- but cut off the peppers with a sharp cutting tool
- leave the fruits on the plant as long as possible
- Bring plants with unripe fruits into the house from mid / end of September
- and continue to cultivate on the windowsill
- so that the fruits can finish ripening
Wintering
The pepperoni can usually be overwintered in the house with a little sensitivity. For this it is essential that the plants are dug up in good time and brought into the warm interior. The peppers are extremely sensitive to cold and can be damaged at temperatures below 5 degrees. After the plants have been brought indoors, the first thing to do is inspect them for pests. Infected plants should be housed separately and treated accordingly. The peppers are then planted in pots and placed in a bright location, as unripe fruits can ripen there. In order for wintering to work, the following should be noted:
- the location should be as cool as possible
- Temperatures between 10-15 degrees are ideal
- if it is too cold, growth and fruit production will be affected the following year
- If it is warmer, aphid infestation is more likely
- sufficient humidity
- no drafts
- water regularly but sparingly
- do not fertilize in the winter months
Tip:
In February, the peppers are cut back so that the side shoots are around 3 centimeters long. The plants are then placed in fresh soil, watered more and kept warmer.
Conclusion
Pepperoni can be grown both outdoors and in pots on the balcony. The maintenance effort is relatively low, with the main focus being on an adequate supply of water and nutrients. If cared for properly, the plant produces colorful, crunchy fruits, which can easily ripen indoors.

