- Author admin [email protected].
- Public 2023-12-17 03:39.
- Last modified 2025-01-24 12:45.
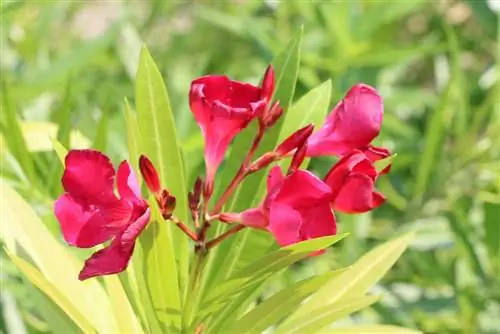
The dream of a whole bunch of lavishly blooming oleanders does not have to be realized at the expense of your wallet. The Mediterranean flowering tree can be easily propagated using cuttings. With a little patience, you can grow young rose laurel that are on a par with the mother plant in terms of beauty and splendor. Done correctly, oleanders grown from cuttings produce their first flower dress within one to two years. The following instructions get to the heart of how the plan works in 7 steps.
The best time
As an evergreen flowering shrub, an oleander can actually be propagated with cuttings at any time of the year because it does not go into complete dormancy. However, it is not advisable to start the process during the dark, cold season. The prevailing lack of light causes long, stunted shoots on the young plants, which can only be prevented with the help of complex additional lighting.
If you prune in the spring, the cuttings will provide you with numerous shoots that have the potential to become cuttings. However, this time of year is still a second choice and should only be used to make sensible use of the valuable leftover wood.
The ideal time window for propagating oleander through cuttings is from May to August. In this growth and flowering phase, floral life pulsates right down to the tips of the branches, which benefits the later rooting process.
Cut cuttings professionally
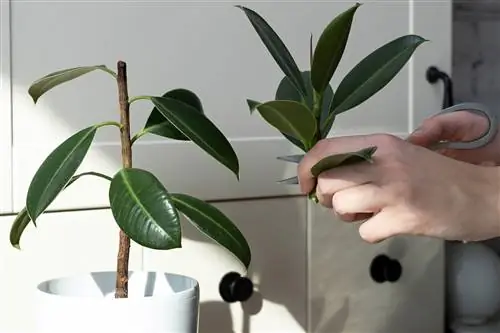
On the oleander, every shoot from the herbaceous tip to the thick, woody base is suitable for cutting. This means you are free to decide whether you cut out a complete branch from the bush or just take top cuttings. As long as the shoot is he althy and free of pests, it will sprout roots. When doing any pruning work, please remember that all parts of oleander are highly poisonous. Wear long-sleeved clothing and protective gloves, as mere skin contact with the toxic plant sap can cause irritation and redness. How to cut a cutting correctly:
- Sharpen and disinfect knives or scissors
- Cut the selected oleander branch into pieces 20 to 25 cm long
- Slightly sharpen the lower end of a cutting so as not to confuse the polarity later
- Defoliate every cutting except for a few leaves
- Dip the interfaces in rooting powder
Although any he althy wood on the oleander is suitable for cutting, there is still a difference. One- and two-year-old shoots that are only half woody do not test your patience for nearly as long when it comes to rooting as a completely woody offshoot. Rose laurel cuttings make up for the long wait for root growth by generally growing with multiple stems, whereas head cuttings tend to branch more slowly.
Tip:
To experience the little miracle of rooting up close, place the cuttings in a transparent container with soft water. To protect against rot, add a bit of charcoal and place the cuttings in a partially shaded, warm location. Once the root strands have reached a length of 1 to 2 cm, they are potted according to these instructions.
Prepare pots with the right growing substrate
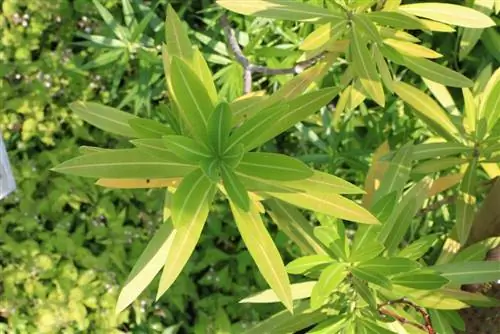
In order for a young oleander to develop a well-formed root system right from the start, the correct shape of the growing container is important. As a shallow rooter, the root system of a rose laurel extends more in width than in depth. Therefore, choose a pot that is as deep as it is wide. In addition, there should be at least one opening in the floor for water drainage to prevent waterlogging. Professional preparation also includes placing a shard of pottery over the hole in the bottom of the pot with the curvature facing upwards.
Substrate for adult oleanders is unsuitable for propagation by cuttings. In order for the desired root strands to form, a lean soil is advantageous. If a cutting encounters a concentrated load of nutrients directly at the interface, it sees no reason to sprout roots, since the supply is guaranteed anyway. In a nutrient-poor substrate, however, the growth of the roots is a question of survival and progresses quickly. These options are available to you:
- Commercial soil for cultivation, emaciated with some fine sand
- Pricking soil, also mixed with 30 percent sand
- A mix of coconut hum and perlite
In practice, a purely mineral substrate has proven to be an effective solution, such as expanded clay, vermiculite, lava granulate or zeolite.
Tip:
Clever hobby gardeners place a very thin layer of sifted compost between the drainage and the lean potting soil as an additional incentive for the cutting to grow strong roots.
Skillfully potting offshoots
So that the extremely fine capillaries at the interfaces of the cuttings are not damaged, please pre-drill each planting hole in the substrate with a prick or wooden stick. Only then do you insert half to two thirds of the shoot into the soil and press it all around to ensure a good connection to the ground.
Water the substrate with soft, room temperature water. Since high humidity promotes rooting, place each growing pot under a glass hood. Alternatively, stick two wooden sticks into the ground and place a transparent plastic bag over them. The spacers are responsible for ensuring that there is no contact between the plastic and the cutting, as this can result in rot.
Observe site conditions
The closer the site conditions are to Mediterranean light and temperature conditions, the more successful the propagation of oleander with cuttings is. Therefore, assign your pupils a partially shaded, warm place. Although a Nerium oleander is a sun worshipper, it does not want direct sunlight during this phase. In addition, the location should be free from cold drafts. Warm temperatures of 20 degrees Celsius and higher are among the most important requirements for the growth of young plants.
Care during rooting
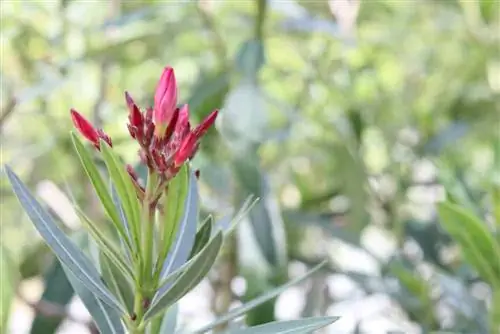
Properly cut, potted and set up, there is the best chance of successful breeding without loss. Careful care also makes an important contribution to ensuring that an offshoot develops into a lavishly flowering shrub. This is how it works:
- Air the cover daily to prevent mold from forming
- Water regularly without causing waterlogging
- Do not fertilize cuttings
Since oleanders are lime-tolerant, you can either use normal tap water or collected rainwater. Please allow the substrate surface to dry slightly between each watering. Since excess moisture affects rooting in this phase of growth, do not leave excess water in the saucer.
Tip:
By removing the tips from a rooted head cutting once, you can create more vital branching. This measure is not necessary if you want to train the young oleander to become a standard tree. Young plants grown from cuttings thrive on their own with multiple shoots and are also not trimmed.
Repotting made easy
While the mother plant takes its time with annual growth, the growth of its offshoots initially progresses quickly. As a result, experience shows that the growing pot is already completely rooted at the end of summer. Now it's time to repot the young rose laurel. As a signal for the right time, the first root strands grow out of the opening in the ground.
Now grab a sturdy pot that is perfectly shaped for a shallow root plant. The substrate can now be more nutrient-rich. By mixing pot plant soil and garden soil in a ratio of 1:3, you offer the best growing conditions for vegetatively propagated rose laurel. Ideally, add a handful of rock dust or garden lime. How to repot correctly:
- Knead the plastic growing pot to loosen the root ball from the edge of the container
- Let the young plant slide out of the pot without strong pull
- Fill the recommended substrate in the new pot up to half the height
- Make a depression in the middle of the earth with your fist
- Plant the rose laurel as deep as before and water it
Adult oleanders can do without drainage because they need a lot of water, especially during the flowering period, and are no longer sensitive to waterlogging. Before the Mediterranean beauty takes up a sunny spot, it should acclimatize in a partially shaded, warm location over a period of 8 to 10 days. If the new rose laurel comes from a head cutting, you can look forward to the first blooms within 1 to 2 years. Oleander propagated from cuttings will keep you in suspense for a little longer until the first flower spectacle.
Conclusion
You can propagate your most beautiful oleander in an uncomplicated way using cuttings. Between May and August is the best time to cut cuttings 20 to 25 cm long. Well protected against the poisonous plant sap, you can use any wood as a cutting. Rooting will progress quickly if you use lean substrate for cultivation. A warm, humid microclimate under a transparent hood also contributes to the successful process. In a partially shaded, warm location, care is limited to regular watering and ventilating the cover. The end of this 7-step guide is repotting into a new pot with fresh soil as soon as the growing pot has roots.

