- Author admin caroline@plants-knowledge.com.
- Public 2023-12-17 03:39.
- Last modified 2025-01-24 12:45.
A varnish improves the resistance of the material. Linseed oil varnish not only protects everyday objects or toys, but also highlights the individual character of the wood. The semi-matt layer stabilizes the surface and emphasizes the grain and structure. However, it is important that the product is applied correctly and dries sufficiently. Insufficient preparation and imprecise work steps will worsen the result.
What is linseed oil varnish?
Behind linseed oil varnish is a paint that is made from linseed oil, a drying agent and various additives. Once it has been painted onto a suitable surface and cured, a matt protective layer of linoxin will develop. This layer is water-repellent and is also known as linseed oil varnish or varnish for short. This term is derived from the French word “vernis,” which translates to “varnish.” The paint is thick and usually has a honey yellow color. There are now also transparent means. Instead of linseed oil varnish, pure linseed oil can also be used as an impregnation. Due to the comparatively long drying time, it is rarely used.
Advantages
Linseed oil varnish is suitable as a primer for indoor and outdoor use. The product is characterized by universal uses. It not only serves to protect wood but also as an adhesion-promoting layer on stone or metal. You can also use linseed oil varnish to mix oil paints yourself, which produce a satin-matt varnish layer when dry on the canvas.
There are further advantages in ecological and technical terms:
- low energy and resource consumption
- minor environmental impact from pollutants
- very good repair ability
- no problems with disposal
- safe for he alth
Required materials
In order to renovate furniture, windows or doors, some tools and aids are beneficial. Prices may vary depending on provider and quality. These utensils make your work easier and protect your hands and eyes from flying splinters or skin-irritating substances:
- Protective glasses for the eyes: 10-20 euros
- Angle grinder: 20-40 euros
- various attachments such as sandpaper, serrated washers, wire brushes: sets for 20-40 euros
- Soap and wipe: under 5 euros
- three old sponges for application: under 1 euro
- Protective gloves: under 1 euro
- Linseed oil varnish: 3-5 euros per liter
- Turpentine substitute: 3-10 euros per liter
Tip:
You can also use other thinning agents instead of white spirit. Lamp oil, charcoal lighter, balsam turpentine or white spirit are suitable for this.
Preparations
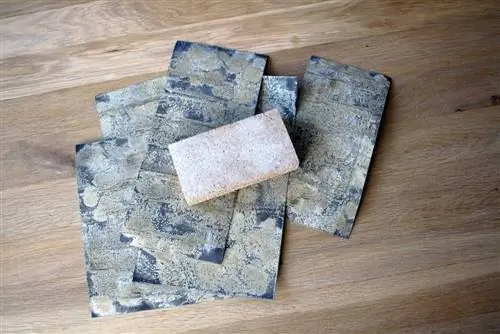
Sand the surface to be worked on so that no old paint or varnish remains. An angle grinder equipped with a sandpaper attachment is suitable for wood. The sandpaper sands away old layers of paint without damaging the wood. Metal surfaces can be sanded and polished using a wire brush attachment or serrated lock washers. The bare surface is then cleaned with a soap solution so that no dust, grease or other dirt remains. You should work in a well-ventilated room where the cleaned surface can dry and remain clean for the next 24 hours. Outdoors, pollen, dirt or insects can settle and stick while drying.
Apply instructions
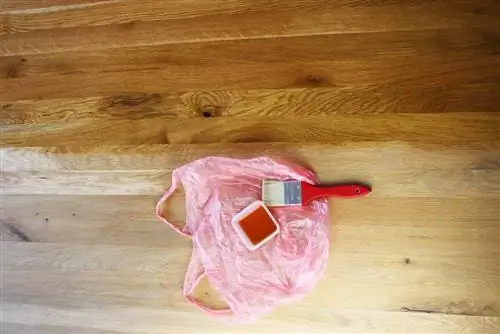
Linseed oil varnish is applied with a sponge, as you can dose the liquid very well and distribute it optimally. If a puddle forms, remove the excess liquid and distribute it evenly on the surface. You can press the sponges into edges and corners so that the linseed oil varnish spreads into all corners. Use disposable gloves to protect your hands. How to proceed:
- For better penetration, mix linseed oil varnish with white spirit in a ratio of 1:1
- first coat the undersides and leave out the sides
- Place the object on an untreated surface and oil all other surfaces
- Let dry for 24 hours at 20 °C
Tip:
Air thoroughly, as linseed oil varnish develops an intense smell.
Check drying process
The paint dried after one day at 20 degrees Celsius. If the temperature is lower, longer drying times are recommended. Linseed oil varnish cannot dry properly at temperatures below 15 degrees Celsius. You can use the finger test to check the drying progress. Place your finger on a surface that is not visible. The paint should feel dry to the touch and not stick to your finger. While the finger test is suitable for checking the first layer, you can also determine the drying progress of further coats using a visual test. If the surface has shiny spots, the paint is still wet. If the surface appears silky matt, it is dry.
Apply additional coats
The surface must be oiled until a satin-matt film is created. From the second coat onwards, you no longer need to dilute the linseed oil varnish, as only the first layer needs to penetrate deeply into the wood. For further work, it is important that the agent is applied very thinly. Otherwise, puddles or runners can easily form that dry out more slowly or no longer completely. The result is unsightly spots that remain sticky and hold onto dirt. Some time after each step, check whether runners and puddles have formed. Because of the high viscosity, it often takes a few minutes until such problem areas become visible.
- allow to dry for at least 24 hours after the second coat
- three coats ensure long-term durability
- After the last coat, the object should dry for at least four weeks at 20 °C
- Wood is odorless after the varnish has completely hardened
Note:
If the painting process is not done cleanly or if cracks appear in the layer later, water can penetrate. The moisture remains in the wood for a very long time and lays the foundation for long-term rot.
Storage tip
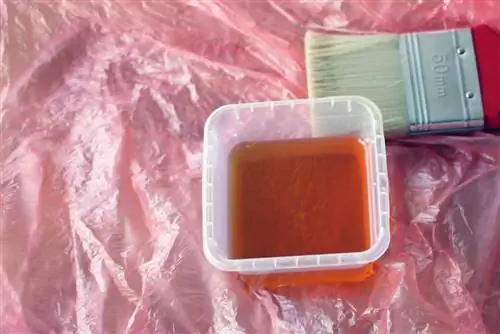
Between the work steps, you can store linseed oil varnish and sponges in screw-on jam jars. These ensure an airtight seal and protect against drying out. In addition, the ingredients cannot ignite. Linseed oil varnish is known for being highly flammable.
Removing linseed oil varnish
It can happen again and again that a sticky layer of oil remains after careful work. Depending on the area, removing these requires physical effort. Good ventilation is important during the work steps so that odors disappear quickly and the surfaces can dry well.
Wax Oil
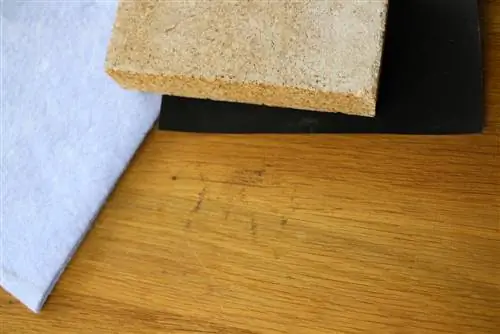
If these are smaller stains that appear sticky, you can spread some wax oil on the surface. Allow the oil to absorb for about ten minutes and then polish the surface with a lint-free cloth. The fresh oil dissolves the lightly bound linseed oil so that it can be wiped off. You can then work on the areas with a fresh polishing cloth. This measure is rather unsuitable for large areas.
Hot air
In some cases, linseed oil varnish that has not completely dried out can be treated with a hot air dryer so that it can be removed more easily. A conventional hairdryer set to the highest setting is suitable for this. Hold the hairdryer at a distance of ten centimeters from the affected area and move it back and forth minimally. Meanwhile, try to remove the mixture with a spatula. An infrared heater is also suitable as an alternative to a hairdryer.
Vegetable oil soap
If the surface looks even and only slightly sticky, you should let the surface dry for about 14 days. Then clean the material with a microfiber cloth and a solution of vegetable oil soap. Here too, slightly attached oil residues are loosened and removed, leaving a flat layer behind.
Orange peel oil
Large surfaces such as parquet floors that have been oiled too intensively can be treated with orange peel oil. This is spread on the wood and, after a short exposure time, polished with a rough sponge or a polishing machine. In this way the excess oil is worked off. Any abrasion residue is removed with a lint-free, well-absorbent cloth. Allow the surface to dry for 24 hours before polishing again with a rag.
Excursus: Use pure linseed oil
If you only want to protect small areas from moisture and don't want to buy linseed oil varnish, you can process linseed oil yourself and thus shorten the relatively long drying time somewhat. If you use untreated linseed oil, it will take at least a week for the first layer to dry. You can shorten this time to about three days using this method:
- Heat linseed oil in the cooking pot so that steam forms
- Reduce temperature and hold for two to three hours
- Meanwhile, occasionally beat the oil with a whisk
- Fatty acids oxidize and cause a fishy smell
- Let linseed oil cool down
After about 24 hours, you can thicken the linseed oil by heating it to about 200 degrees Celsius. Place the saucepan with the lid in the oven and let the oil simmer for two to three hours. During this phase polymerization occurs, which improves subsequent varnish formation. After it has cooled, the oil will have a thick consistency. Undesirable substances have settled at the bottom, which remain in the pot when the oil is poured into a screw-top jar.

