- Author admin caroline@plants-knowledge.com.
- Public 2023-12-17 03:39.
- Last modified 2025-06-01 06:48.
When it comes to structural damage, incorrect sealing in the base area is at the top of the list of possible causes. This usually results in damp cellars and dangerous mold formation. Depending on the extent, the entire building structure can suffer significant damage. Particular attention should therefore be paid to base sealing with or without bitumen. Careful, conscientious work is mandatory in this area.
Problem socket
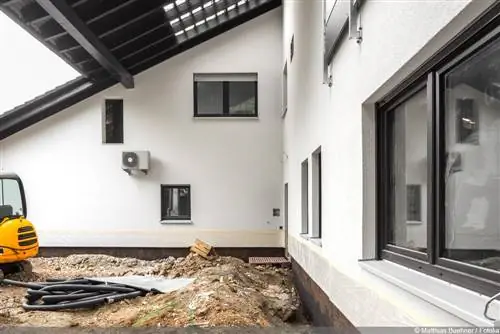
The base of a building rests directly on the foundation or the cast floor slab and ends at the top of the facade. It is therefore partly invisible and partly visible. Both parts and the transition between them can cause problems. The lower area is covered by earth. If errors have occurred when sealing the base, water can penetrate from the ground into the masonry and the basement rooms. In addition, s alt protuberances can occur. In the worst case, both of these attack the substance of the masonry. In the upper, visible area, splashing water poses a great danger. It splashes from the surrounding ground onto the base - especially if the surface is solid or paved. Again, water can penetrate the masonry if the sealing is faulty.
Structure of protective layer
When it comes to the fact that the base of a house needs to be sealed, then it's about applying some kind of protective layer. It is primarily intended to provide reliable protection against water penetration. This protective layer in turn usually consists of several individual layers that lie on top of each other. Starting from the masonry, the structure looks like this:
- Layer 1: Adhesive or reinforcing mortar as carrier material
- Layer 2: Insulation panels
- Layer 3: Adhesive or reinforcing mortar as carrier material
- Layer 4: Reinforcement mesh that is filled with filler
- Layer 5: Adhesive or reinforcing mortar as carrier material
- Layer 6: Coating with bitumen in the lower area, with mineral sealing slurry in the upper area
- Layer 7: plaster or clinker work
When applying each individual layer, you must work very carefully to ensure that the entire surface is sealed. Even minor mistakes can lead to major construction defects later. Particular care is required in the transition area from the lower, invisible part to the upper, visible part. This is where the most common mistakes are made. No wonder, as two different sealing systems meet at this point.
Tip:
Although you can basically seal a base yourself, it is highly advisable to consult an experienced specialist or commission him to do it straight away, especially for this sensitive work. If there are problems with construction defects, in case of doubt they can also be held liable.
Preparatory measures
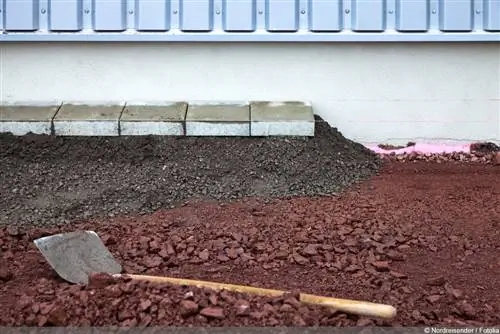
If you have commissioned a professional to do the sealing, you can still save a lot of money if you take on certain preparatory work as a layperson. They are necessary in the area of the base so that the individual layers can adhere securely. This is a type of basic cleaning that is essential for both new buildings and renovations. Specifically, this includes:
- remove excess mortar residue and any existing sludge and paint
- Scrape out joints affected by s alt to a depth of at least 20 centimeters
- Clean the surface well in general
- water it well just before applying the first layer
Before applying the first layer in the base area, it is important to pay attention to the prevailing temperatures. The work should only be carried out under very specific weather conditions. Specifically, this means: The building subsoil must be frost-free and the surface must have a temperature of at least five degrees Celsius.
Critical Area
As mentioned above, the area where the lower and upper sections of the base meet is often the sticking point when it comes to sealing. It is therefore important that the sealing systems used do not simply meet edge to edge, but overlap one another. The lower bitumen layer extends into the upper layer of sealing slurry and vice versa. Typically this overlap should be around ten centimeters. So that it can be carried out cleanly, the upper layer located in the splash water area should be applied first. Only then does the lower layer follow, which is, so to speak, beneath the earth. It goes without saying that the utmost care is required in all work in this context.
Materials
Bitumen at the bottom, sealing slurry at the top - this is how the truly sealing layer when sealing in the base area can be brought to a common denominator. Bitumen waterproofing now rarely uses pure bitumen, but rather a plastic-modified variant. It offers numerous advantages. Examples include the fact that the material can withstand high pressures without being damaged, that it is absolutely waterproof and that cracks up to a width of around two millimeters can be easily bridged. The mineral sealing slurries for above have very similar properties. They also withstand pressure well and bridge cracks of up to four millimeters. In addition, they form a reliable adhesive material for plaster or clinker bricks to be attached later.
Alternatives
Since the sealing on the base of a house has different functions depending on its location below or above the edge of the ground, it was not possible for many decades to work without the critical overlap between the two materials. In the meantime, however, there are products on the market that are generally suitable for both areas and types of use. For example, Remmers Multi-Baudicht 2K should be mentioned here, which is relatively easy to get from specialist building retailers. This and other products have the properties that bitumen and sealing slurry have respectively. So it can be used safely for both sections of the base. Since the overlap is eliminated, the risk of a leaky base seal is significantly reduced.

