- Author admin caroline@plants-knowledge.com.
- Public 2023-12-17 03:39.
- Last modified 2025-06-01 06:48.
The house base is one of the biggest weak points of a house. Frost, moisture, chemical influences from contaminated drinking water, constant humidity and even precipitation affect it. If it is leaky or absorbent, water will be drawn into it. This can lead to damage to the building structure and mold. If frost occurs, cracks can also be expected. This makes covering and veneering all the more important.
Preparation
If a house base is to be subsequently covered or covered, it must first be checked and prepared accordingly.
This includes:
Visual inspection
Larger cracks and stains can be seen with the naked eye. However, you have to look closely. The base behind plants and other decorations should also be checked. A bright flashlight is a must in shady corners.
Temperature controls
Using an infrared thermometer or a thermal imaging camera, serious differences in temperature distribution can be identified that have not yet caused any visible damage. But they are an indication of weak points.
Expert advice
Laypeople cannot always see damage with the naked eye and usually cannot correctly classify its significance. Especially when the base is to be covered or covered for the first time, a thorough professional check should be carried out.
Repairs
If you notice cracks, water damage or even just stains of unknown origin, these must first be treated and repaired at the source. Attaching a covering or a veneer hides it visually, but can ensure that the damage progresses unnoticed. This can increase the costs of fixing the problems and the effort required enormously. Cracks etc. should therefore be investigated. Are these superficial or have they already continued internally? Differentiation and appropriate repairs before installing cladding are essential in order to prevent consequential damage to the building structure and to keep costs as low as possible.
Cleaning and drying
In order for veneers and cladding to be as durable as possible, they must be applied to a clean and dry surface. This means that the surface must be free of dust, dirt, plant debris, grease and moisture. Kärcher or sandblasters are ideal for cleaning. The base must then be given sufficient time to dry completely. When using sandblasters, the surface must be vacuumed or at least swept away.
Infatuation - Advantages
The terms disguise and veneer are used interchangeably. So there is no difference between the procedures. However, the measures offer many advantages. Below:
- Protection against moisture and reduction of damage to the building structure
- (additional insulation) and therefore possibly reduced heating costs
- optical enhancement of the house
Covering makes a lot of sense, especially for very exposed houses that are exposed to rain and hail, surface water and splash water. Provided, of course, that the substance is harmless. Otherwise, repairs should be carried out first.
Coating - Materials
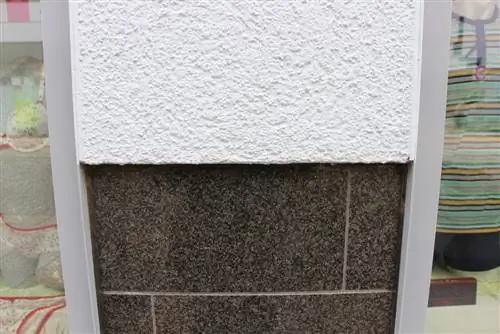
Various materials are available for covering. These include:
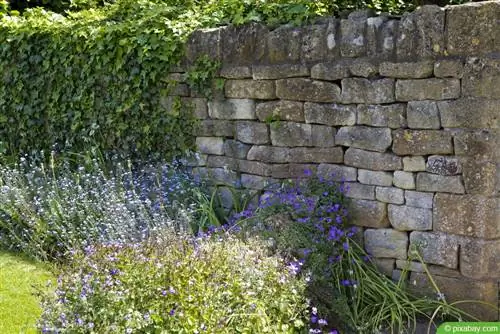
- Natural stone, such as limestone or slate
- Artificial stone, such as polypropylene
- Aluminium composite panels
- Aluminum sheets with powder coating
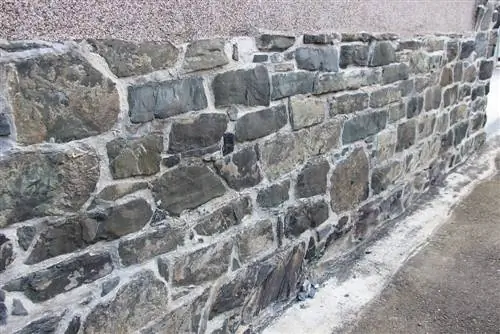
The options sound limited, but they offer a lot of variety. Patterns and colors as well as numerous different attachment options are available to choose from. Whether you choose base cladding with a natural stone look or clinker brick facades, several steps are required to attach it.
Attaching the cladding - step by step
After the house base has been examined for damage and repaired if necessary, the selection can be made. Here too, an expert opinion is recommended, as not every type of cladding is suitable for every house base. Exposure to the weather, previous damage, budget and condition of the house facade play crucial roles. In addition, each panel has its own attachment system and its own challenges.
Basically, however, the procedure for attaching it is as follows:
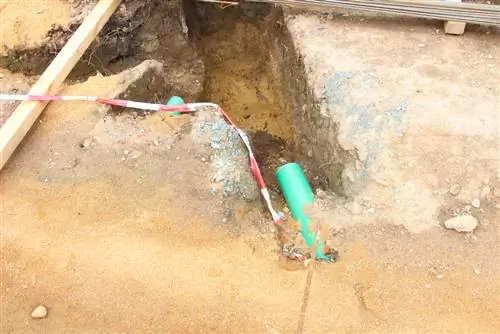
- The base is cleaned, freed from earth as much as possible and exposed. These measures should be carried out early so that the base can dry sufficiently. It may also be necessary to set up radiant heaters to ensure sufficient drying.
- The surface is prepared accordingly. Depending on the fastening system, this can involve applying a primer or setting drill holes and rails as a substructure.
- In order to ensure water drainage, rails and window sills may need to be placed between the facade and the base. This is often necessary because the base plates gain strength due to their thickness and the necessary substructure and therefore protrude further. Without appropriate protection, the water could run behind the cladding or get stuck in grooves and thus lead to water damage or, in winter, frost cracks.
- The final inspection is important in order to be able to identify and correct gaps that are too large, a lack of water drainage or other possible weak points. These often occur especially at the corners and edges of the water drain.
Do you dress up yourself or have it blended?
For homeowners with great craftsmanship and sufficient experience, at least attaching cladding or cladding is not a major challenge. However, the preliminary checks should at least be carried out by a specialist. This is especially true when the house base is being covered for the first time.
In other cases it can also make sense to have the work carried out by a specialist. Just clearing the base, checking it carefully and selecting the material requires a lot of expertise and involves enormous effort. Machines must be rented or purchased. An eye for every detail is important and craftsmanship and knowledge are also required.
If you don't already have the relevant experience, you should leave the installation to specialists.

