- Author admin caroline@plants-knowledge.com.
- Public 2023-12-17 03:39.
- Last modified 2025-01-24 12:45.
Having your own fresh chives (Allium schoenoprasum) in the kitchen is possible for everyone with the professional propagation instructions, without having to go to the supermarket first. Chives impress with their delicate spicy taste and are indispensable for he althy cooking or eating. Propagation is worthwhile because chives from the supermarket only stay fresh for a few days and retain all of their aroma.
When propagating from flowers, there are a few details to pay attention to so that it works and results in he althy, strong growth.
Propagations
To propagate, you can either divide an existing cultivation or, better yet, use seeds from the flowers for cultivation. The advantage of seed propagation is that old stocks retain their size and seed propagation proves to be simpler and more successful.
Seed harvesting
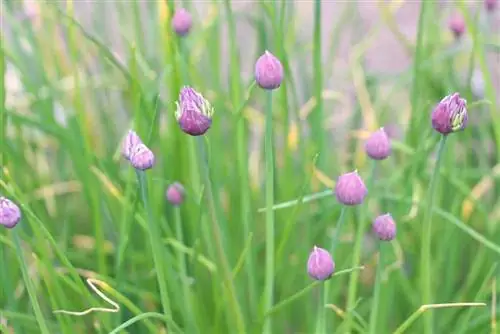
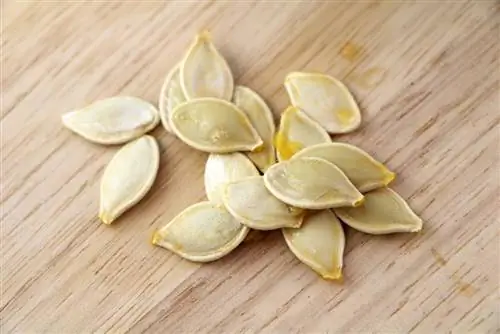
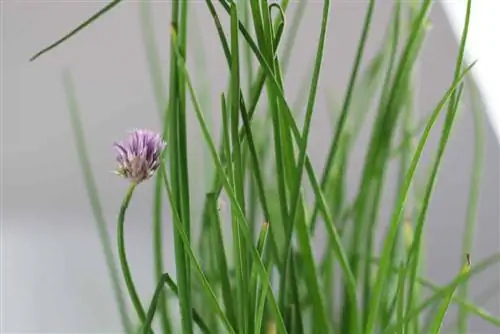
Chives only bloom once a year. This is usually between late April and early June when it is not being cut/harvested. The flowers contain the seeds, which can be found on the fine seed stalks around the second week of flowering. They are gently pushed off with the index finger and thumb and placed on a piece of paper or similar.
Another option is to let chives grow wild. To do this, it is not cut and the flower remains until it wilts. Towards wilting, the seeds dissolve on their own and are distributed by the wind. However, this has the disadvantage that chives can grow very close together, which in turn weakens the vigorous growth and, in the worst case, causes the herb plants to die. In most cases, growing the seeds yourself is the more optimal option for propagating chives.
Tip:
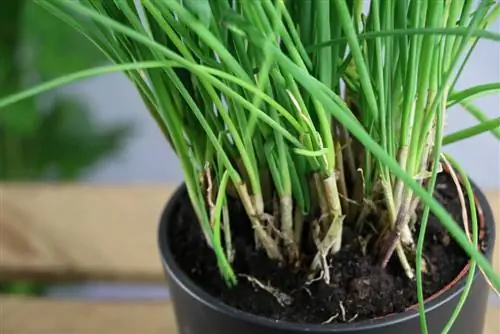
If you buy chives in a pot from the supermarket with the idea of propagating them, you should either plant them in a larger pot or in the garden bed. The chive pots you buy are usually too small to offer the herb enough space to thrive and bloom. In addition, it is essential to replace the soil with a nutrient-rich substrate, as the plant needs a lot of energy and nutrients to develop flowers.
Seed Storage
The chive seeds should be stored in a dark place or in an opaque container or wrapped in newspaper. In addition, optimal storage temperatures are necessary so that germination does not begin before sowing. The recommended temperature is between 10 degrees Celsius and 15 degrees Celsius.
The chive seeds must also be stored in a dry place. If the seeds were harvested from the flower that was wet after a rainstorm, the seeds should be spread out evenly to dry for a few days. Only then should they be packed in dark packaging if necessary.
The seeds only last for a maximum of 12 months. Accordingly, only as many seeds should be harvested as are needed for sowing for the year or the next spring.
Sowing time
The perfect time for sowing is between April and May, when the seeds should be sown in the garden bed. If the seeds are grown in a propagation box, the seeds can be sown as early as February. As a cold germinator, chive seeds tolerate cold temperatures between one and ten degrees Celsius. Basically, the seeds germinate better in cooler temperatures than in warm room temperatures. But care must be taken not to expose the seeds to sub-zero temperatures, as a large proportion of the seeds could freeze.
Location
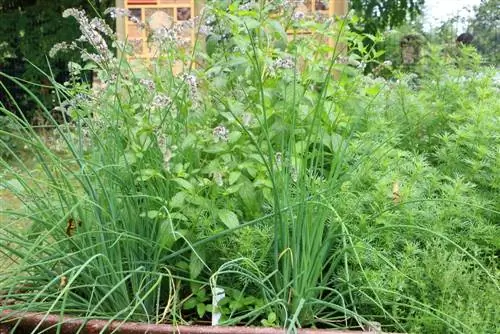
Chive seeds and the resulting chive herb plant feel at home in both sunny and semi-shady places in the garden or in a pot. However, the herb plant does not like hot midday sun. Although seeds and chives tolerate cold well to a certain extent and are even beneficial for germination, they are less tolerant of cold winds.
Therefore, the (chive) seed should always be positioned protected from the wind. Wind also causes the fine tube stems on the young plants or later on the older specimens to easily snap off. This usually results in a brown color. Thanks to its relatively long and straight growth habit, chives add visual variety to any herb bed and can be easily complemented with all common culinary herbs.
Floor
Chive seeds do not place any special demands on the soil. The soil in the garden bed should be loose and rich in humus. When sowing in a seed box, it is recommended to use special potting soil or herb soil for seedlings or alternatively place the seeds in a nutrient-poor substrate with a clay content. The latter provides good water permeability and prevents waterlogging, which should also be prevented when sowing in the herb bed.
The sowing site should be free of root residues, weeds and thick lumps of earth. Weeds in particular prevent herbs and herb seeds from thriving, which is why weeds should generally not grow nearby. Regular weeding is therefore essential.
Sowing
Once all preparations have been made, sowing can begin. Here you proceed as follows:
- Loosen up the soil over a large area with the hook
- Use one fist to press in the soil about two centimeters in a line shape
- Distribute the seeds evenly
- Approximately 300 seeds should be placed per meter of well
- After sowing, it is covered with soil
- Only press the upper layer of soil lightly
- Water moderately and keep the soil well moist, but do not overwater
If you use a seed box or pot, follow the same procedure as when sowing seeds in the garden bed. However, press the soil or substrate into the middle of the container so that there is enough distance to the edges of the pot and box. The sown container should then be placed on the balcony or terrace in cooler temperatures so that the seeds start well and quickly.
Once the new young plants are around two centimeters high, they can be pricked out and repotted. From a size of around six centimeters they are powerful enough to be planted in the herb bed. As a rule, sowing takes around two weeks to germinate. The basic rule here is: the cooler they are, the faster the seeds will germinate and sprout. At temperatures around 18 degrees Celsius, germination can take up to six or eight weeks.
Tip:
Since the seeds cannot tolerate excessive moisture, a transparent plastic film should be stretched over the sowing. It is important to ensure that the film is at least three to four centimeters above the surface of the soil so that the chive seeds have enough space to grow upwards.
Chives harvest
In just a few weeks after sowing, the chives are ready for their first harvest. However, it should be taken into account that it still needs to develop further. For this reason, it is advisable not to shorten the chives by more than a quarter in the first year and to cut them evenly. Then the herb plant can develop further and grow strong.
Use sharp, clean scissors for harvesting herbs, which you ideally also only use for harvesting chives. In this way, they prevent the transfer of possible pests or germs from other plants that have previously been cut with the same scissors. In the second year, this type of leek should be so strong that it can easily tolerate a cut of about half the plant mass.
If the chives become too bulky, you can remove the rhizome from the soil or substrate and simply cut it into two parts with a sharp knife. Plant one part again and look for a place for the other where there is enough space to grow.
Fertilize
The chive plant needs a lot of nutrients in order to grow quickly and vigorously. The administration of fertilizer, which should be given every two weeks, helps here. A biological liquid fertilizer that can be easily absorbed into the soil via irrigation water is best.
From the end of September onwards, fertilizer no longer needs to be given when the herb plant overwinters in the garden. However, young plants are not fertilized in the first year. This means that you start fertilizing in the second year after sowing at the earliest.
Wintering
In order for the new young plant to survive the first winter, there are a few precautions that need to be taken and some things worth knowing:
- The chives are hardy and can remain in the garden bed in winter
- Before the first frost in autumn, shorten all stalks to around two centimeters
- To protect against frost, lay a layer of leaves or brushwood on the surface of the soil
- To prevent overwatering, stretch a translucent film over the chive herbs
Tip:
If you cut the chives short for overwintering, you can freeze what you cut. To do this, simply cut the tubes into short pieces and store them in portions in an airtight container in the freezer. So you don't have to go without chives even in winter.
Conclusion
The classic Allium schoenoprasum culinary herb can be quickly propagated with flower seeds without much effort and can also be achieved by any hobby gardener without a special “green thumb”. After sowing, it only takes a few weeks until the first harvest can occur. Thanks to the rapid growth, fresh chives are always ready to be harvested and you don't have to worry if the chives you bought from the supermarket have lost their freshness after two days and are now missing to refine a dish.

