- Author admin [email protected].
- Public 2023-12-17 03:39.
- Last modified 2025-01-24 12:45.
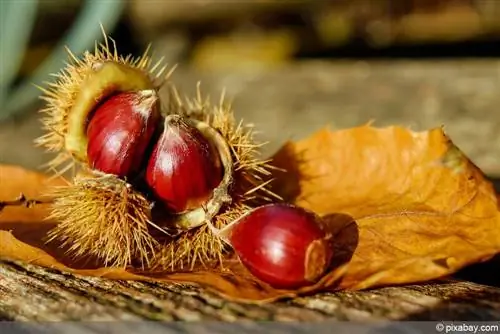
Tasty chestnuts enrich the winter menu and, roasted, are an integral part of traditional Christmas markets. The chestnut tree has much more to offer the creative hobby gardener, because with its slender silhouette and shapely foliage crown it decorates the garden, lines avenues and decorates the balcony in the pot. With a chestnut tree, a lifelong floral companion will move into your green oasis, which will also provide rich chestnut harvests for your children and grandchildren. To ensure that the cultivation of a sweet chestnut runs smoothly, the following care instructions provide all the relevant details.
Location
Choosing the best location is subject to various variables that need to be taken into account. This is particularly true for a planted chestnut tree, as planting a well-rooted specimen requires a considerable amount of work. Therefore, pay attention to the following framework conditions:
- Sunny to semi-shady location
- Warm and protected from the wind
- Distance to buildings corresponds to the expected height of 10-20 m
- Distance to neighboring property takes regional legal requirements into account
Since a chestnut tree only develops its winter hardiness over the first 5-6 years, planting young trees is only an option in mild wine-growing regions. If the garden is in an area with a harsh climate, we recommend cultivating it in a container at the beginning so that the tree is not placed in the bed until it is older.
Soil texture
With a strong taproot and numerous, lushly branched side roots, a chestnut tree takes over the surrounding soil. The quicker the tree succeeds in rooting, the more winter hardiness it develops. In addition to the recommended light and temperature conditions, the condition of the soil plays an important role in professional care:
- Nutritious, loose, humus-rich and deep soil
- Fresh, moist and not too dry
- Low lime, with a pH value of 4.5 to 6.5
Since the chestnut tree is threatened by leaf chlorosis in limestone soil with a pH value greater than 7, the small effort of a pH value test should be worthwhile. Every hardware store has inexpensive test sets available. The procedure does not require any prior chemical knowledge, but is based on an uncomplicated coloring reaction. However, if trees that prefer acidic soil, such as rhododendrons or hydrangeas, are already thriving on site, this is proof enough that the soil acidity level is appropriate for the chestnut tree.
Pouring
Once the taproot has grown sufficiently deep into the ground, a sweet chestnut in the bed is usually content with the natural rainfall. Until then, thorough watering is of course necessary. How to do it right:
- Water the chestnut tree thoroughly in the first year when it is dry
- Water young plants in the pot until the water runs out of the bottom opening
- Empty a coaster after 10 minutes at the latest to avoid waterlogging
- From the second year of life, water outdoors only in summer heat
- In the pot from the second year onwards, always water when the top 2-3 cm of the substrate has dried
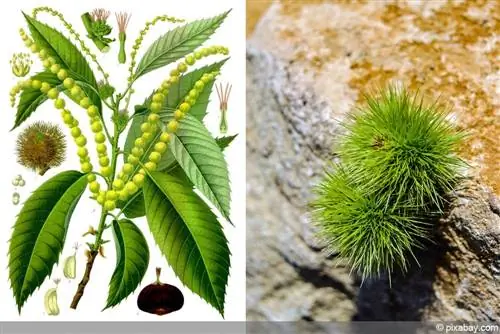
It is an advantage if predominantly low-lime water is used for the water supply. Collected rainwater can also be considered, as can decalcified tap water.
Tip:
During summer droughts, thorough watering in the bed is more important than low-lime water quality. Under these climatic conditions, take out the garden hose and let it run for at least 30 minutes.
Fertilize
The nutrient requirements of a chestnut tree are at a moderate level. The extent to which the deciduous tree needs to be fertilized in each individual case depends on its age and type of cultivation. A well-established chestnut tree in the bed receives an organic starting fertilizer in the form of compost, horn shavings, guano or bark humus in March/April. On a young specimen in the first 5-6 years, repeat the fertilization 2 to 3 times during the growing season. Alternatively, administer a complete fertilizer with a sustained release effect in March that is sufficient for the entire season. As practice has shown, from the 10th year at the latest, when the deciduous tree has reached a height of 5 m, the additional nutrient supply can be dispensed with.
If a chestnut thrives in a large container, the supply of nutrients in the limited substrate volume is used up quite quickly. In this case, apply a complete fertilizer in liquid form, as a water-soluble powder or as sticks every 14 days from May to September.
Cutting
The chestnut tree naturally develops a harmoniously shaped crown that does not necessarily require a topiary. If some branches are too long or the crown needs to be shortened overall, cut the branches back after the chestnut harvest or in late winter. Place the freshly sharpened scissors just above an outward-facing leaf node. A leaf node can be identified as a slight bump under the bark. If you hold the cutting tool at a slight angle, rainwater can run off better, which helps prevent diseases and pests.
The tree should be thinned out thoroughly every 3-4 years. February/March is a good time for this care measure. Here's how to do it:
- Choose a date with frost-free, dry and overcast weather
- Cut off all dead wood at the base without damaging the branch ring
- Remove branches that cross or rub against each other
- Cut stunted and inward-facing branches
The end result should be a loose, symmetrical crown that is exposed to the sun's rays in all areas. Also take a look at the tree disc. If water shoots sprout towards the sky on a refined chestnut tree, tear them off, stump and stem. After a cut, a remnant of plant material remains on the tree, from which new wild shoots quickly sprout.
Wintering
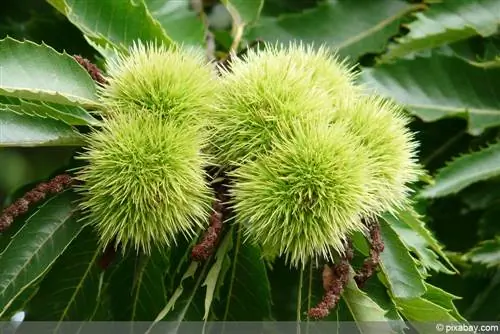
Unless your garden is in a wine-growing region with mild winters, we recommend cultivating a young chestnut tree in a mobile pot for the first few years. Until the tree has developed a robust winter hardiness, it moves to a frost-free winter quarters in the fall. Since all leaves are shed, there are no significant requirements for lighting conditions. It doesn't even have to be completely frost-free there, so a garage or tool shed is definitely an option. Experience has shown that a young chestnut tree in a pot cannot survive a winter outdoors, even if all available precautions are taken. For reasons of caution, planted trees receive the following winter protection in the first few years:
- Cover young sweet chestnuts in the bed with fleece or straw mats before the first frost
- Hill up the tree slice with a layer of leaves, straw and needles
In particular, the young, smooth trunk with the decorative, reddish-brown, later silvery shimmering bark should be protected from the intense rays of the winter sun until spring.
Repotting
Parallel to the annual growth of up to 70 cm, the root system of a sweet chestnut develops quickly. For potted plants, this means that changing to a larger container every year is essential. A wisely chosen date for this care measure is early spring, shortly before new growth begins. As a substrate, choose high-quality potting soil that has a nice, loose and airy structure thanks to its coarse-grained content. Avoid using cheap products with a high peat content, as this material hardly stores any water and compacts quickly. When choosing a new pot, pay attention to the space required by the powerful taproot. How to properly repot a chestnut tree:
- Create a drainage from potsherds or pebbles over the floor opening
- Put a water- and air-permeable fleece over it so that the material doesn't get muddy
- Fill in fresh substrate up to half the height of the pot
- Unpot the chestnut tree and plant it in the middle so that the previous planting depth is maintained
While the remaining cavities are being filled with substrate, press the soil down repeatedly to prevent air holes from forming. A pouring edge of a few centimeters prevents anything from spilling over later. Finally, water generously with low-lime water.
Tip:
A repotted chestnut tree is only fertilized for the first time after 6 weeks at the earliest. Commercially available potted plant soil already contains a supply of nutrients that should be used up first to avoid over-fertilization.
Conclusion
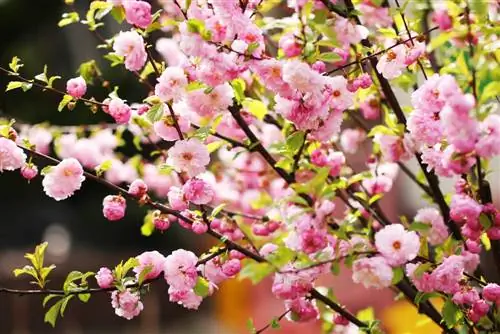
The chestnut tree has established itself as one of the most beautiful house and family trees thanks to its tasty fruits, finely toothed leaves, pretty flowers and pyramidal crown. In order for this gem to thrive in the garden and pot, a sunny to semi-shady and, above all, protected location should be chosen. Ideally, the soil is loose, rich in nutrients and slightly acidic so that the chestnut tree can spread its powerful roots. As these care instructions show, the popular deciduous tree in the right location rarely requires the gardener's attention once it has established vital roots. Watering when it is dry, an organic or mineral starter fertilizer in spring and thinning out every few years mark all the relevant key points in the care protocol. Until then, a sweet chestnut develops a robust constitution in the bucket in its first few years of life in order to spend the cold season in the protection of a winter quarters.

