- Author admin caroline@plants-knowledge.com.
- Public 2023-12-17 03:39.
- Last modified 2025-01-24 12:45.
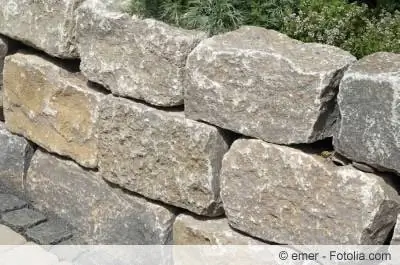
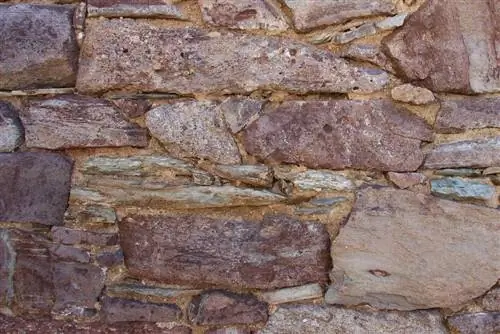
The classic quarry stone wall consists of natural stones that are joined together more or less regularly using mortar. This creates an attractive appearance in the ornamental and kitchen garden while at the same time fulfilling useful tasks. A natural stone wall serves as a stable slope fastening, a decorative bed border, elegantly supports terraces or, as a free-standing variant, creatively loosens up the overall look of the garden. The following instructions explain clearly what is really important when you build a quarry stone wall yourself and grout it correctly.
Create foundation
A professional concrete foundation is essential for the quarry stone wall. The rule of thumb for the base of the wall is that the width is about a third of the height. The height should not exceed the 2 meter mark, as in this case proof of stability is required by law and can only be provided by a certified structural engineer. How to lay the foundation correctly:
- Dig an 80 cm deep strip in the measured width
- Fill this with concrete and additionally reinforce it with steel mesh
- Integrate the steel mesh into the concrete and not just lay it on top
- Compact the concrete at the end by tapping lightly with the spade
- Repeated checking with a spirit level is mandatory so that the base of the wall is completely flat
The foundation should harden completely by the next step. This waiting period of 2 to 3 weeks can be used to select the right natural stones. In order to avoid high transport costs and to create a natural look, the stones should come from a regional quarry. The more square the shape, the easier it is to lay the stones, even by an inexperienced hand.
Tip:
A finished poured foundation is protected from the weather with a plastic tarp while it hardens. If it is very hot, the material should be watered every 2 days to prevent cracks from drying too quickly.
Build walls skillfully
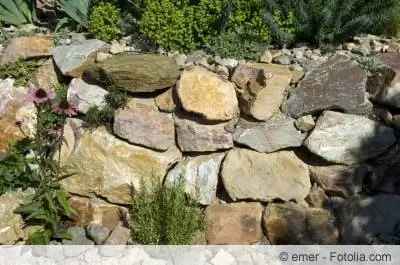
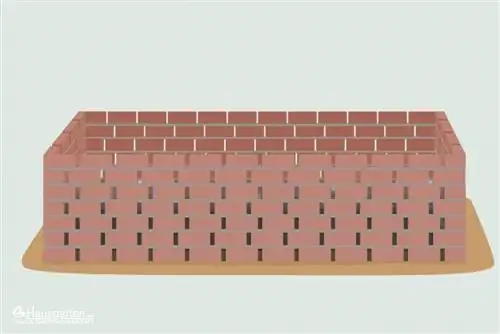
Once the foundation has hardened and the stones have been delivered, work can begin. Trasslime mortar has proven to be particularly effective as a mortar for a quarry stone wall, as it adheres excellently and does not bloom, i.e. it does not cause white flags to come out of the joints. If the quarry stone wall serves as a slope reinforcement, it gains more stability by tapering on one side towards the embankment by 5-10 percent. To build a free-standing natural stone wall, two rows of stones are placed and the gap is filled with mortar or concrete. Follow these steps:
- Stretch a string between two pegs for orientation
- Wet the foundation well with a tassel brush to spread the mortar over it
- An optimal mortar bed is 3-5 centimeters high
- Build the first row of stones with the largest specimens
- After aligning and tapping into place, fill the gap with concrete or gravel
- Then lay the second row of stones at a slight offset for more stability
- Transverse joints run as straight as possible, while cross joints should be avoided
Clean any dirt thoroughly with water before installing. It should be slightly moist, but not soaking wet. The next layer is much easier to put on if the quarry stones end on a horizontal side at the top. They give a quarry stone wall additional stability if every sixth or eighth stone is laid transversely. This measure makes sense, especially when fortifying a slope, as the binder stones act as additional anchoring. In the case of a free-standing natural stone wall, these stones form a practical connection between the two rows of walls.
Tip:
The connection between mortar and foundation is significantly improved if you apply a layer of tile adhesive beforehand and only then spread the first layer of mortar.
Special case of Cyclops Wall
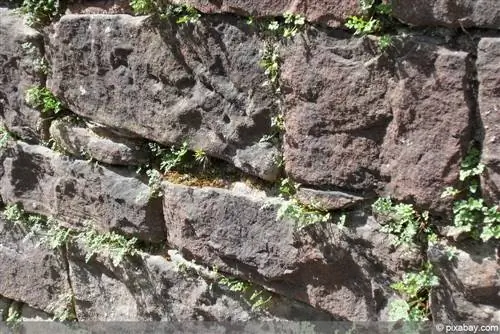
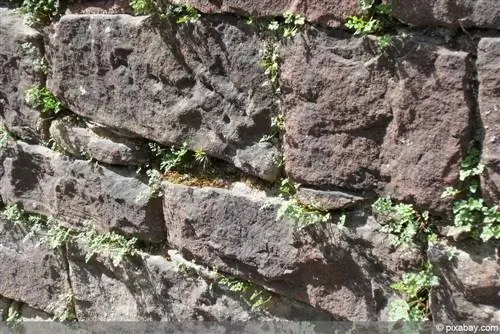
If you are a do-it-yourselfer with experience, you might be interested in creating a cyclops wall as a rustic variant of the quarry stone wall. The term is derived from the Greek word 'kyklos' for circle and is less related to the one-eyed giants from mythology. The natural stones used here are extra large, sometimes round and almost unprocessed. Smaller natural stones are arranged around these cyclops, so that each wall is unique. Since no continuous transverse joints are created during the layering process, special care is required.
For the construction of a cyclops wall, hard stones are primarily considered, which guarantee a particularly long service life. These types of stone are suitable for a cyclops wall:
- Granite
- Gneiss
- Migmatite
- Bas alt
- Quartcites
- Diabas
In contrast to soft rocks such as marble or sand-limestone, hard rocks are difficult to work with, which is not necessary for a cyclopean wall.
The perfect wall crown
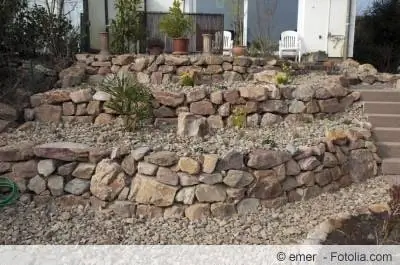
So that the filling of a quarry stone wall cannot be seen from above, flat natural stones serve as the final layer. If you want to protect the masonry even better against weather influences from above and at the same time value a decorative appearance, you should pay particular attention to the design of the wall crown. For this purpose, the dried wall is treated with sealing slurry by applying the material in two passes. In this way, the upper end of the quarry stone wall is additionally sealed and provides a perfect base for the cover. Specialist retailers offer a wide range of products, ranging from modern versions made of copper or aluminum to ceramic covers in the form of roof tiles. It is important to note that the chosen wall crown protrudes at least 4 centimeters beyond the wall so that rainwater can drip off easily.
Grouting correctly
The final step in building a quarry stone wall is grouting. Since more mortar is always used when building irregularly shaped natural stones than when building a classic brick wall, there is more scope for the do-it-yourselfer when designing the joints. Follow these steps:
- Scrape the joints to a depth of 1.5-2 centimeters with a chisel
- Decrumble and remove dust from the loose mortar with a strong brush
- Fill smaller holes with mortar to the desired joint depth
- Mix air lime mortar according to manufacturer's instructions
- Wet the quarry stone wall with a sponge or a water hose
- Use the joint trowel to press and smooth the mortar into the joints
With an optimal joint, the filling falls back a maximum of 1 mm behind the natural stone. Always smooth out the vertical butt joints first and then the horizontal bearing joints.
You can save yourself the effort of subsequent grouting if grouting is carried out during the brickwork. This process also opens up the possibility of working with sausage joints that are both decorative and extra stable. The emerging mortar is shaped round using a template. This not only looks nicer, but also gives a joint more stability so that it is not washed out by the rain nearly as quickly as conventional wall joints. If you don't like the sausage joints, choose the wide joints, which are ideal for leveling out the unevenness between the unfinished natural stones.
Impregnation
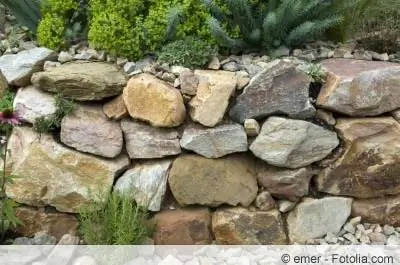
With impregnation you can give your self-built quarry stone wall the finishing touch. Recommended products are made from organic silicone resins, are solvent-free, frost-resistant and colorless. Applied with a brush or garden sprayer, they penetrate deep into the pores of the natural stones and seal them against the effects of the weather. After the first coat has been applied and dried, water should roll off it. If this is not the case, repeat the process.
If you want to be on the safe side for a permanently beautiful quarry stone wall, add additives against fungi and algae to the impregnation.
Conclusion
In order to build a quarry stone wall in the garden yourself and to grout it correctly, no extensive previous knowledge is required. As long as the size does not reach dimensions of 2 meters high or more, neither a structural engineer nor a master bricklayer is required to build a decorative garden wall. With a stable foundation reinforced with steel mesh, you create the best conditions for years of durability. If you avoid cross joints when building walls and use a good quality mortar, you are on the right track. If you pay attention to a sealed and elegant wall crown, the natural stone wall gains additional aesthetic value. Last but not least, skillful grouting gives the hand-made garden wall longevity and a harmonious look. Take care of the joints as soon as you build the walls, saving yourself the subsequent work.

