- Author admin caroline@plants-knowledge.com.
- Public 2023-12-17 03:39.
- Last modified 2025-06-01 06:48.
Orchids are among the so-called epiphytes (tropical epiphytes) and grow on the branches of trees in the rainforest. This means that the orchids do not need soil, but get their nutrients from the air, rainwater and light. They use their roots to cling to branches and pieces of bark. That's why they are not repotted in potting soil, but rather in an appropriate orchid substrate. We will explain to you how to properly transplant the pretty exotic plants and what tools you need.
The right orchid substrate
Orchids require a special substrate and therefore cannot be placed in normal potting soil. The substrate must be sufficiently airy so that the orchid roots do not rot. On the other hand, it must be able to store water. However, the surface must not get too wet. The individual components of the orchid substrate should have a certain degree of stability so that the roots have a good grip and the plant cannot fall over. However, there must be sufficient cavities in the substrate in which a corresponding microclimate, similar to that in the tropical rainforest, can be created. An irregular shape of the substrate components is therefore advantageous. The water that evaporates from the substrate pieces increases the local humidity, which is absolutely necessary for orchids.
Make your own orchid substrate
If you don't want to use commercially available orchid substrate from the hardware store, you can get good orchid substrate from orchid growers or make the substrate yourself. You adjust the components to the size of your orchids. Small orchid species and young plants require a slightly finer substrate than older specimens and large orchid species. The substrate is mixed from several components in equal parts. For example, untreated pieces of wood (e.g. waste from the garden), bark (from pine or pine trees) and charcoal are common. However, pieces of wood and bark must not be used fresh, but must be free of pests and thoroughly dried.
Tip:
It is best to dry the pieces in the oven at a temperature of approx. 50 °C. A follow-up treatment in the microwave kills any germs and pests.
Transplanting instructions
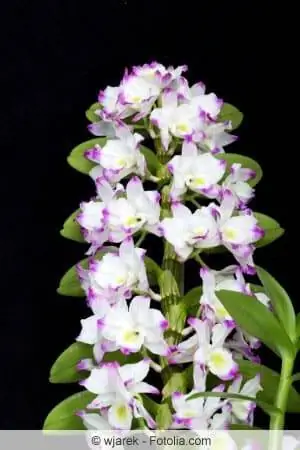
Transplanting takes place in autumn or spring after flowering and not during the flowering period, as rooting requires too much energy during this time. However, there are also types of orchids that bloom continuously, such as Phalaenopsis. The flower stalks of these orchids are cut off before transplanting. This means the plant has more strength to root.
1. Preparation
Before repotting an orchid, it is best to place it in a water bath for some time. The root ball can then be removed more easily from the pot. While the orchid is in the water bath, you can put together the following materials:
- clear plastic pot or mesh container so that the roots receive light
- maximum 2 cm larger than the old pot
- purchased or self-made orchid substrate
- a handful of small pebbles
- sharp knife
- sharp secateurs
- Bamboo sticks
- several plant sticks made of wood (not metal!)
- Alcohol to disinfect knives and secateurs
2. Remove the orchid from the pot
Carefully loosen the root ball of the orchid from the pot. If the roots are very attached to the pot, carefully loosen them from the edge of the pot with a sharp knife. To loosen the adhesions on the bottom of the pot, it is best to cut the pot apart without damaging the roots too much.
3. Remove substrate
Now loosen the old substrate from the roots with your fingers. If necessary, it also helps if you shake the plant slightly so that the substrate components that are not strongly adherent can fall off. The remaining, smaller pieces of substrate are carefully rinsed out with lukewarm water.
4. Cut off dead roots
Using sharp secateurs, cut off the dead roots, which are now clearly visible in the root ball. The dead roots differ from fresh roots in that they are rotten, mushy or dried out and hollow. If you find pests on the orchid roots, place the root ball in a water bath again so that the pests are killed. In general, it is generally advisable to place the orchid in a bucket of water again so that the roots can soak up water.
Tip:
Disinfect the cutting edges of the cutting tools with alcohol. This is especially important if you are transplanting several orchids so that no germs can be transferred to your favorite plants.
5. Prepare new pot
While the orchid's root ball is in the water bath, you can prepare the new pot. To do this, first fill the pot with a thin layer of pebbles and then add only a quarter of fresh orchid substrate to it. With the help of the pebble layer, excess water can drain away easily.
6. Put plant in new pot
Then place the orchid on the prepared substrate layer in a straight position and fill the space between it and the edge of the pot with more substrate.
7. Close gaps between substrate and root ball
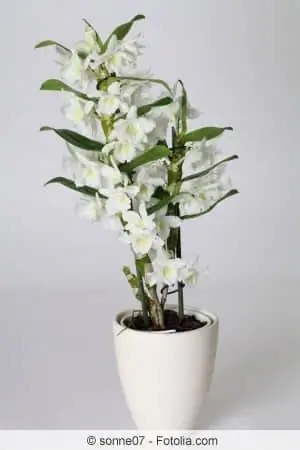
Close possible, very large gaps between the substrate and the roots. To do this, use a bamboo stick to press the pieces of bark, wood and charcoal down or insert them into large gaps. Do this very carefully so that the roots of the orchid are not damaged. Also make sure that the gaps in the substrate are not closed too tightly. The substrate should remain airy and loose and not too compact.
8. Press the substrate well
Now fill the remaining space in the container with orchid substrate up to approx. 1 cm below the edge of the pot and press the upper layer lightly. However, young shoots must not be covered by substrate.
Tip:
If the black charcoal pieces seem too dark for you, just put pieces of pine bark in the pot as an upper substrate layer.
9. Align and fasten shoots
Existing shoots on which the flowers will later grow are best supported with a plant stick and thus stabilized. The shoots are attached to the rods with special orchid clamps. It is also possible to use small hair clips. But make sure that the clamps cannot push or squeeze the shoots.
10. Do not water the orchid immediately
- water freshly transplanted orchids 2 to 3 days later
- prevents pathogens from penetrating the fresh cuts on the roots
- pay attention to water quality when watering
- It is best to use soft, low-lime water
Transparent orchid pots - why?
Many types of orchids, but especially the Phalaenopsis hybrids, should be placed in a transparent flower pot because their roots need a lot of light. Even though ceramic planters are very decorative, unfortunately they prevent the orchid roots from receiving sufficient light. The green aerial roots of orchids contain chlorophyll, which is responsible for photosynthesis in plants. As a rule, this substance is only present in the leaves of plants, and in orchids in the leaves and roots. When watered, the aerial roots turn green, and as soon as they need water again, they appear silvery. You can clearly see the difference through the transparent pot. It is best to place the orchids in the transparent pot on a bed of clay balls or Seramis. The drained water is collected and can evaporate to increase the humidity in the plant area.
Tip:
You can also use mesh pots that are actually intended for hydroponics. There is also a brand new orchid pot on the market called Orchitop. The pot wall consists only of bars that form spaces. Through these gaps, the aerial roots can grow outwards and thus receive not only light, but also sufficient fresh air.
Conclusion
Orchids, like other houseplants, need to be transplanted regularly. It is best to do this at regular intervals of 2 to 3 years, before the orchid substrate completely rots and becomes too small. Because then the orchid roots no longer get any air. However, transplanting is always an interference with the orchid's natural growth process. It may happen that the plant initially grows little or not at all. Orchids are not planted in normal potting soil, but rather in a special orchid substrate that you can easily make yourself using our transplanting instructions.


