- Author admin [email protected].
- Public 2023-12-17 03:39.
- Last modified 2025-01-24 12:45.
Boards on terraces are exposed to wind and weather and therefore often get wet. Prolonged exposure to moisture is not good for the material. Longevity can only be guaranteed if the correct distance is maintained during construction.
Distance of the decking boards
Sufficient planning is of fundamental importance when constructing decking. Weather influences will cause long-term damage to the material if it is processed incorrectly. Maintaining the correct distances from the substructure and between the floorboards increases the lifespan of the material. There must be sufficient downward capillary action. It is essential to avoid laying the planks directly on the substructure.
Tip:
Wood works in the event of temperature fluctuations and requires movement tolerance.
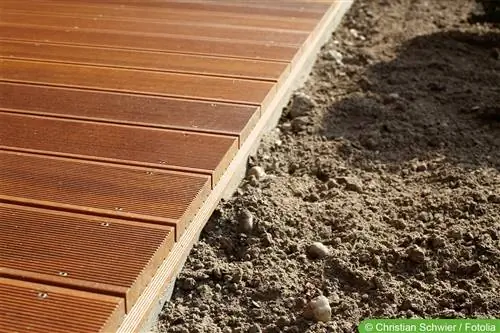
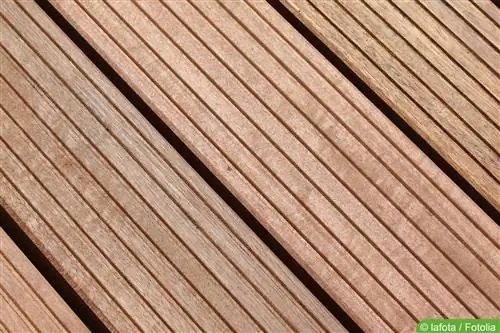
The distance between the individual wooden planks should ideally be between five and ten millimeters. It serves to drain water away sufficiently quickly and contributes to rapid drying. You should also definitely keep a little distance from the house wall. In the optimal case, a joint on the house wall is more than eight millimeters. Fixed anchoring, such as screwing, is counterproductive as this negatively affects the ability of the boards to move.
Tip:
Tip: A self-supporting terrace construction is always preferable.
Material list
The following materials are required for assembly:
- Spacers for cushions
- Spacers for gaps
- Alternative combined fastening system (adjustment foot or claw)
The following tools are required for assembly:
- Jigsaw or circular saw
- Countersunk drill
- Countersunk screwdriver
-
Webbing clamp
Cordless screwdriver
Assembly of decking
Building a terrace construction requires a little skill, but it is also possible for a layperson and ultimately saves money. In any case, it is important to ensure the correct distance between the boards in order to have something of the terrace for a long time.
1. Preparing the floorboards
The planks must be adjusted to the correct length. Absolutely precise work is not necessary here, as the final cut is only made after the actual screwing with a jigsaw or hand saw.
2. Laying the floorboards
With the spacers placed in the gaps, the decking boards can be placed on the substructure and spread out. In any case, it is important to ensure that there is a sufficient distance from the house wall of at least eight millimeters so that the floorboards are not restricted in their freedom of movement.
3. Putting on the webbing clamp
Immediately next to the screw points, the floorboards must be clamped tightly with webbing clamps.
4. Drill holes
Each individual plank will now have at least two holes. The edges of the drill holes must then be lowered using the countersunk drill. Ultimately, the boards are attached by screwing them on both sides.
Tip:
To avoid tearing or splintering later on, a distance of at least six centimeters must be maintained from the ends of the boards.
Error when laying
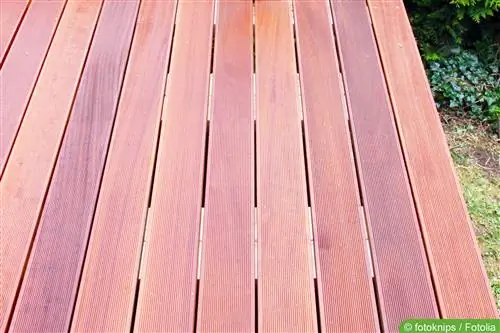
Mistakes made when laying floorboards can rarely be corrected afterwards. Laypeople in particular often fall into the same faux pas when laying. The following mistakes can be avoided by following simple rules:
1. Laying on unstable surfaces
A terrace is only safe on compacted and flat surfaces with a maximum gradient of three percent. Beams of the substructure must not be able to slip to the side. The result is one-sided sagging and slipping of the boards.
2. Too few support beams
If the distance between the individual support beams is too large, the floorboards will break through. Puddles of water also remain for longer and damage the entire structure. The optimal distance between the support beams depends on the planks.
Tip:
The rule of thumb is 20 times the thickness of the planks.
3. Direct earth contact
Damp soil or long contact with moisture will ruin the material, as wood is sensitive to rot. Planks made of WPC can withstand more, but there is also a risk of standing water. Contact with the soil must therefore be avoided at all costs and waterlogging must be prevented when constructing the terrace. A bed of gravel, for example, separates the garden floor from the substructure, while spacers ensure small contact areas between the support beams and floorboards.
Tip:
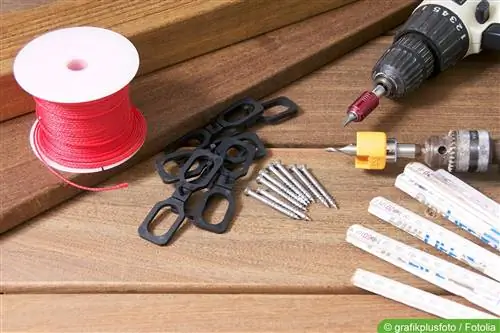
Special support pads made of plastic can help.
4. Missing joint spacing
Laying the boards too tightly can cause bulges in the material. Wood and WPC expand depending on moisture and temperature. How much the planks expand depends on the material. A joint gives the material enough space.
5. Incorrect screw connection
Incorrect screwing can cause black spots or cracks. It is also possible to arch the planks in length. Proper screwing not only creates an attractive appearance, but also increases the lifespan of the product. The use of stainless steel screws prevents corrosion and does not discolor.
Tip:
If the screws get in the way when they swell, cracks will form. Holes must always be pre-drilled and should be at least one millimeter thicker than the screw.

