- Author admin [email protected].
- Public 2023-12-17 03:39.
- Last modified 2025-06-01 06:48.
Low-growing dwarf or stunted pines create a particularly attractive or bizarre image in stone structures and heather gardens. With their unusual growth habit, the trees have adapted to harsh conditions. They grow naturally in exposed locations affected by strong winds. There are now various varieties that have been bred to produce dwarfism. They can all be cut back in a similar way.
Notes on cutting
Normally, dwarf pines do not require pruning. In order to achieve a certain shape or to promote he althy growth, pruning measures can be a useful supplement to care. The more often you prune the trees, the bushier they will grow. For older pines, one cut every three years is sufficient. Disinfect the cutting tool before use to prevent bacteria, viruses or fungi from settling in the wound. Place the blade as vertically as possible so that water drops roll off and do not accumulate on the wound. The cutting variants can be used on all dwarf pines, regardless of species and variety. The term dwarf pine is used for different trees:
- Pinus pumila: Japanese dwarf pine - shrubby pine
- Pinus mugo var. pumilio: creeping pine or dwarf pine - dwarf form of mountain pine
- Pinus mugo 'Mops' and 'Benjamin': low-growing varieties of mountain pine
- Pinus mugo var. mughus: stunted pine - mountain pine with prostrate to ascending trunks
Thinning for rejuvenation
Occasionally it may be necessary for the dwarf pine to undergo rejuvenation pruning. This is the case when the undergrowth needs to receive more light or individual branches are ailing. The season plays a minor role in this cutting measure. Saw off relevant branches if necessary. After a drastic pruning, the trees usually no longer look attractive. If the shape of the dwarf pine appears less attractive, a topiary is recommended. This is how you proceed with the rejuvenation cut:
- saw diseased or dead branches down to the base
- if branches are crossed, remove the weaker specimen
- Cut branches that hinder other shoots
Note:
Pine trees do not form new shoots on the trunk after complete branches have been removed. Therefore, be careful with all cutting measures and only remove as much as necessary.
Design through topiary
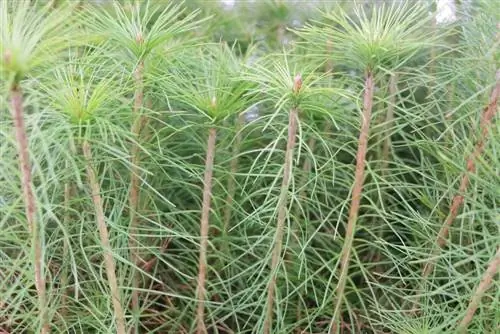
In order to promote the compact growth of the trees, you should regularly give your dwarf pine trees a shaping cut. Spring is best suited for this measure because then the candle shoots are still soft and not very woody. You can pinch off these shoots with a fingernail in May. The tree forms fresh buds and small needles directly on the wound in the same year. Overall, you should not shorten the shoots by more than two thirds so that the shrub forms new side shoots and grows bushier. The more often you shorten the candles, the worse your creeping pine will grow. All varieties of Pinus mollugo prove to be robust and can be subjected to this pruning regularly.
When tweezing, the young shoots are cut back in half so that new buds and branches form on the ends of the shoots. In this way you slow down height growth and achieve a particularly squat shape.
High trunk through branching
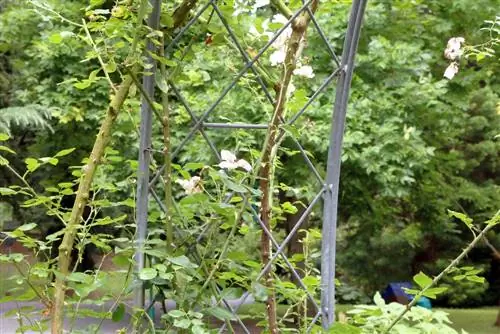
In order to grow a tree with a crown, you have to branch the tree. With this method, the lower branches are shortened down to the trunk. The height at which the crown sets depends on the size of your jaw. The relationship between trunk and crown should appear balanced. Please note that the tree produces an extremely large amount of resin after this pruning measure. It serves to close the wound and ensures that the interface does not become infected. If the trunk looks unsightly, you can cover it with climbing plants such as ivy or climbing rose. In order to keep resin release as low as possible, you should cut the tree in late winter. Before the new growing season, the sap flow is still limited.
Mini tree through bonsai design
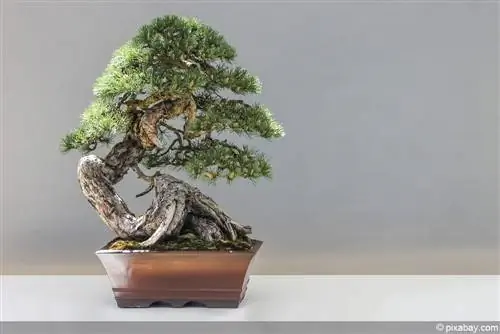
Forming a dwarf pine tree into a bonsai is time-consuming and requires sensitivity. Each branch must be viewed individually, as the tree will not sprout as desired if it is not carefully thinned out. The basic structure is designed in May by editing each individual candle. This shaping is done using the special turning technique. Slightly bend the point to which you want to twist off the shoot. The drive piece is removed by gentle turning movements. Be careful not to remove the candle completely. About half a centimeter to one centimeter should be left on the branch. As the year progresses, the bonsai needs further pruning:
- Design cutting of the needles between July and August
- Pluck old needles from the previous year or brown needles in October
- remove unwanted buds in autumn with tweezers
- work on the buds again the following spring
Root cutting
When cultivating in a pot or designing a bonsai, regular pruning of the roots is recommended. This keeps the tree compact and he althy. The roots are trimmed as part of repotting, which can be done every two to five years in the spring. When cutting, orientate yourself on the crown. There should be a balanced ratio between the root network and the leaf mass so that the tree can supply all needles with sufficient water and nutrients.

