- Author admin [email protected].
- Public 2023-12-17 03:39.
- Last modified 2025-06-01 06:48.
Stop disposing of your organic waste with household waste. Leave this task to busy compost worms, which, in close association with microorganisms, transform kitchen waste into a rich fertilizer for balcony and house plants. You don't need to have your own garden, as worm castings can be found on every balcony without the annoying smell. Significant investments are not necessary because anyone can build a vermicompost themselves, as the following construction instructions document. Find out here how to make worm castings that will drive your plants to peak performance.
How a worm fern works
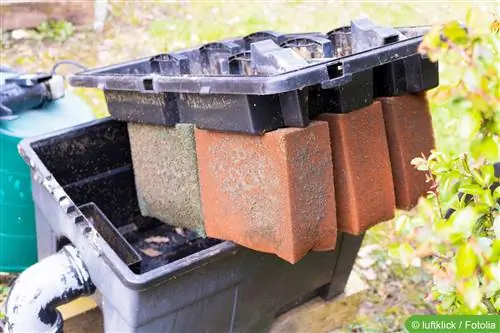
In a vermicompost there is a perfectly coordinated community of compost worms, bacteria, fungi and other microorganisms, all of which work together. If the tiny inhabitants find optimal conditions in a worm bin, they work tirelessly to convert organic waste into valuable humus. The process takes place in several levels:
- The first level contains all organic (uncooked) kitchen and plant waste
- The second level offers the compost worms sufficient living space to reproduce
- ripe vermicompost collects on the third level
- the fourth level serves as a collecting basin for worm tea, a rich liquid fertilizer
Although the conditions in a vermicompost are similar to those in the garden compost heap, the organic material is much more densely populated with individuals. The result is faster rotting without any unpleasant odors. In addition, a implementation for ventilation is not necessary.
Build your own worm composter
You can purchase ready-made layer composters commercially or you can construct a worm fern according to your individual ideas. The following construction instructions serve as a starting point:
Material requirements
- 4 stackable wooden or plastic boxes with a volume of approx. 14 liters
- 1 tight-fitting lid
- 1 drain valve for removing worm tea
- 2 used flower pots as spacers
- 1 drilling machine
- 1 hand milling machine
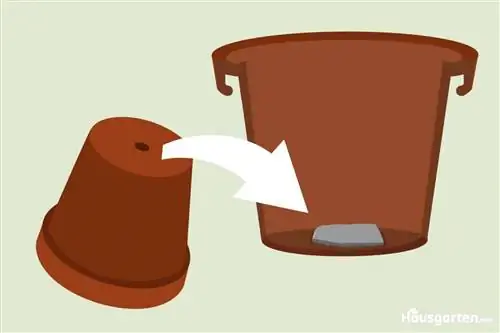
The first step is to mill a hole on the short side of a box. This is where you mount the drain valve including the associated seal.12 bottom holes are drilled into each of the 3 remaining boxes so that the moisture can drain away. The level with the drain valve does not receive any drill holes. Place the two spacers here so that the worm tea that has accumulated here does not flood the next level. Before you stack all 4 levels on top of each other, the level composter is loaded.
Tip:
Only transparent materials are suitable for the housing because compost worms shy away from light.
Prepare and fill the level composter
So that the fully assembled level composter turns into a worm fern, the compost worms should quickly feel at home. How to prepare the vermicompost for the worms to move in:
- line one of the three perforated boxes with 5 layers of newspaper
- moisten the paper with water from the spray bottle
- fill in crumpled newspaper and shredded egg carton and also moisten
- spread a layer of damp newspaper over it
Now the compost worms can move in. For a level composter of the size described, around 500 copies are sufficient, which can be purchased from specialist retailers. The worms are delivered in a special substrate. Spread the new residents along with the soil on the damp layer of newspaper and add the first 100 grams of kitchen waste. A moistened jute bag without a handle serves as a cover. The two remaining boxes are now stacked on top, with the top level closed with the lid. A good location is a place near your kitchen, where the temperatures fluctuate between 15 and 25 °C.
Tip:
In principle, conventional earthworms are suitable for vermicompost. Special compost worms (Eisenia foetida), which process half of their body weight every day into valuable worm humus, work much more efficiently.
Instructions for making worm castings
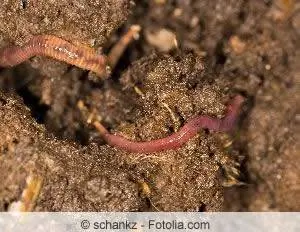
If the pioneer population in the composter consists of 500 worms, they weigh around 200 grams. This means that they can process around 100 grams of kitchen waste every day. Subsequently, the compost worms grow and multiply, so that humus production expands. The following ingredients are on the menu of the busy workers:
- all fruit peels, vegetable and garden waste
- Filter bags with coffee grounds, tea bags without metal clips
- dried leftover bread, moist, ground grain, oat flakes, rice
- Manure from small animal stables, such as rabbits, hamsters or mice
The finer the material is shredded, the more effective composting will be. Fill the vermicompost from the side alternately every week. This way the worms have the opportunity to move to the opposite side if the rot gets too warm. Temperatures of more than 30 °C are fatal for them. Avoid adding cooked leftovers, meat or dairy products. Glass, plastic and metal have no place in vermicompost.
Tip:
Once the first layers of newspaper have been used up, add moist paper regularly. In this way, the balance between nitrogen and carbon in the worm humus is stabilized.
Balanced moisture balance
Worms are not lung breathers. Compost worms absorb oxygen through their skin. As a result, they prefer a slightly moist environment. Therefore, spray the organic material a little with water each time you load it. Thanks to the collection box, excess water will drain there.
Harvesting and use of worm castings
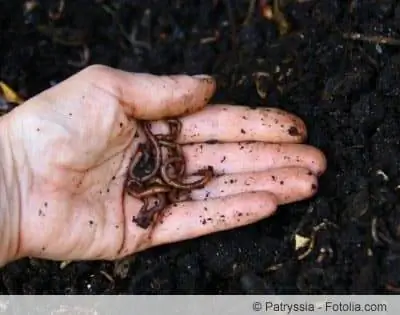
On average, mature vermicompost can be harvested 2 to 3 times per year. This is located in the floor box above the reception level. Since the hard-working workers are in the upper two levels, no worm is harmed or even removed during the removal. After you have harvested the humus, the box is cleaned and now takes on the function of the top floor. How to use the homemade vermicompost:
- Use as an optimal soil improver in beds and planters
- replaces any commercially available plant fertilizer
- Always work lightly into the top layer of soil
- Enrich peat or sand with 25 percent worm humus and use it as growing soil
In addition to the worm humus, the worm fern provides a rich liquid fertilizer, aptly called worm tea. This is the liquid collected in the lower level where the drain valve is located. Check the fluid level there once a month. To use worm tea to provide nutrients for plants, it should be diluted with water in a ratio of 1:10.
Conclusion of the editors
A vermicompost offers the excellent opportunity to compost organic waste without having your own garden. Busy compost worms live here and convert half of their body weight into valuable humus every day. Since there are no annoying smells here, there is space for a worm fern on every balcony. Without extensive investment, anyone can build their own vermicompost, produce their own worm castings and save money in the process.
What you should know about vermicompost in brief
- Not every fertilizer has an exclusively positive effect, which is why ecological fertilization is becoming more and more fashionable.
- With ecological fertilization, not only the plants benefit, nature also benefits.
- Above all, there is no over-fertilization, which is usually accompanied by the displacement of other plant and animal species.
- Worm humus is the best means of ecological fertilization. Worm humus refers to the excretions of earthworms.
- And that's actually quite a lot: about as much as your own weight, every day.
- Worm humus is rich in nutrients, enzymes and microorganisms. Nature's miracle cure, so to speak.
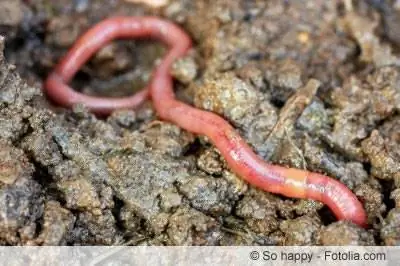
Some gardeners have probably already noticed: If there are a lot of earthworms in the soil, the soil has a better climate and plant growth is promoted. Not only the worms themselves, which loosen up the soil, contribute to this, but also the excretions of the earthworms, i.e. the worm humus. This also makes the soil looser, which means that water can be stored better and the soil is also more fertile and better mixed. Because worm castings are such a miracle fertilizer, experts also call it black gold. Worm castings are absolutely free of any artificial additives - it is purely natural. Unfortunately, as a purely natural product it is not available in unlimited quantities. But it is also possible to make your own worm castings:
- You create ideal conditions for earthworms in the garden or keep suitable worm species in special worm boxes.
- However, you don't have to be afraid of unpleasant smells caused by worm humus. It is completely odorless.
- The most valuable worm humus is achieved by using compost worms in conjunction with pure, well-seasoned horse manure.
- The commercially available worm humus is also produced using this process.
- When fertilizing with worm castings, you should keep an eye on the plants' needs despite its good tolerance.

