- Author admin [email protected].
- Public 2023-12-17 03:39.
- Last modified 2025-01-24 12:45.
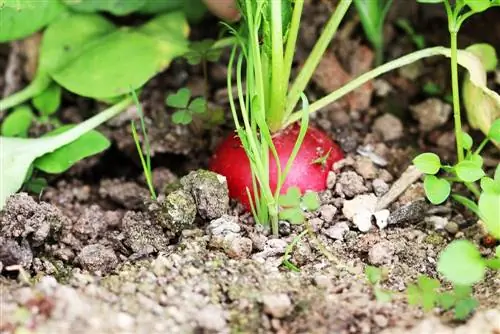
Radishes are the perfect vegetable for beginners because success is visible after just one month. However, it is not uncommon for failures to occur during the growth phase, resulting in a smaller harvest than expected. An important aspect of cultivation is pricking out. Plants that grow too densely must be separated, as this is the only way to ensure a tasty harvest.
Choose varieties
The yield depends largely on the variety. There are spring, summer and fall varieties that should be grown in their respective seasons. As short-day plants, spring and autumn varieties in particular require less light than summer varieties. They thrive best when the days are as short as possible. Excessive sun causes radishes to become smaller and woodier. They sprout very quickly because they use the nutrients from the tuber to form sprouts.
Tip:
Radishes are suitable for mixed cultivation, in which the plants benefit additionally. Place the plants between chives, strawberries, lettuce or beans to increase the yield a little.
Germination test
Even before sowing, the seeds allow an initial conclusion to be drawn about the size of the harvest. Do a germination test to determine the germination ability of self-collected seeds. In this way you can ensure the quality of your seeds and rule out failure due to non-germinated seeds. The test can also be carried out on purchased seeds. If you buy seeds from a certified specialist retailer, you will ensure high germination success and can forego the test. All you need for the germination test is two pieces of kitchen paper.
- Moisten wipes
- spread about 30 seeds between the crepe
- store in a mini greenhouse at around 20 degrees Celsius
- Keep kitchen paper constantly moist
Optimize yield
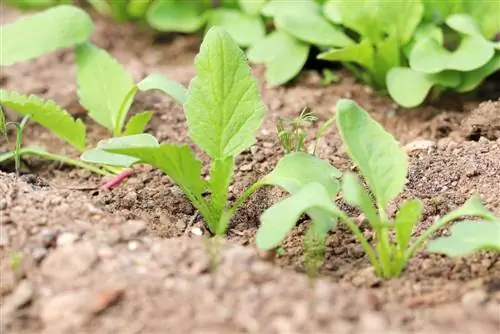
The first seedlings appear after about two weeks. Now you can count how many seeds have germinated. If only every second seed shows cotyledons, you should sow two seeds per planting hole. Adjust the sowing rate to your counting result. Radishes are not only suitable for sowing in beds. The seeds can also be grown in the balcony box. You can also achieve good yields in the raised bed, as this offers deeper soil than the bed.
Sowing
Before sowing, the substrate must be prepared because radishes prefer a crumbly soil with good permeability. After you have raked the soil, you can create one centimeter deep channels in the bed. The rows should be ten centimeters apart so that the plants can spread easily. A grain is placed four centimeters apart. After sowing, the seeds are covered with soil and lightly pressed. Subsequent watering is necessary for successful germination. To increase germination success, you can cover the bed with a transparent garden fleece.
- Row seeding simplifies pricking out
- the richer and looser the soil, the closer the distance
- Information on the bag are recommendations for normal floors
Sowing time
Radish plants are grown in cold frames from February or March onwards, as it is still too cold at this time to sow directly outdoors. If conditions permit, you can also scatter the seeds in the bed from mid-March. Due to the short ripening time of four to six weeks, you can harvest your first home-grown vegetables as early as spring. Sow one meter of seeds per week until your seeds are used up. This means you can harvest fresh radishes at any time over five to six weeks and don't have to worry about bulk yields that can't be eaten.
Tip:
Radishes should not be sown near cucumbers or melons. These plants extract water from the red tubers, so they taste woody.
Prick out seedlings
It is tedious to place each grain individually. It is not uncommon for several grains to share a planting hole. In this case, you should separate the young plants as quickly as possible as soon as cotyledons appear. If plants are too close together, they will compete for light and nutrients. The tubers have no space to develop. This results in your harvest being sparse. Radish seedlings are very sensitive to transplanting. You should therefore sort out plants that are too close together so that only one seedling remains in that spot. A steady hand is required because the seedlings that are supposed to continue growing are often affected.
Thinning instructions:
- sort out weak and puny seedlings
- Use tweezers
- Pull out the plant at the base
- Press the neighboring plant lightly with a pricking rod and stabilize it
Sort out young plants
To prevent the delicate neighboring plants from being damaged, you can let the seedlings grow for two to three more weeks. Even then, isolation is still possible because the plants have not yet developed a branched root system. Run your hand through each row and gently push the leaves to the side to estimate the distance between the stems. Imagine how much space a radish tuber would take up when ripe. According to this idea, excess plants are removed. Grab the young plant near the soil surface and pull it straight out of the ground.
Tip: The discarded plants do not have to end up in the compost. They are a delicious side dish in a salad.

