- Author admin [email protected].
- Public 2023-12-17 03:39.
- Last modified 2025-01-24 12:45.
Barbecuing, chilling, children playing, visiting friends and relatives, a terrace has to withstand a lot in the course of its life. It is therefore important that not only the right patio tiles are selected, but also the suitable material on which the tiles are placed. After all, you don’t want the terrace slabs to sag afterwards. This is not only annoying, but also poses a risk of injury to people and pets. If you don't want to lay your tiles with mortar, you have three alternatives to choose from: earth, sand or chippings.
Split
When laying on chippings or gravel, you should pay attention to the size of the gravel stones. A grain size of 2/5mm, 0/8mm or 5/8mm is recommended. To create the grit bed, follow the instructions below:
- Set guide or puller rails
- additionally tension masonry cord
- Pour grit onto surface
- pull along the guide rail
- Use a spirit level or long leveling plate for this
- Height of the grit bed: 30 to 50 millimeters
- Slope to the lawn (rainwater runoff): 2 to 3 percent (spirit level)
Once all the preparatory work has been completed, you can start laying the terrace tiles.
Sand
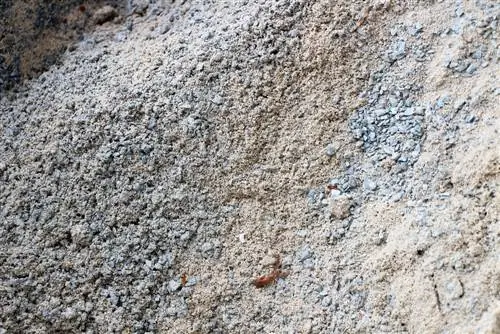
Building a terrace on sand is not recommended because sand alone is too fine as a supporting layer. Therefore, when laying on sand, a supporting layer must be created in preparation. Proceed as follows:
- create a load-bearing layer with a height of 20 centimeters
- Use gravel, grit or gravel with coarse grains
- apply a layer of 5 centimeters high on top of it
- use finer grit
- condense
- Place sand as the top layer on the grit
Earth
Loose soil is not suitable for laying patio tiles. Because there is a risk that the panels will subsequently collapse. If the soil is compacted, this mitigates the risk, but you should still not place the panels on the compacted soil, but on another load-bearing layer, such as gravel or sand.
Laying terrace tiles
Although patio tiles are made of many different materials, there are still a few similarities when laying the tiles. When you buy the terrace tiles, you should think about the format in which they should be laid on the terrace. For example, you can choose from the following formats:
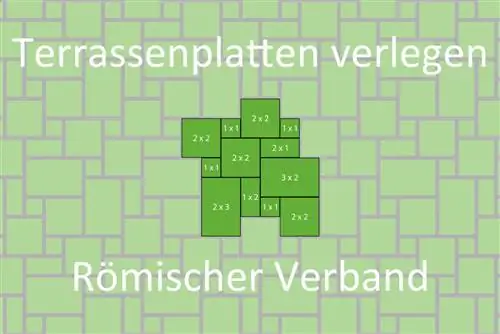
Roman Union
This installation format consists of four to six panels of different sizes in the basic format, which is then repeated. The soil appears varied, but not restless. The format is ideal if you want the terrace floor to have a Mediterranean flair. However, it should be laid according to a laying plan.
Half bandage
The half association becomes modern and straightforward. When laying, the panels in a row are offset by half their length. This gives the floor a slight “movement” but remains tidy.
Tip:
Variants of this format are thirds, quarters and the so-called wild formation.
Depending on which pattern or format you have chosen, start laying. This is how you can start
- in the middle
- near the house wall
- on the edge stones
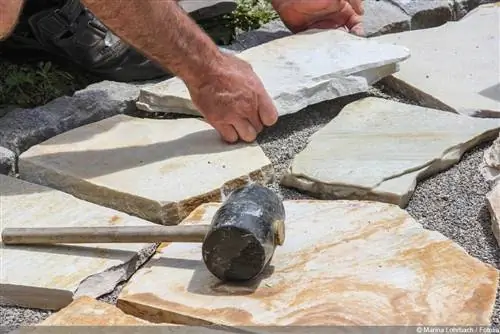
lying. To lay it yourself, you will need a rubber mallet in addition to the panels, with which you can tap the laid stone into place. If the terrace tiles are laid seamlessly, you should make sure that they are not clamped too tightly, as the tiles definitely need some movement. If laying with joints, the joint crosses serve as spacers for even laying.
Edging patio tiles
So that the bed does not sag or individual terrace slabs do not tip over at the edge, it is recommended to border the terrace with suitable edging stones. If you don't like an edge, you can also surround your terrace with an "invisible" edge. The following options are available here:
- Mörteilkeil
- Lay the outermost row in a drainage mortar
- Stainless steel or plastic profiles on the edge of the panel
Once the lawn has grown, the borders are no longer visible and you have a seamless transition from the terrace to the lawn.
Tips for buying patio tiles
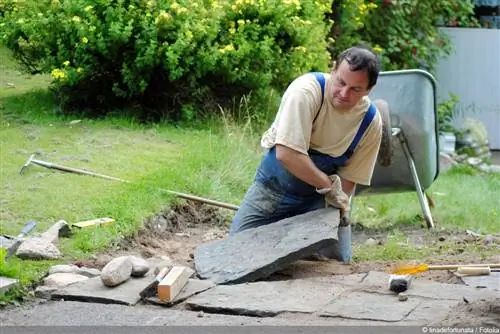
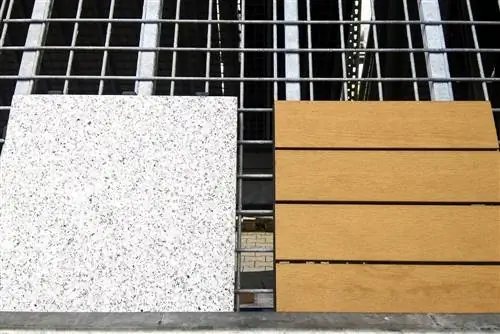
Terrace tiles are available in various materials, from almost raw natural stone to refined and polished stones to terrace tiles made of concrete, wood and plastic.
Plate format
Which format the slabs of your terrace should have is of course up to you. However, there are a few tips that can help you choose. With large panels, they come into their own more because there are fewer joints. Smaller formats have more joints, but the individual panels are often cheaper.
Check plates
Once you have received your patio tiles, you should check whether they are
- the format supplied is correct
- the delivery is complete
- the plates are damaged
It is important that you check the panels before laying them, as a complaint after laying is usually no longer possible. It is also annoying when the floor of the terrace cannot be closed because a panel is damaged.
Tip:
If you notice differences in the color of the patio tiles, then this is normal for tiles made of natural materials. To compensate for the slight differences, you should always use plates from different delivery boxes for a series.

