- Author admin [email protected].
- Public 2023-12-17 03:39.
- Last modified 2025-06-01 06:48.
Instead of throwing a worn wooden table away as bulky waste, you can instead refurbish it with little craftsmanship (and little money). Sanding and oiling solid wood correctly takes a lot of work, but you can be proud of the final result - after all, a freshly polished dining table is the social center of many homes. The following detailed instructions will make your work easier.
Materials and tools
Which materials and tools you need depends primarily on whether you want to sand the wooden table by hand or with machines and which oil you specifically use. That's why we've put together a general list of materials here that you can add to as you wish. You can find out which surface treatment options you have for a wooden table and what the respective advantages and disadvantages are under the individual bullet points in the article.
General material list:
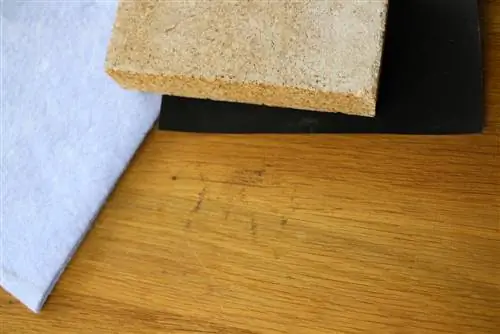
- Sandpapers of different grit sizes: 80, 120, 180, 240, 320
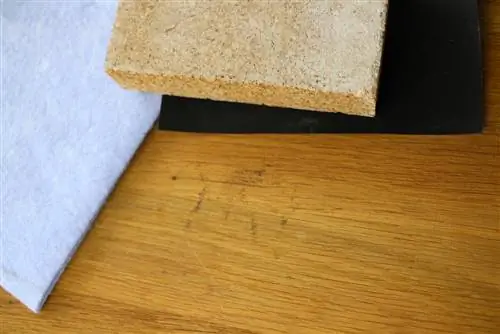
- a sanding block made of cork or plastic
- steel wool if necessary
- If necessary, a sanding machine (orbital sander or eccentric sander)
- Dust mask / face mask and safety glasses
- Wood oil (or other surface treatment agent)
- If necessary, paint stripper (liquid or as a paste)
- if necessary, wood paste for filling (available in different colors)
- Alternatively, hard wax sticks in the right color also work (soldering iron necessary!)
- soft brushes, sponges and old, clean cloths (all without metal if possible!)
- soft microfiber cloths are very suitable
- no dishwashing sponges with hard side
- if necessary a scraper or spatula
Tip:
Do not use sandpaper with a grit less than 80! Due to its coarseness, this causes marks in the wood that are very difficult to remove.
Estimated costs
Of course, you can also have the old wooden table restored by a professional - such as a cabinet maker or carpenter. However, this is quite expensive and, depending on the size and form of the reprocessing, costs several hundred euros. Hourly wages of around 35 euros or more are usual, to which the material costs must be added. However, if you get to work yourself, you will have to expect to pay up to 100 euros for materials and tools in a maximum case (e.g. because you need to rent a grinding machine).
The right place to work
However, under no circumstances should you restore the table inside the apartment. To do this, you should, if possible, look for a free, wind-protected place in the fresh air or work in a semi-open garage or workshop. The reason lies not only in the amount of dirt that develops - sanding a wooden table produces a lot of dirt that you certainly don't want in your home - but also in the wood stains that sometimes emit toxic gases. Furthermore, rags soaked in oil are a potential source of fire that should not be taken lightly.
Be sure to follow safety precautions
That's why you should definitely pay extra attention to these oily rags. Linseed and turpentine oil in particular tend to self-ignite at normal room temperature, which is why you should never simply ball up the substances after use and dispose of them with household waste. To reduce the risk of fire, it is best to proceed as follows:
- Wash the oily rags well under running water.
- Let them spread out to dry.
- Do not place them in direct sunlight.
- Alternatively, you can also store them lying in water.
You should also wear a face mask/dust mask to avoid inhaling the dust created by sanding. The protection also reduces the absorption of toxic gases. For the same reason, wearing safety glasses is strongly recommended.
Sanding the wooden table by hand
You should sand wooden tables decorated with carvings carefully by hand, as sanders would destroy the valuable decorations. However, sandpaper is not very suitable here: it is better to use steel wool for rough sanding work when working on narrow corners and edges. If you want it to be finer, you can also fold sandpaper of the appropriate grit or cut it into small pieces and stick it on an old toothbrush or something similar.
The right sandpaper
In general, the success of the project depends largely on choosing the right sandpaper. Basically, you need different grain sizes to sand and smooth a wooden table, starting with the coarse ones and choosing progressively finer ones in subsequent work steps. For a glossy finish, 320 grit paper is ideal; anything else is too fine. Which grit you start with - whether 80, 100 or even 120 - depends on the type of wood and the table surface. Basically, you should choose coarser sandpaper for hardwood tables and finer sandpaper for softwood furniture. Even if the table already feels quite smooth, you can avoid using 80 or 100 grit.
It depends on the abrasive
But it's not just the grain size, but also the abrasive itself that sticks to the sandpaper that is crucial to the overall result. Choose sandpaper that is as hard as possible and whose grain size can withstand a finger test. However, if it comes off easily, it is an inferior product. Sandpaper or sandpaper with a coating of quartz or flint is inexpensive, but wears out very quickly and is best suited for treating soft woods. On the other hand, papers with a coating of silicon carbide or corundum make more sense for processing wood.
Instructions - step by step
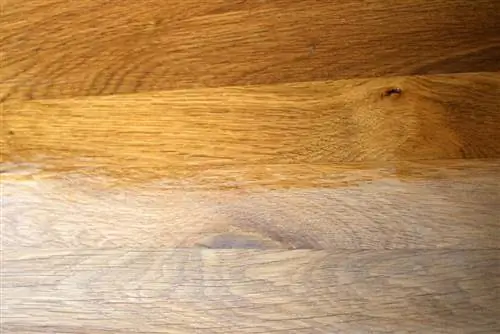
Carefully sanding the wooden table is the most important step, without which the wood cannot absorb nourishing oil. It's not just about roughening the material so that it can then absorb the applied wood oil and thus close the pores. Older coatings must also be removed thoroughly, otherwise the result will not be satisfactory. The problem remains that liquid coatings on wood that penetrate into the fabric are difficult to remove - once the table has been oiled, this measure can hardly be reversed. However, the situation is different with paintwork or veneers. Sanding also serves to remove unevenness and create a smooth surface.
And this is how it is sanded:
- Choose suitable sandpaper with the coarsest grit
- attach this to a sanding block
- Sand the table evenly with long strokes
- always work in the direction of the wood grain
- otherwise there will be unsightly scratches
- every now and then vacuum or wipe the dust
- beat the sanding block regularly
- Fill dents and deep scratches with wood paste or wax if necessary
- then let it dry and treat further
- now moisten the wood before each new sanding step
- wipe the table thoroughly with a damp cloth
- Let it dry and continue working with the next finer sandpaper
- remove dust every now and then
- after the last sanding cycle, the table is no longer moistened
- instead, clean it with a soft and dry cloth
- A soft brush or a vacuum cleaner are also suitable
Tip:
Change the worn sandpaper as soon as the grit is no longer sufficiently sharp. If changes are made too infrequently, you will ultimately have to sand more and work longer to achieve a satisfactory result.
Grinding machines make work easier
Larger table surfaces can be processed faster and more evenly with an orbital sander or eccentric sander. However, especially with the eccentric sander, you need a certain amount of experience so that the result is convincing. Do-it-yourselfers with little experience are therefore better off using an orbital sander, which is slower and therefore easier to handle. You can rent both machines on a daily basis from any hardware store or DIY store for a small fee, so you don't have to buy them.
But be careful:
Sanders are only suitable for smooth surfaces, not for decorated or carved wooden tables.
Removing old veneer
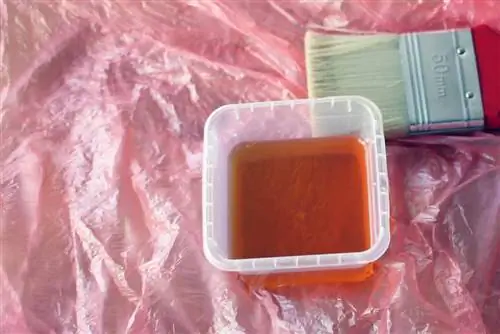
If a lacquered or veneered wooden table needs to be refreshed, sanding is often not enough. The first step here is to remove the veneer or varnish with a paint stripper before you can then sand and oil it. Apply the liquid paint stripper thickly to the table surface using a brush (Caution! This must not contain any metal to avoid a possible chemical reaction). You should definitely wear protective gloves to prevent skin irritation. Allow the stain to take effect for a few minutes - as soon as the surface begins to curl and form strong wrinkles, the agent and the loosened coating can be removed with a flat spatula. Then apply a second coat of stain to remove any residue. Now you can sand the table.
Oil a wooden table - this is how it works
Once all the sanding work has been done, the table is treated with wood oil (or another material such as wax or varnish). This step is necessary to protect the wood from signs of use and, if necessary, weather influences. Natural agents such as oil or wax are particularly suitable because they do not completely seal the wood. Instead, it remains breathable, which in turn benefits the room climate. Wood oil and wax are also the right choice for a natural look.
Suitable oils for woodworking
If you value naturalness, you should also use ecologically sensible oils. Many oils commonly used in the kitchen and household are suitable for this, such as olive oil, rapeseed and sunflower oil as well as walnut and linseed oil. These variants do not contain any chemical additives, but they have one disadvantage: they dry very slowly. If the wooden table is rubbed with linseed oil, you will need to allow about a week in warm weather for it to dry. Commercially available wood oils are significantly faster in this regard.
Tip:
Since walnut and linseed oil themselves have a very dark color, you should definitely not use these oils on light-colored types of wood - they would be irrevocably colored dark. However, they are very suitable for dark woods.
Apply wood oil correctly
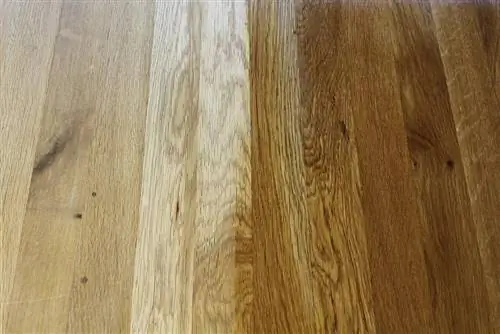
When oiling the wooden table, it is best to proceed as follows:
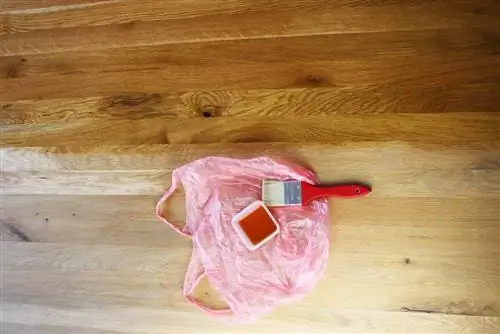
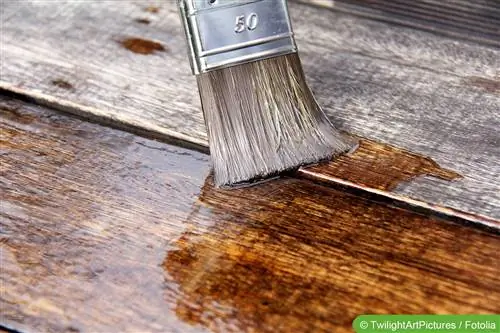
- Apply wood oil evenly to the wooden surface with a soft brush
- Always brush on oil, never just pour it out
- Always only treat horizontal surfaces so that the oil does not run down
- apply oil until nothing disappears into the wood
- there should be a real film on the table instead
- let the oil absorb for about half an hour to an hour
- then wipe off any remaining oil with a soft cloth
- always work in the direction of the wood fibers
- If this step is omitted, the surface will become sticky later
- Let the table dry at least overnight
- don't put anything on it - there will be pressure points
- The next day, lightly sand the table with fine sandpaper (at least 240 grit)
- carefully remove dust
- then oil again and let dry as described
- Perform the process a third time if necessary
You should then let the oiled table dry in a warm place for a few days to a week - depending on the oil used.
Tip:
Instead of wood oil, you can also use wax. This does not penetrate so deeply into the wood, can be removed later and ensures a water-repellent and therefore easy-to-wipe surface.

