- Author admin caroline@plants-knowledge.com.
- Public 2023-12-17 03:39.
- Last modified 2025-06-01 06:48.
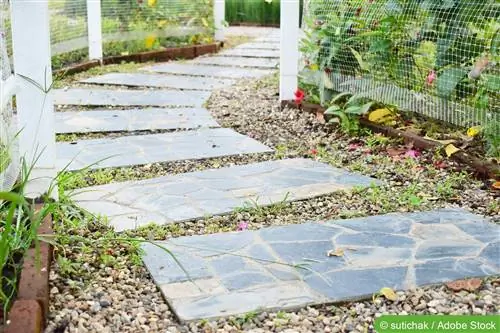
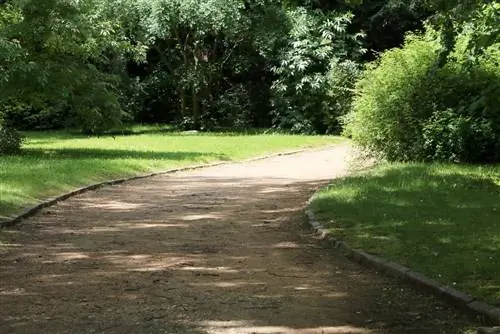
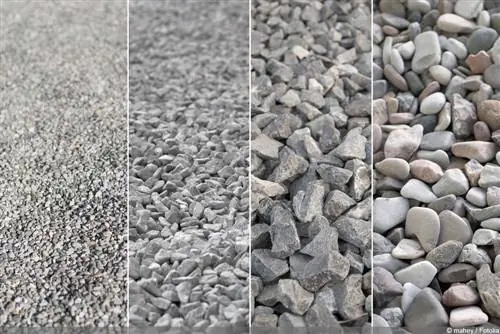
There are no limits to the design possibilities, so that depending on your taste and needs, a gravel path can be straight, curved or have a variable width. In addition, gravel has high drainage ability, which prevents the formation of rain puddles.
Prepare the garden path substructure - for a stable gravel path
Gravel paths are a real eye-catcher and fit harmoniously into any garden landscape as a decorative element. But a gravel path is also exposed to the weather and requires sufficient stability. Because pebbles can slip when driving or walking on them. However, in order for the gravel path to achieve good stability, it is recommended to use plastic panels with a honeycomb structure as a base, which ensure good fastening.
Preparation
First, the course and shape of the path is marked, which is done with a marking spray for a curved shape and with embroidery and a spade for a straight course. So that the edge stones can also be placed, the path should be dug out about 10 cm wider on each side.
Calculation tip
- For middle and lower classes you can expect around 8.50 euros per m²
- and 2 euros per piece for 50 cm long lawn edging stones
- The surface gravel can be approx. 15 - 20 euros per m² depending on your available budget
Tools and materials required
- Mason's cord or nylon cord
- Removal rails
- vibration plate
- Handsaw
- Stead
- Laying chippings or laying sand
- gravel
- Curbs
- Floor honeycombs
Creating a gravel path - individual steps
Once all the curves have been planned and the course of the gravel path has been determined, the steel sticks are hammered in at the corner points and the nylon or mason's cord is tensioned. It is important to ensure that the cord is tensioned using a spirit level at the same height as the upper edges of the path boundary will later be. To ensure that the cord maintains tension, you can proceed as follows:
- first tie a loop and then pull the loop around the embroidery
- now pull on the tension and then wrap it three times from bottom to top around the next embroidery piece
- lift the tensioned cord with your left hand
- and pull the end of the shear underneath with your right hand
- Now pull the left side down again so that the nylon cord clamps itself in place
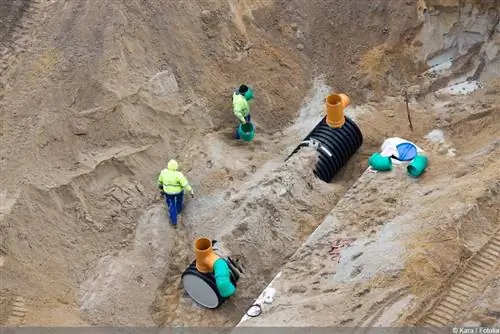
- First, the ground is sharply cut with a spade along the already stretched cord. Now the path area is excavated to a depth of 15 cm to 20 cm. If the gravel path is intended for heavier loads, the surface should be sufficiently load-bearing and approx. 35 cm deep. If it is designed to be used by car, a separate structure of around 60 cm is required, but this depends on the local ground conditions. The resulting excavation can either be distributed in the garden or picked up by a container service.
- So that the gravel path has a side boundary, lawn edging stones are dug into the gravel bed and driven in. The lawn edging stones must be checked again and again for an exact vertical alignment. The height of the left boundary edge depends on the height of the right edge and a curve is planned using round palisades.
- The excavated area is now filled halfway with antifreeze gravel (grain size 0/32). Then tamp the sand thoroughly with a compactor that has a heavy metal base plate in the form of a stamp. The gravel layer is followed by a middle layer of 7 cm to 10 cm of laying chippings or laying sand, which is leveled and also compacted.
- Now the floor honeycombs are laid. It should be noted that there is a layer of gravel of 2 cm above the honeycombs. If you don't want to use honeycomb floors, you should lay a layer of garden fleece between the middle and upper layers to prevent weeds and grass from growing through the gravel path from below.
- If honeycomb floors made of plastic material are used, they can now be easily cut with a foxtail saw. In order to use all the plastic material, the cut pieces should be laid individually.
- Once the honeycomb mats have been completely laid, the gravel filling can be distributed just below the lawn stone edges. Due to the stability of the mats, they can now be walked on but not driven on.
- So that the honeycombs are completely filled, the gravel is evenly distributed and incorporated using the back of a rake.
- Once the area is finished, the edges surrounding the gravel path can then be decorated with plants, for example.
Caring for a gravel path
Gravel paths look attractive, can be used flexibly, can be wonderfully combined with other path surfaces and give any garden a fascinating visual effect. Due to the material, this type of path also requires more complex maintenance than slab paths, for example. Even if garden fleece or film is used, weeds can still form and have to be removed regularly so that the path retains its well-kept appearance.
What you should know about creating a gravel path in brief
A gravel path in your own garden is a very natural and inexpensive alternative to paved and slab paths. Creating a gravel path is relatively easy and can be done without large and heavy machines. However, creating a gravel path requires some work. In terms of design, all shapes are possible, so a round, organic path with variable width is easily possible. The advantage of a gravel path is that no puddles can form even when it rains, as water can flow downwards.
Plan route
- Before the gravel can be piled up, the shape and course of the gravel path must first be marked.
- This is done either with a spade, with a marking spray or by pulling strings.
- The path area is then excavated to a depth of approximately 15 centimeters.
If you have enough space elsewhere in the garden, the resulting soil can be layered into a wall and offers a nice place for later planting. If this option does not exist, there are container services that travel around the world.
Apply base layer
- In order for the gravel path to have the necessary stability, a base layer is necessary.
- As a rule, a layer thickness of 10 to 13 cm is completely sufficient.
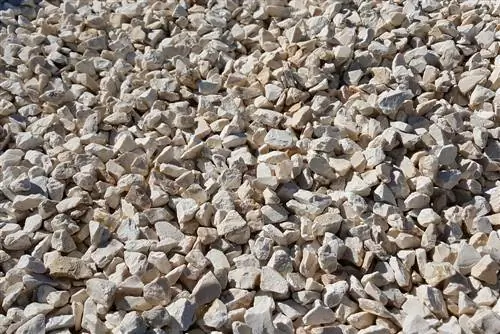
- Mineral mixtures or recycled gravel, which are available in building materials stores, are used for this.
- This base layer is filled up to the upper edge of the excavated trench and compacted with a hand tamper.
If it is a larger road area, renting a vibrating plate can make sense and be a pleasant relief. Building materials dealers rent out such equipment for as little as 30 euros per day.
Apply gravel surface
- Before the gravel surface can be piled up, a layer of garden fleece should be applied.
- Garden fleece prevents weed growth on the gravel path and can be easily laid out and cut to size with standard scissors.
- Once this is done, the garden gravel is piled up.
By compacting the base layer, a layer of gravel of two to three centimeters must be expected. This is just the right height for a gravel path, as a thicker layer of gravel would cause your foot to sink in when you step on it. For a gravel path you should calculate costs of 9 euros per square meter.
Conclusion
Paths made of gravel are suitable for garden design. They are an inexpensive alternative to other types of paths and allow water to drain away easily. If plastic honeycomb floors are used to create a gravel path, it will have a firm and stable hold so that it cannot sink. In addition, various design elements such as patterns or circles can be incorporated and different colors of gravel can be used. Even though gravel paths require more maintenance to maintain their well-kept appearance, they are a real eye-catcher in every garden.

