- Author admin [email protected].
- Public 2023-12-17 03:39.
- Last modified 2025-01-24 12:45.
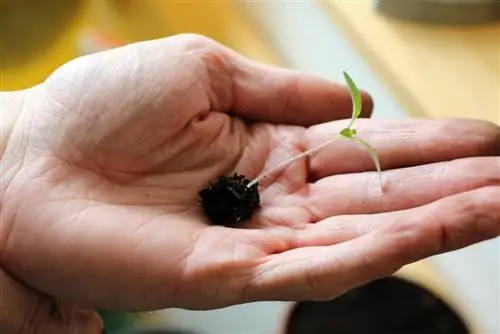
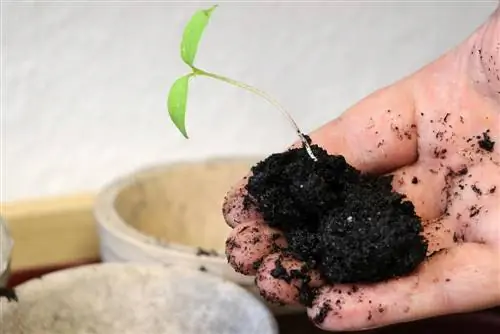
Tomatoes like it warm. They belong to the nightshade family, are real children of the sun and need a lot of warmth to germinate and grow. If you do not want to buy finished young plants, grow them on the windowsill or in the greenhouse at 18-20°C in early March to early April. Seed trays with covers or heatable mini greenhouses are cheap for growing indoors. Prick the seedlings individually into small pots as soon as they have developed the first leaves.
Don’t plant too early
Warm April weather tempts you to plant out, but it's better to follow tradition. The tried and tested planting date is after the Ice Saints, from mid-May. Harden off the plants beforehand by placing them outside in a sheltered spot on warm days.
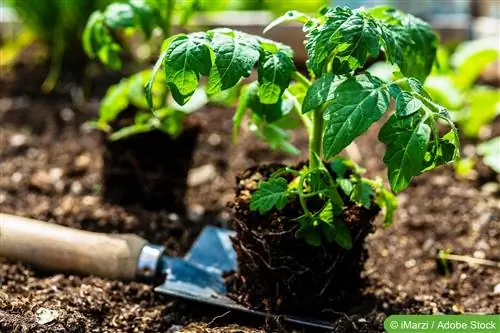
- You can plant tomatoes in the ground up to the lower leaf base, then additional roots will form at the base of the stem. Plant with 70-80 cm row spacing and 50 cm in row. Bush tomatoes can be a little more crowded.
- To protect young plants from the cold, there are traditional English cloches or “Victorian bells” in a modern plastic version or simple tomato hoods.
Bars and supports
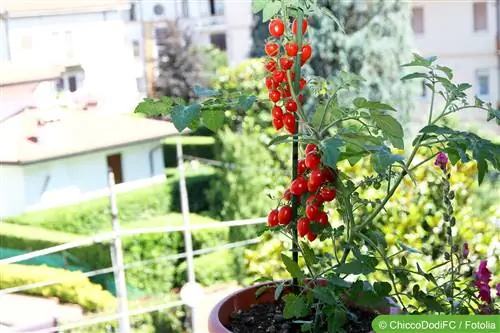
Almost all tomatoes need a support for tying up. Spiral rods made of galvanized metal or bamboo rods, 1.5-2m high depending on the height, are well suited. When planting, stick them firmly into the ground right next to the young tomatoes, and later tie the growing stems loosely at 20-30 cm intervals.
- If you tie three or four poles together at the top like tent posts, similar to pole beans, you get a particularly stable construction. Plus, this “teepee” looks pretty, especially if you plant the tomatoes in the ornamental garden.
- Bush tomato varieties such as 'Balkonstar', 'Patio' and 'Tiny Tim' grow low, bushy and compact. You don't need any support. But if the shoots lean towards the ground under the weight of the fruit, they should be tied to short sticks.
Water supplies
Tomatoes need lots of water and water regularly. To ensure consistent supply, dig a few small flower pots around the plants and fill them with water every day. It slowly seeps through the drainage hole to the roots. You can also cut off the bottom of a 2-1 plastic bottle and stick it neck down in the ground as a water reservoir. Refill them every day.
During the growing season of the plant and fruit, tomato plants need regular fertilizer. Dissolved mineral liquid fertilizers have proven to be effective here. Also recommended are nettle and comfrey manure and cattle dung dissolved in water
Mulching is beneficial
Due to the necessary wide planting distances, there is a lot of free ground space left between tomatoes. Cover these with mulching material such as grass clippings, mown green manure plants or bark humus, to which a handful of horn shavings are added. The mulch layer can be up to 5 cm thick. This suppresses the germination of weeds and reduces water evaporation.
Tomatoes in mixed culture
- Good tomato neighbors are beans, cabbage, leeks, parsley, radishes, celery and onions.
- Tomatoes grow poorly next to peas, fennel, cucumbers and beetroot.
- Plant marigolds next to the tomatoes, this reduces the whitefly infestation.
Remove miserliness
Check your tomato plants regularly for small side shoots that appear in the leaf axils. When these so-called stingy shoots develop, the tomato uses a large part of its energy to form shoots and leaf mass and produces fewer fruits. Break out these shoots early. This technique is called stripping.
But leave the axillary shoots of bush tomatoes standing, because fruit is also formed on them
Prevent late blight and brown rot
One of the gardeners' worst nightmares is a nearly ripe tomato fruit that suddenly develops large, brown spots. The culprit is late blight, which is caused by a fungus. It can appear on the leaves earlier. But fruit infestation is particularly common in late summer, when the fungus finds optimal conditions in rainy, warm weather.
- Nowadays, many gardeners put up foil roofs on high poles over their tomatoes as soon as periods of rain occur. Attach such films high enough so that the air can circulate well.
- Air-permeable tomato covers are primarily pulled over the plants to improve the ripening of the fruits in cool weather. They can also offer a certain degree of protection against the pathogen, but in the worst case the fungus is favored by the warm, humid microclimate under the hood.
- When buying seeds or plants, look for varieties that are as resistant as possible, such as 'Phantasia' or 'Philovita'. Grafted tomato plants, which are becoming increasingly available, are quite robust against various diseases.
- In the past, gardeners often tried to stick two fine copper wires crosswise through the base of the stem. Although not scientifically proven, it could be that copper dissolves in the plant sap, which protects against the fungi. For a long time it was said that you could easily grow tomatoes in the same place every year. We now know that the fungus can survive in the soil for a long time. Therefore, change the bed every year.
Never plant potatoes before, after or near tomatoes. The same pathogen causes late blight and can survive in tubers that are left in the ground.
Special fertilizer for he althy fruits
When the tomatoes start to bloom, you can dissolve 2 teaspoons of Epsom s alt in 51 water and water the plants with it. Magnesium and sulfur contained in Epsom s alt promote he althy fruits.
Harvest your own tomato seeds
Especially older varieties that you want to preserve can be easily propagated using self-harvested seeds. Modern F 1 varieties, on the other hand, are not suitable. First, put some water and the flesh of a ripe tomato in a bowl. After a short time, a whitish bacterial film will appear on the surface. After about 36 hours, add a little more water and stir the whole thing. During fermentation, the seed separates from the pulp and sinks to the ground. Then strain the pulp, rinse the seeds clean under cold water and let them dry on kitchen paper.

