- Author admin [email protected].
- Public 2023-12-17 03:39.
- Last modified 2025-01-24 12:45.
There are many methods to create a garden path. The following ideas are quite inexpensive and can be implemented quickly; no concrete foundation is required.
General Instructions
In order to be able to move freely in the garden without having to walk over flower beds and grassy areas, it is advisable to create paths. With a paved garden path, your shoes won't get dirty even in bad weather and gardening will be easier to do. When planning, it is important to remember that the paths are robust and have a long service life. Traditionally they are often made of paving stones and concrete, but these methods involve strenuous work and high costs for materials. In addition, a solid substructure is required when laying heavy building materials. Otherwise, damage could occur due to frost or parts of the path could sink due to persistent rainfall. As an alternative, there are many other ideas that can be implemented quickly, easily and cheaply.
- First plan the course and depth of the path
- A width of around 60 cm is sufficient for garden paths
- Dig depth according to the selected material
- Curved and curved path looks natural
- Design straight lines for geometric gardens
- Set a slight slope for rainwater to run off
- Natural stone and wood need a solid base
- A compacted bed of gravel and sand is ideal
- Weed fleece prevents plants from overgrowing
Wood chips
Wood chips have a natural character and can quickly be piled up to form a path in the garden. The material is easy to transport and process. However, wood chip paths do not last as long as stone paths and there is a risk of them being washed away by heavy rain. The wood chips can be obtained from hardware stores and garden centers, in bags with a volume of 40 to 50 liters. Some recycling centers also offer them loose for you to pick up. Over time, the material can begin to rot, especially if there is not much sun shining on the garden path. Therefore it is not particularly suitable for shady locations.
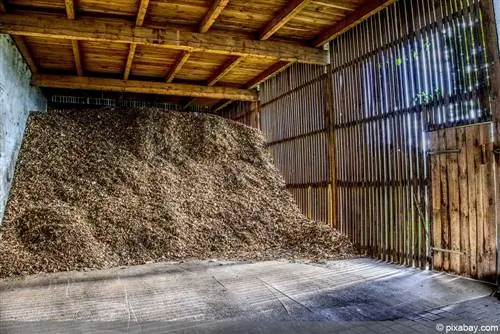
- You can choose between natural and dyed versions
- Can sometimes fade after a few years
- No exact procedure is required when creating
- Even sharp turns are easy to make
- The optimal height is at least 10 to 15 cm
- Place with some gravel or small pebbles
If the wood chip paths directly border a lawn, a boundary must be set up around the edges. With a border made of elegant stones, the individual pieces of wood do not move.
Wood
Wooden paths are a natural solution for various garden areas and form varied patterns, depending on the specific grain of the respective type of wood. They are particularly suitable near garden ponds and as wooden walkways over uneven surfaces. Somewhat skilled do-it-yourselfers can cut the required pieces of wood themselves and design them as desired. The wooden planks used must not be placed directly on the ground, otherwise they will rot very quickly. Furthermore, the wooden path should, if possible, be in the sun or in light-flooded partial shade. Otherwise, persistent moisture will cause it to swell and become slippery. Only resistant and long-lasting hardwoods should be used, for example oak, robinia and tropical woods. In order to protect the environment, it is advisable that the material chosen for the path comes from sustainable forestry.
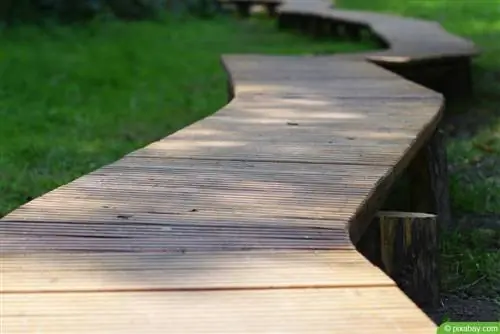
- Ideal for natural and Japanese gardens
- Create a water-draining substructure for ventilation
- Cuboids or long pieces are possible
- Make sure the cut is even
- Trunks should be sufficiently thick
- Anchor in the ground with impact sleeves
- Insert beam stubs at the height of the wooden walkways
- Attach cross members and longitudinal members to it
- Their length determines the width of the paths
Note:
In order to achieve a lively appearance when laying, different sizes of wood are available. The different wood grain also ensures interesting play of colors.
gravel
Gravel paths are associated with relatively low costs and the instructions are quite straightforward. The shape and width can be determined individually as required. The grain sizes vary greatly, fine pebbles are around 1 to 4 mm in size and coarse Rhine gravel are between 20 and 40 mm in size. Even larger pebbles are not suitable for sidewalks as they are difficult to walk on. Specialist retailers offer gravel in a variety of colors to choose from. The material impresses with its very high durability and easy processing. However, gravel paths tend to form marks and shift over time as you walk on them. In addition, cleaning is a little more complicated due to the many spaces in between, where a lot of dirt accumulates.
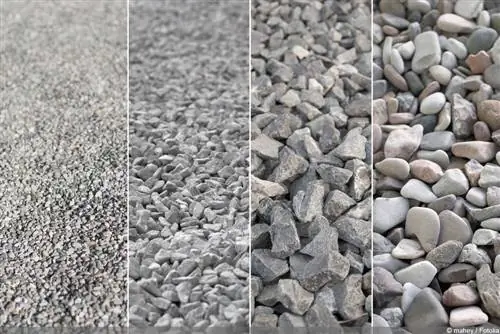
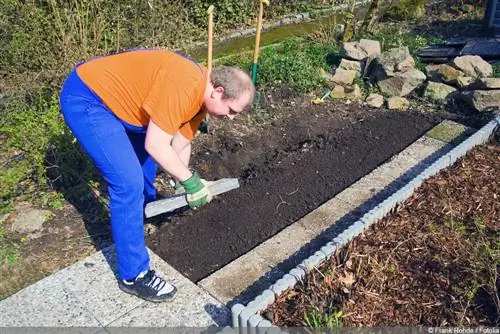
- First dig the path into the garden
- The ideal depth is 5 to 10 cm
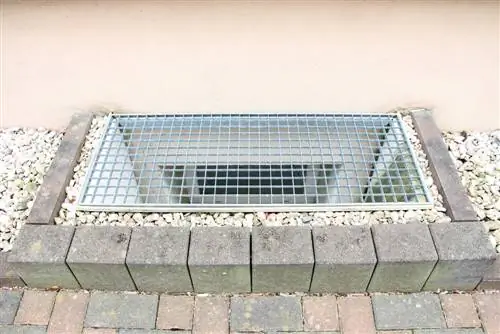
- Make a border to keep pebbles together
- Place visually appealing and larger curbs
- River stones and other natural stones are well suited
- Plan weed fleece as a substrate
- Cut a few centimeters wider than the path
- Stuck between and under the curbs
- Finally, fill with the selected type of gravel
Natural stone
Prefabricated natural stone paving consists mainly of bas alt or granite and is often cut into a cube shape. However, specialized retailers also offer other forms. In contrast to paving stones, every natural stone is different, resulting in a natural appearance when walking in the garden. There are different sizes and edge lengths to choose from, which can be adapted to the site conditions. This material for the garden path looks elegant, it is also extremely stable and very durable. However, the purchase price is quite high, and natural stones become covered in moss and therefore become slippery. Due to the weight and hardness of the stones, careful planning is required for laying them out. Furthermore, additional costs for transport must be expected. A substructure is essential as a basis to guarantee the stability of the paths.
- Flat and even natural stones are optimal
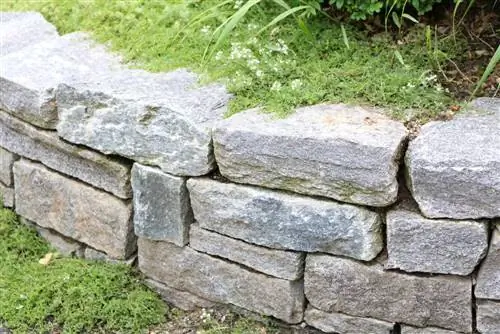
- It is important to have a stable edging made of higher stones
- The depth for footpaths ranges from 15 to 25 cm
- Excavate soil and compact subsoil
- Plan for a surface gradient of 1 to 2 percent
- Spread sand onto compacted soil as a base layer
- Compact well again, then lay stones
- Then fill the joints with soil up to the height of the stones
Tip:
If you suffer from back problems, laying natural stone yourself is not suitable. In this case, it would be better to have a professional take on the strenuous work.
Polygonal panels
Polygonal panels are original natural stones with many corners and edges. In contrast to the usual rectangular shapes, these appear more lively and loosen up the garden design. These panels do not have a fixed format, but are randomly shaped and laid. This makes it easier to plan and lay curved garden paths without using concrete as a base. However, even with this method, digging is the most strenuous and time-consuming part of the work.
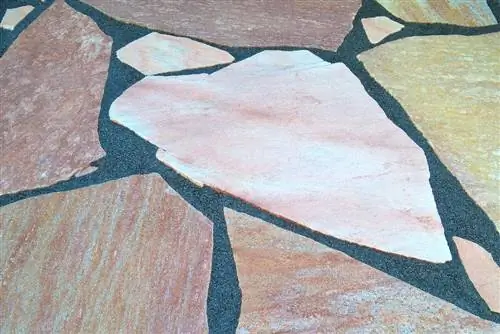
- Ideal for rustic and Mediterranean garden paths
- Procedure the same as with natural stones
- Determine and prepare the form and route in advance
- Lay out the shaping panels in a directional manner
- Shrinking panels that are too large with a stone saw
- Alternatively, bring it to the desired size with a hammer and chisel
- Fill larger gaps with small pieces of stone
- Laying from one end to the other
- Design a border using larger stones or plants
Split
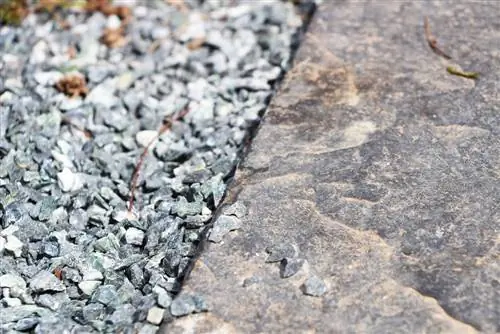
The gravel road surface is significantly more durable than gravel. This is coarsely crushed rock, which can be obtained in grain sizes of a few millimeters. In hardware stores, you can usually choose from bas alt, dolomite, granite, marble or quartz grit. Either as loose goods, in small packs or in large bags, so that requirements can be perfectly covered. As a result of use, uneven and gapped areas appear after some time. That's why it's important to always have a small supply of the material so that you can repair areas immediately. Chippings are colorfast and weatherproof, the material does not rot and is easy to process. However, it is quite heavy, which is particularly noticeable when transporting larger quantities for longer garden paths. There is also a susceptibility to contamination; dirt and garden waste quickly accumulate in the gaps.
- Similar procedure as with the pebbles
- Finally, coat with plenty of sand
- First spread a little grit
- Then spread a 1 to 2 cm layer of moist sand over it
- Sand with clay content is ideal
- Pour water carefully but generously
- Sand must seep through to the grit
- Both materials should bond well
- Finally, a 1 cm layer of chippings is added as a blanket
- If available, solidify with a vibrating machine
Bark mulch
The bark mulch consists of shredded tree bark and is a completely organic product. The material is neither fermented nor does it contain artificial additives. To guarantee freshness, the mulch should smell of essential oils when shopping. The product must neither be moldy nor contain branches or other chopped pieces. Although it is similar to wood chips, it does not contain any tree heartwood. The material is cheap and is quite easy to process. In addition, rainwater can seep into the ground unhindered. Over time, the mulch rots and becomes softer, providing a comfortable cushion for your feet when you walk on it.
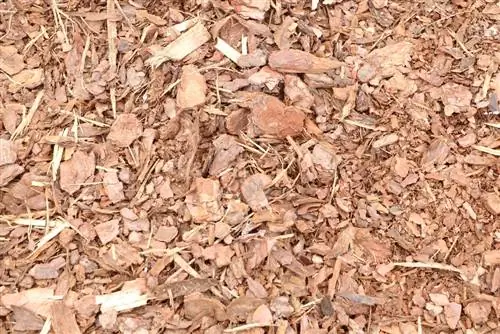
- Can be used on loose sandy soils without a base layer
- Dig out and fill a trough with a depth of about 10 cm
- For heavy clay soils, at least 20 cm deep
- Fill the trough halfway with sand
- This is how mulch dries much faster after rainfall
- Alternatively, apply chippings at a height of 10 cm as a substructure
- Lay weed fleece on top and then mulch as a finish

