- Author admin [email protected].
- Public 2023-12-17 03:39.
- Last modified 2025-01-24 12:45.
Gypsum plaster is a cheap option for plastering interior walls and can be processed smoothly as well as structured, painted or wallpapered. It is also very easy to mix and apply, making it ideal for inexperienced DIY enthusiasts. We reveal what to pay attention to when processing.
Prepare the substrate
So that the gypsum plaster holds well, the wall must be prepared accordingly. It must be clean, dry and free of dust and grease. It is also important that holes and cracks are repaired. If the wall is clean and dry, a primer or adhesive primer can be applied to sandy or other highly absorbent surfaces. This ensures that the plaster sticks to the wall and dries more evenly. This can also prevent cracks, for example.
Mixing
Before mixing, the floor, door and window frames are masked off or protected. This saves a lot of cleaning effort later.
When mixing, proceed as follows:
- Put the dry gypsum plaster into a bucket or a mason's trowel.
- Add water according to manufacturer's instructions. The smallest specified amount of water should first be added to the plaster.
- Plaster and water are mixed together using an electronic stirring whisk, a whisk attachment for the drill or by hand. The electronic mixer is recommended as it can produce a uniform mixture with the least amount of effort. Mixing attachments for the drill often have comparatively low performance and mixing by hand requires a lot of muscle strength and endurance.
- Water can be added little by little depending on your needs. The plaster should have the consistency of stiff quark, then it is best applied and processed.
Tip:
Only as much plaster should be mixed as can be applied to the wall in 15 to 20 minutes. Otherwise the plaster will become dry and hard, making it difficult to work with.
Apply
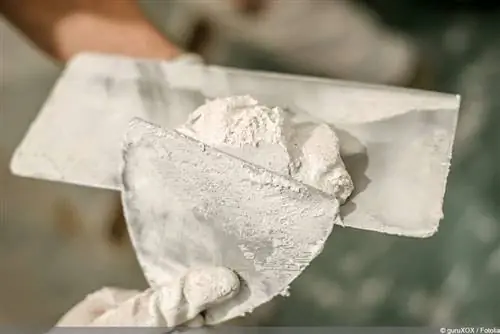
Applying it is very easy in theory. The plaster is pressed against the wall and smoothed over. In practice, however, it requires a very quick procedure because the gypsum plaster dries very quickly. And on the other hand, smoothing and even processing requires some sensitivity and practice.
If you're plastering a wall for the first time, it's a good idea to practice in an inconspicuous place beforehand. For example, on the section of wall in front of which large cupboards will later stand. Alternatively, a board can be prepared and set up and plastered over for practice.
In any case, plastering is carried out as follows:
- The wall is moistened so that the plaster holds better. It can be moistened with a paint roller or with a spray bottle.
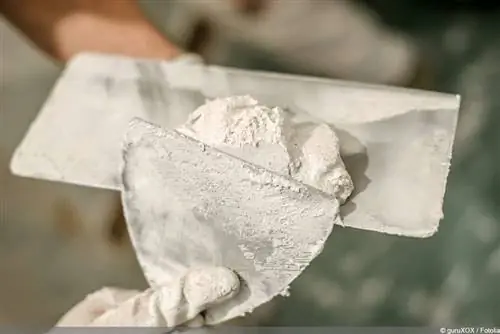
- The prepared plaster is picked up with a bricklayer's trowel and pressed onto the wall. A stainless steel trowel should be used, otherwise rust stains may form.
- The plaster is spread on the wall with a trowel. For narrower areas or door and window frames, we recommend using smaller trowels, such as the so-called cat's tongue.
- Steps 2 and 3 are repeated until the desired plaster thickness is achieved.
Tip:
Since it is important to work quickly in order to get an even surface without any steps, we recommend plastering with three people. One mixes, one applies and one distributes the plaster evenly. The use of quick-cleaning profiles or so-called plastering gauges can also make even application easier.
Smoothing and structuring
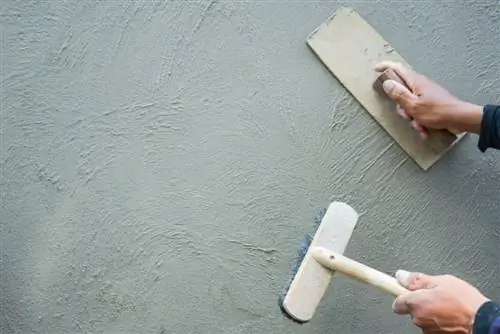
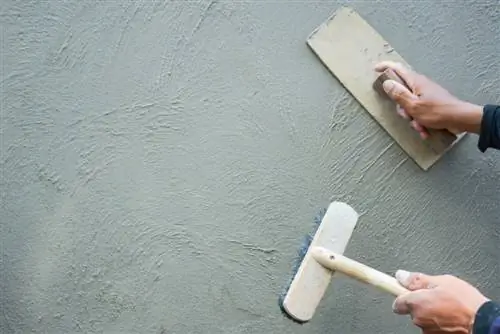
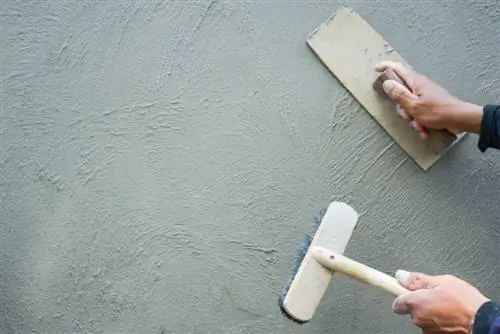
First you have to decide whether the gypsum plaster should be applied smooth or structured. To apply it smoothly, it is sufficient to remove the plaster with a grape brush to distribute it evenly. The grapeshot is a type of bar that, depending on the model, has handles. It is placed on the wall and pulled over it in long, even movements - so that a flat surface can be created.
Then the pressure-resistant but still wet gypsum plaster is smoothed using a felt float in circular movements. When the necessary condition of the plaster is reached depends on the temperature and humidity. The warmer and drier it is in the room, the faster the plaster becomes pressure-resistant.
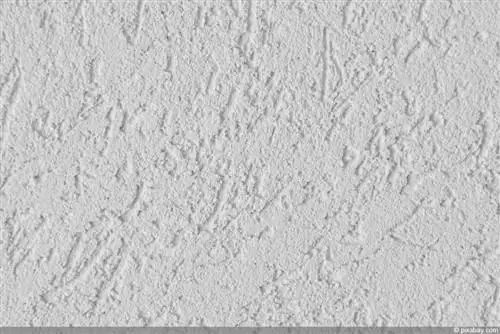
If the plaster is to be structured, do not use the felt float after applying and leveling it with the grape brush, but rather a suitable utensil. Structural rollers or nail boards can be used. Depending on the desired surface structure, the utensils can be painted horizontally, vertically, diagonally or in circular movements over the plaster.
Tip:
If the plaster has become a little too dry, it can be moistened again with a spray bottle for smoothing. If any unevenness is found, these can be sanded off with sandpaper.
Remove
If a wall needs to be re-plastered or if there is mold on it, the plaster may need to be removed. However, if there is mold, you can try to destroy it in advance with special solutions - because the plaster itself cannot become moldy. After applying the solution, when the wall has dried again, lime smoothing can also be applied. This acts as a type of natural fungicide.
If mold is the reason for the removal, this procedure can usually save it and keep the effort significantly lower. If there is no way around removing the plaster from the wall, the following instructions can help:
- If there are already holes or cracks in the plaster, these can be used as a starting point. If the surface is still intact, a starting point can be created with a hammer.
- Using a sturdy scraper and a hammer, the plaster can be removed from the wall piece by piece starting from this point. An electric scraper is an alternative and makes work easier.
- The remaining residue is removed with a sander.
Some time should be allowed for the removal, as it is often very lengthy and time-consuming. It is also important to ensure that the appropriate protection is provided, as the plaster produces a lot of dust. The following measures are recommended:
- Wear safety glasses
- Put on dust mask
- Protect hair and skin with appropriate clothing
- keep the amount of dust low with a vacuum cleaner or extraction system
Electric scrapers, sanders and extraction systems do not have to be purchased separately; they can also be rented in many hardware stores.

