- Author admin [email protected].
- Public 2023-12-17 03:39.
- Last modified 2025-06-01 06:48.
Applying structural plaster inside is actually very easy if a few factors are taken into account. From the selection and mixing to the application and structuring of the plaster, we have practical tips for do-it-yourselfers.
Selection
Structural plasters are available in different versions. The following points are distinguished:
Material
Mineral plasters are highly breathable and therefore promote a pleasant indoor climate. They are also comparatively cheap. However, mineral plaster must be prepared and mixed. This effort is not necessary with silicone resin plasters, as they are already available in buckets. On the other hand, silicone resin plaster is less breathable and is slightly more expensive.
Grain
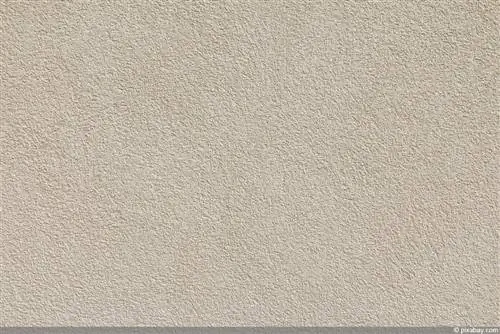
The grain size determines how fine or coarse the plaster is. Fine plasters result in a smoother surface, while coarser plasters have a more rustic appearance.
Toned down
Structural plaster is available already tinted. These variants are well suited for walls that are subject to greater stress. Scratches are less noticeable because they do not appear white but are the same color as the surface. However, all plaster variants, including the untinted ones, can be painted over several times.
Structuring - Tips
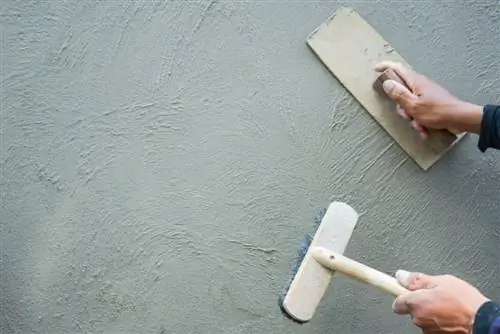
Structural plasters offer a wide variety of different surface structures. Waves or circles, plucked to create your own unique pattern, are possible. The following tools can be used as utensils:
- cleaning trowel
- Brush
- floater
- Structural rolls
Providers of various plasters also show how they can be structured and what is needed.
However, this should not only be based on visual preferences, because the type of structure also has a practical impact. To make the best choice, the following points should be considered:
Cleanliness
Deep grooves or protruding tips act as dust collectors and are difficult to keep clean. Spider webs can also get stuck in them more quickly. In rooms with a higher amount of dust, finer structures are the better choice.
Risk of injury
Small children in particular sometimes run their hands along the wall, catch themselves or can brush against it through clumsy movements. If there are spikes sticking out of the structure or if the surface of the walls is very rough, there is a risk of injury.
Damage
Plucked tips are more likely to break off under stress and force. In narrow passageways or in other areas with greater stress, such structures would suffer visible damage comparatively quickly.
Preparation of the subsurface
Especially inside, the walls are usually not completely re-plastered, but rather the structural plaster is applied to an already plastered surface. In any case, the same requirements apply and must be taken into account. These are:
Damage
Cracks and holes must be repaired before plastering so that the plaster can hold properly.
Clean
If the wall is very dusty, has cobwebs on it or is there other dirt on the surface, it should first be vacuumed and brushed thoroughly. It must be as clean as possible before plastering to ensure a good hold.
Dry
Rain is not expected inside, but the walls can still be damp. In the kitchen, bathroom or laundry room, basement rooms and after repairing damage to the wall, you should therefore thoroughly ventilate and, if necessary, heat the walls before plastering in order to promote the drying of the walls.
Foundation
So that the structural plasters hold well and evenly, the walls should be primed before plastering. This is particularly important for walls that are sandy or highly absorbent. The chosen primer should not only match the wall, but also the selected plaster.
Apply and structure the plaster
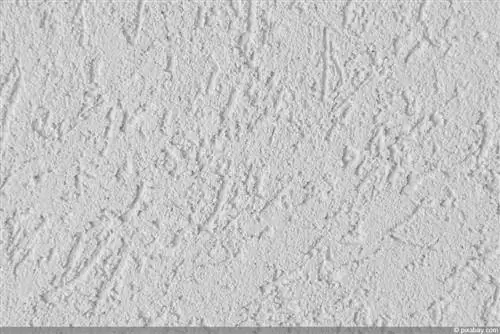
When plastering and structuring, proceed as follows:
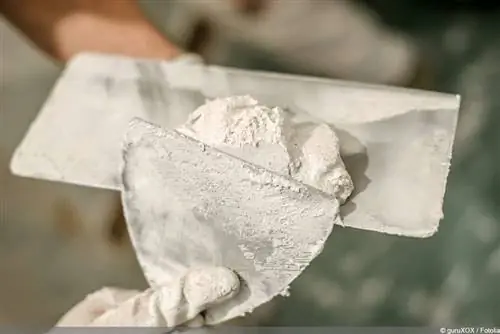
- The mineral plaster is mixed with water. The larger the area to be plastered and the thicker the plaster is to be applied, the firmer the consistency of the structural plaster should be. We recommend using a special drill attachment for mixing. For larger quantities, a concrete mixer can be used. This step is not necessary for finished silicone resin plasters.
- The plaster is applied to the wall with a plaster trowel. The thickness specified by the manufacturer should be aimed for. As a rule, two to four millimeters are sufficient.
- The surface is first smoothed and leveled with the plastering trowel. You should always check whether a uniform thickness is achieved.
- The surface is then structured using the chosen utensil. However, it should be ensured that an area that is not too large is plastered. Otherwise the plaster will dry too quickly and the structure can no longer be applied successfully.
The speed of application and structuring is crucial but also problematic when larger areas are to be plastered. You should only plaster an area as large as can be structured in about a quarter of an hour. This in turn is potentially problematic because on larger areas only sections can be processed at a time and the transitions have to be adjusted again and again. It is therefore ideal if at least two people do the plastering and structuring.

