- Author admin [email protected].
- Public 2023-12-17 03:39.
- Last modified 2025-06-01 06:48.
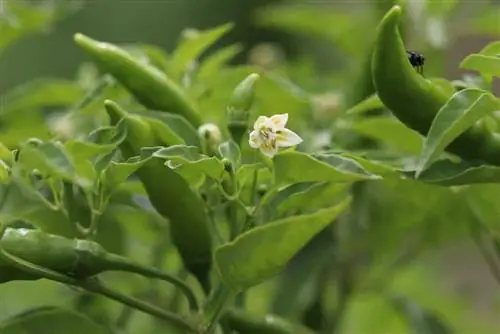
No matter whether cayenne pepper, paprika or chili peppers - we always mean chili plants. Its pod-like fruits have become an integral part of modern cuisine. Of course, you also think about growing it in your own garden. Growing chili peppers is relatively easy and often results in a bountiful harvest. If you like it spicy and love fascinating plants, you can't avoid it.
Chilis
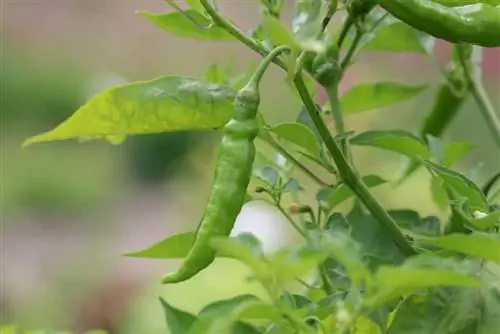
Chili plants originally come from Central and South America, but are now cultivated in many parts of the world. They belong to the nightshade family. Its common Latin name is Capsicum annuum. The plants need warmth and a more tropical climate to grow and thrive. However, cultivation outside of greenhouses is also possible in this country if you follow a few basic rules. If the conditions are right, the plants can grow up to 80 centimeters tall and usually produce pod-shaped fruits, which, depending on the species, can be up to 30 centimeters long. Chili plants are extremely easy to care for and relatively undemanding. As a rule, you can expect a large harvest that will definitely more than cover your own needs.
Location
Since Capsicum annuum is originally native to very warm regions, the plants absolutely need a sunny location in the garden. This also applies if you cultivate them in a planter. Warmth and plenty of sun are, in a sense, the basic requirements for being successful in growing chilies. So before you decide to start, you should check the site conditions very carefully. Under normal circumstances, there is of course a place in almost every garden that is suitable for this. Alternatively, growing in a greenhouse is of course always possible. Chili plants may also thrive in a very sunny location in the apartment. However, if you decide to cultivate in a pot, it is better to place them on the terrace or balcony, as the plants can grow very large.
Note:
Chili plants do not tolerate frost and may therefore only be brought outdoors when night frosts can definitely be ruled out.
Sowing
Before the chilies can be moved to their final location, they must first be sown. In principle, you can also buy young plants from garden shops or hardware stores. However, it is more satisfying and usually more satisfying to work with seeds. You can either buy it commercially or get it from ripe chili peppers - regardless of whether you got them from the supermarket or from your own garden. The seeds are generally sown in planting or cultivation trays. It is important that it takes place very early in the year. January turned out to be ideal. Please note the following:
- Conventional, relatively low-nutrient potting soil is suitable as a substrate, which should be mixed with perlite to improve air permeability
- The room temperature should be more or less constant at around 25 degrees Celsius
- The plant substrate is kept moist, but no waterlogging should occur
- It takes about one to two weeks for the seeds to germinate
As soon as the seedlings have developed their first leaves above the ground, they can be moved into larger planters, but of course they still have to be kept indoors or indoors.remain in the apartment. Even the young plants need a lot of light. A sunny location by the window is therefore an absolute must. However, they should slowly get used to the sunlight.
Tip:
If you don't have plant bowls, you can also use empty and well-cleaned yogurt cups or other such containers. It is advisable to provide these with holes to avoid possible waterlogging.
Planting out
The young chili plants can only be taken outdoors when there is no longer any risk of ground frost. As a rule, this should be the case by mid-May at the latest. The plants are removed from their containers and planted in the soil in a bed. The best way to do this is to dig a small depression with your hand or a garden shovel. When planting, it is important that the entire leafless part of the stem disappears underground. The soil should have previously been enriched with compost and perlite. The soil is then lightly pressed and watered well. It may be advisable to use a planting stick right from the start, to which the chillies are best tied with raffia to give them more stability. If several chilies are planted, the distance should be at least 40 centimeters.
Cultivation in a bucket
If you prefer to cultivate your chili plants in a planter, you can do so relatively easily. Since the chilies impress with wonderful flowers and later with colorful fruits, the plants are of course perfect as an eye-catcher for the balcony or terrace. Of course, the plant container and the plant substrate are of great importance when cultivating in containers. The vessel must have a drainage pipe for the water. In addition, drainage made of gravel or pottery shards should definitely be created. The plant substrate, in turn - ideally conventional garden soil - is ideally enriched with compost and perlite. Otherwise, the principles that also apply to cultivating chilies in the garden apply to keeping chilies in containers. The location must therefore definitely receive a lot of sun.
Care
As already mentioned, chili plants are extremely easy to care for and undemanding. So you won't have much work with them. The focus of care is clearly watering. The following applies: Watering should be done daily. It is recommended to only use soft water. Rainwater that has previously been collected in a bin is ideal. Under no circumstances should you underestimate the water needs of plants. Chilies eat away a lot, especially in midsummer. The soil around the plant stem should always be kept moist. The following rules have proven to be very effective when watering:
- The ideal time to water is the evening hours
- It must not be watered under direct sunlight (midday sun)
- Always water generously, but definitely avoid waterlogging
Of course, care also includes checking the plants regularly for pests. The check should definitely be carried out twice a week. And it doesn’t work without fertilizer either. Conventional fertilizer for tomato plants, which can be administered every two weeks, is recommended. However, a cut is not necessary. To get to the point again: If the location is right, caring for the chilies is child's play and can be done quickly.
Harvest
It takes time until the fruits of the chili plants are ripe and can be harvested. As a rule of thumb, ripeness is sufficient from the end of August. However, this cannot be applied across the board. It could well take until October. It's not just about the ripeness itself, but also about the taste. What matters for them is how much sun the plants have received: the more sun, the more taste. A clear sign that harvesting can and should be done now is when the pods on the plant begin to shrivel. The pods should never simply be torn off. It is much better to cut them off the plant by the stem with secateurs.
Tip:
When harvesting chili peppers, it is recommended to wear gloves and possibly also safety glasses in order not to fall victim to the possible spiciness of the fruit.
drying
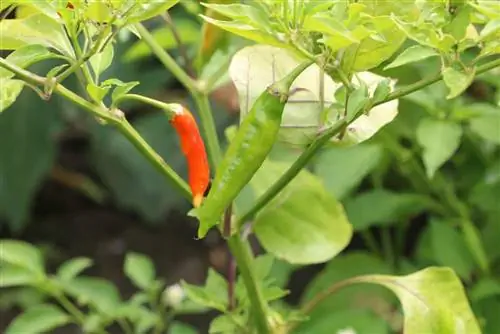
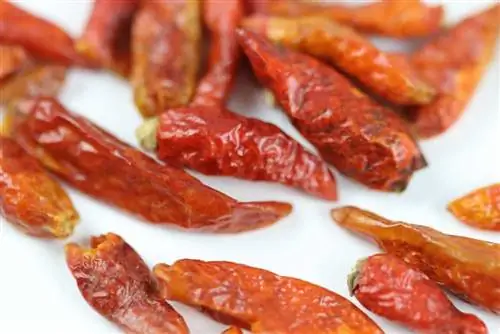
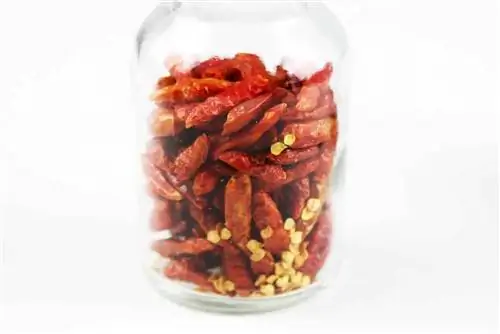
Chili peppers can be used in a variety of ways. You can either eat them raw or cook them immediately after harvesting, or you can freeze them for a later date. Waking up is of course also possible. One of the most popular methods is now drying the pods. However, it is important to note that this is not easily possible with every type or variety - unless you use an automatic dehydrator. Basically, only thin-fleshed pods are suitable for air drying. These include the following varieties:
- Cayenne
- Hot Cayenne
- Tabasco
- Dutch Red
- Super Chili
To dry, the individual pods are simply hung by their stems on a stretched cord. So the clothesline principle is used. The cord should be stretched in a dry, warm and shady location. There should also be a constant draft there. Attention: Wetness and humidity are absolutely harmful and naturally stand in the way of the drying process! All in all, it takes about three to six weeks for drying to complete. The pods are then removed and stored as cool as possible and of course absolutely dry. Small, open baskets are recommended for storage. Plastic bags, however, are not suitable for this as condensation can easily form in them.

