- Author admin [email protected].
- Public 2023-12-17 03:39.
- Last modified 2025-06-01 06:48.
Plastering fabrics are made of different materials. These include flax, jute, plastic or fiberglass. It is also classified according to mesh size and weight per unit area. During renovation, fabric is used to cover and plaster over cracks. It also prevents further damage to the plaster or connects substrates that have different expansion properties. Depending on the type of use, reinforcing mesh can be incorporated into the plaster in different ways.
Choose the right fabric
For plaster mesh to serve its purpose, it must have the right properties for the project and be installed according to instructions. The fabric used should be resistant to alkalis and acids, and it must not swell in damp plaster. The mesh size depends on the intended use; the sizes 4 x 4 mm and 10 x 10 mm are often used. If materials are to be plastered that have surfaces on which the plaster does not adhere well, plastering mesh must be used over large areas. This happens, for example, on wooden floors or with polystyrene insulation.
Even small areas can be reinforced, repaired and protected with the fiberglass fabric. These include cracks or holes in the substrate or edges and corners around window openings and doors. Reinforcement mesh is used both indoors and in the house facade.
Tip:
Cleaning fabric can be easily cut to size with scissors.
Uses:
- Laying tiles on wood
- Stabilization of substrates
- Renovations
- Plastering wooden beams
- Repairing holes and cracks
- Preventing damage
- in the thermal insulation composite system of the house facade
Large area application
Reinforcement fabric is used extensively in walls, ceilings and floors in interior design. It stabilizes ceilings and walls, prevents tension in the plaster and prepares floors for tiling.
Laying tiles on wood
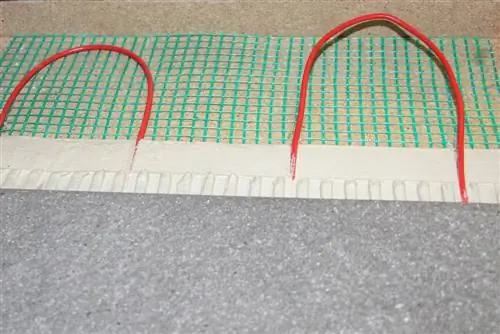
Wooden floors are only suitable for tiling after thorough preparation. Wood works and can cause cracks in the tiles. That's why fiberglass mesh is laid on the wooden floor.
Work equipment:
- Tiefgrund
- Glass fiber fabric in the required quantity
- Tacker
- Compensation compound
- Rubber squeegee
Price:
- Consumables approx. 12 euros/m²
- Tool approx. 20 - 50 euros
Time expenditure:
- Working time (depending on the size of the area) about 2.5 hours
- Dry season 24 h
Loose wooden floorboards are screwed tight. The entire floor was sanded and the sanding dust was thoroughly removed. The floor is then pre-treated with subsoil and the fabric sheets can be applied. The strips should each overlap by 5 cm. The fabric is attached to the wood with the stapler. The leveling compound is distributed over the fabric using a rubber squeegee. When the leveling compound has dried, you can continue with the work according to the instructions for laying tiles.
Stabilize and renovate the subsoil
Reinforcement fabric can stabilize floors and seal holes and cracks. To compensate for differences in height, you can incorporate it into the filler.
Work equipment:
- Foundation
- Reinforcement fabric panels
- Scissors
- filler
- Squeegee
Price:
- Consumables approx. 8 euros/m²
- Tool approx. 60 euros
Time expenditure:
- Working time (depending on the size of the area) about 1 - 2 hours
- Dry time at least 24 hours (depending on the suction strength of the surface, much longer)
The floor is prepared for the work; it should be clean, dry and stable. The surface is painted with primer; depending on the surface, the drying time varies and is between 30 minutes and 6 hours. The reinforcing fabric strips can then be applied over a large area if the entire area needs to be filled or only if there are damaged areas. The fabric is cut to size with scissors. The filler is applied to the fabric. If the floor is dry and pressure-resistant, further work steps can be carried out.
Plastering fabric for ceilings and walls
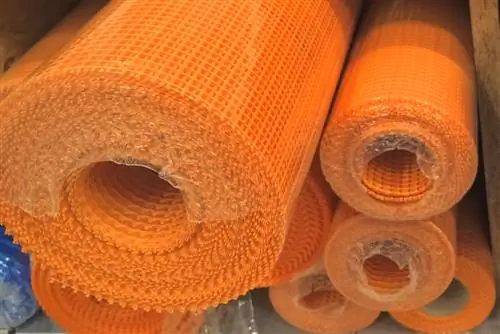
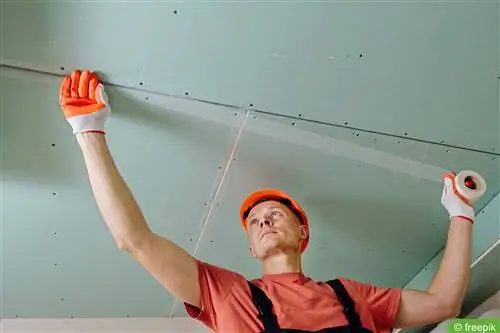
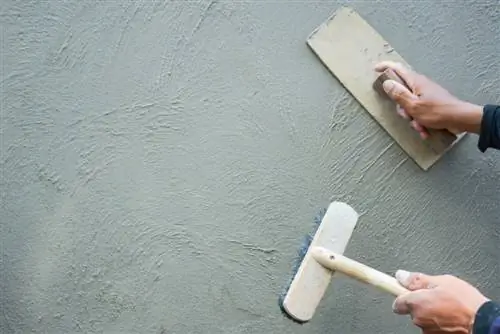
In order to smooth ceilings and walls, protect them from damage and stabilize them, you can attach reinforcing fabric panels directly when cleaning. To do this, a first, thicker layer of plaster is applied, into which the strips are pressed with a 10 cm overlap. This is followed by a second layer of plaster. Further work can be carried out after drying. Corners of windows are provided with diagonal reinforcement. In addition, a strip of fabric is laid diagonally across the corner.
Work equipment:
- Reinforcement fabric panels
- Plastering
- Mason's Trowel
Price:
- Consumables approx. 3 euros/m²
- Tool approx. 8 euros
Time expenditure:
- Working time (depending on the size of the area) about 1 day per room
- Dry season several days
Use with insulation
If reinforcing mesh is used in the thermal insulation composite system, it is applied over a large area between the insulation and plaster. Reinforcing mortar or special adhesive filler is used for this. The mortar is applied to the substrate and combed through with a notched trowel. The fabric is then placed on top and pressed directly into the adhesive using the smoother. The individual strips should overlap by approx. 10 cm. The fabric is embedded directly in the reinforcing layer, then the surface is removed with the surface filler. The entire reinforcement layer should be between 3 - 4 cm thick.
Work equipment:
- Reinforcement fabric panels
- Scissors
- Adhesive filler or reinforcing mortar
- Mason's trowel, notched trowel
- Smoother
- Surface filler
Price:
- Consumables approx. 7 euros/m²
- Tool approx. 45 euros
Time expenditure:
Working time and drying time (depending on the facade area and the weather) at least several days)
Diagonal reinforcement is installed in the corner area of windows and doors. The fabric strips should be between 20 and 30 cm wide. Care must be taken to ensure that the fabric fits tightly in the corners.
Plastering over cracks
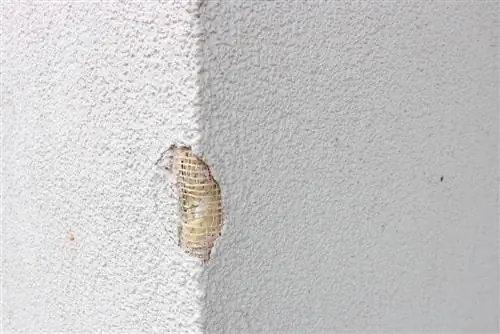
Damage in the plaster, such as holes and cracks, can be repaired with little effort. The loose plaster around the damaged area is generously removed. The area is thoroughly swept and moistened. A piece of fabric is cut to the appropriate size. The new plaster is mixed according to the instructions on the package. A first layer of plaster is applied and the fabric is pressed into the damp plaster. The plaster is then applied to full thickness.
Work equipment:
- Reinforcement fabric
- Scissors
- Plastering
- trowel
Price:
- Consumables approx. 3 euros/m²
- Tool approx. 18 euros
Time expenditure:
- Working time (depending on the number of damaged areas) about 1 - 2 hours
- Dry time at least 24 hours
Plastering over wooden beams
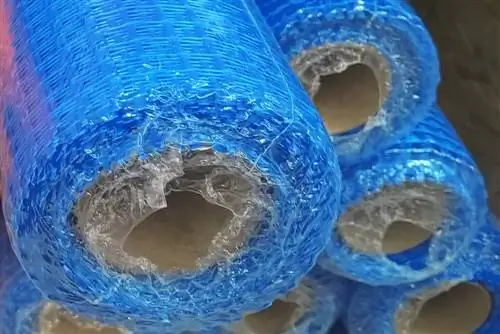
If the beam has already been plastered over and cracks have appeared in the plaster, it makes sense to remove all of the plaster from the beam. In addition, the plaster should be removed about 5 cm from the wall to the left and right of the beam. The fabric is cut to the appropriate width and length. It must completely cover the beam. It is attached with appropriate glue or simply stapled to the wood. The fabric is then plastered over.
Work equipment:
- Reinforcement fabric
- Scissors
- Glue
- Tacker
- Plastering
- trowel
Price:
- Consumables approx. 3 euros/m²
- Tool approx. 60 euros
Time expenditure:
- Working time (depending on the bar size) about 2 - 4 hours
- Dry season a few days

