- Author admin [email protected].
- Public 2023-12-17 03:39.
- Last modified 2025-01-24 12:45.
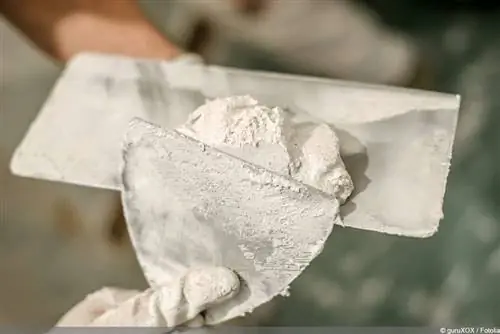
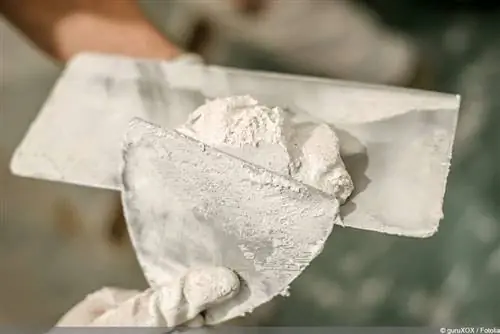
Rauputz, like the well-known Munich roughcast, offers many design options, can be easily painted and lasts for several decades. It is suitable for wall design inside and outside and can also be easily applied by laypeople. The relevant instructions can be found here.
Subsurface and primer
Before the plaster can be applied, the surface must be prepared accordingly. It must be clean, smooth, absorbent and dry. Three steps are required to prepare:
-
Cleaning
Remnants of wallpaper, paint and plaster must be removed from the wall. If you get stuck manually, you can use a sandblaster or a high-pressure cleaner.
-
Paving and repairing
If there are holes, cracks or other unevenness, they must be repaired and the wall leveled before plastering. This is very easy to do with a suitable filler or plaster.
-
Priming
So that the plaster holds well later, the wall should be primed. A silicate primer should be used for mineral plaster such as Munich rough plaster. For synthetic resin plaster, a dispersion primer is more suitable. Once the wall has dried after applying the primer, you can start applying the rough plaster.
Plaster Types
Rough plastering is a distinction between synthetic resin plaster and mineral plaster. Both have different advantages and disadvantages.
Synthetic resin plaster
Advantages
- is very elastic and adapts flexibly
- is good for exterior walls
- rarely forms cracks
- can be applied very thinly
Disadvantages
- dries slowly, therefore susceptible to fungal spores and algae
- Water-repellent, hardly allows water vapor to pass through
Mineral plaster
Advantages
- naturally resistant to mold
- can absorb and release moisture, thus having a positive influence on the indoor climate
- comparatively cheaper than synthetic resin plasters
Disadvantages
- More prone to cracking
- needs to be applied thicker
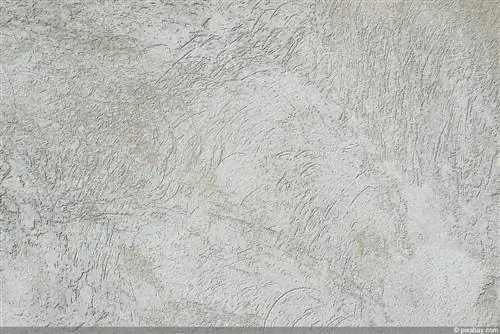
In addition to deciding between synthetic resin and mineral plaster, a choice must also be made regarding the size of the grain. The size of the grain, together with the application and the design tool, determines the appearance of the plastered wall. At one to three millimeters the structure is finer and smoother than, for example, at five millimeters grain size.
Inside instructions: step by step
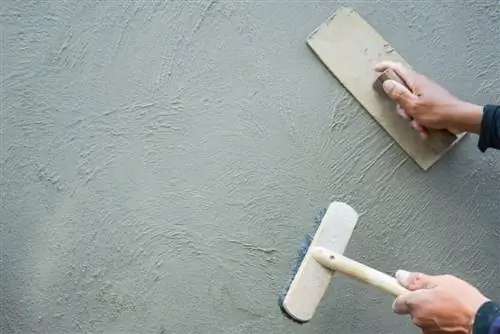
When the preparations have been completed and the walls have dried thoroughly, plastering can begin. Proceed as follows.
- Tape off door and window frames and cover the floor to protect them.
- Only mix as much plaster as can be processed in about 20 minutes. Normally, information from the manufacturer can be found on the packaging.
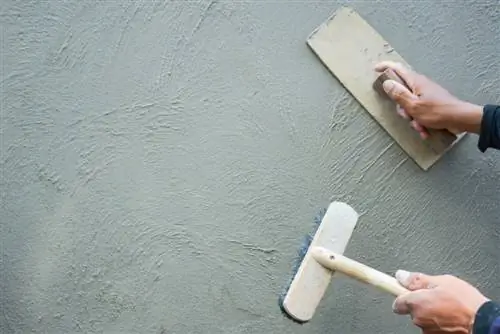
- The plaster is applied to a trowel using a trowel. Using the trowel, the plaster is applied to the wall from bottom to top and distributed evenly.
- The plaster is scraped down to grain thickness using a stainless steel trowel. This means that the appropriate layer thickness is produced. Only this makes it possible to structure the plaster correctly and evenly afterwards.
- After a short drying time of around 15 minutes, the plaster is then structured using a plastic smoother, a nail board or a structure roller. It can be rubbed or rolled horizontally, vertically, diagonally or in circles - depending on the desired effect.
Tip:
So that there are no steps on the wall, it makes sense to work with two people, at least on larger walls. This means the wall can be plastered and structured more quickly. Experience has shown that it is beneficial if one is plastered and the other is structured. This allows very consistent results to be achieved.
Plastering exterior walls
The basic procedure is the same when plastering external walls as it is when plastering internal walls. However, external walls are larger and, above all, higher, so a suitable frame or ladder must be prepared. You should therefore urgently work with one or more helpers outdoors in order to ensure safety and to be able to work quickly and evenly.
You should also consider using plastering strips or quick-cleaning profiles. These are applied at even intervals, dividing the wall into smaller sections and helping to apply and smooth the plaster more quickly. They form a frame and make it easier to remove the plaster evenly.
Structuring
There are various options and tools available for structuring the rough plaster. Below:
- Structural rollers
- Nailboards
- Plastic smoother
Various structural techniques or directions can also be used. Vertically, horizontally, diagonally, in circles or waves - each direction brings a different result. Manufacturers of the various rough plaster variants usually provide information and structural examples. Nevertheless, it makes sense to test the structuring and the result on a sample beforehand.
Costs
The costs for plastering are made up of various factors. These include:
- Type of cleaning
- Utensils
- Cleaning and priming
When plastering with a mineral rough plaster, you should expect around 10 to 15 euros per square meter. When using synthetic resin plaster, 10 to 20 euros per square meter should be taken into account. However, this is only vague information, because even colored synthetic resin plaster is now available for less than 10 euros per square meter and the costs depend, among other things, on whether quick-plaster profiles are used and what is necessary to prepare the wall.

