- Author admin [email protected].
- Public 2023-12-17 03:39.
- Last modified 2025-06-01 06:48.
If neither curtains nor blinds are desired, privacy film can be a sensible alternative. Privacy films are available in many variations. From reflective versions to white and colored versions, there is something to suit every need and taste. However, how it needs to be attached can also vary.
Static films and self-adhesive films as privacy protection
Self-adhesive or static privacy films are most commonly found in stores (adhesive film). Applying these privacy films is very easy as no glue is required for installation. This also has the advantage that the privacy films can be removed quickly and without leaving any residue if necessary. The following utensils are required for installation:
- Glass cleaner and microfiber cloth
- Tape measure
- Pen
- Cutter knife or sharp scissors
- Ruler
- cut-resistant base
- Spray bottle, distilled water and dishwashing liquid
- Adhesive tape
- Squeegee
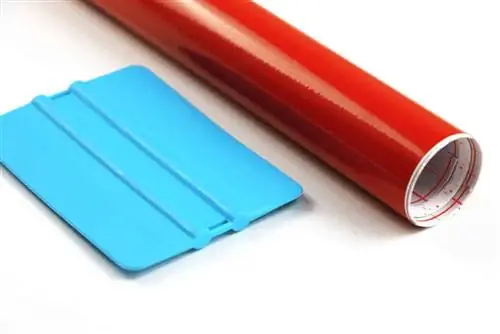
If these and the foil are ready, proceed as follows:
- The window is thoroughly cleaned. If you find more stubborn dirt on it, such as paint stains or hardened splashes, you can use a ceramic hob scraper or a glass scraper to remove it.
- The glass pane is measured precisely with a tape measure. It is important not to measure the sealing rubber at the edge, but only the glass.
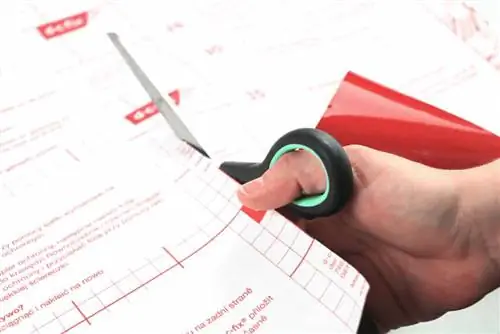
- The dimensions are transferred to the privacy film using a ruler and pen. Make sure that the dimensions are marked on the backing paper.
- The film is cut to size using a cutter knife or sharp scissors. Experience has shown that a cutter knife is the better choice because it makes it easier to create clean cutting edges. If the knife is used, it must of course be worked on a cut-resistant surface. In addition, a ruler or a board should be used as a cutting aid - the knife is simply pulled along the applied edge.
- A clean spray bottle is filled with distilled water. Two drops of standard dishwashing liquid are added per liter of water.
- This mixture completely moistens the window pane.
- A piece of adhesive tape is stuck to each corner of the backing paper. This makes it easier to remove the backing paper. This “grip aid” is used to remove the paper. This can be a bit difficult and can be compared to removing the backing film from double-sided adhesive tape.
- Once the backing paper has been completely removed, the water and detergent mixture is sprayed onto it. The foil should also be completely moistened. It helps to moisten not only the foil, but also your own fingers with the solution.
- The film is aligned from top to bottom on the window and pressed lightly. It should be straight on all edges. Then the film and window are moistened again with the water and detergent mixture.
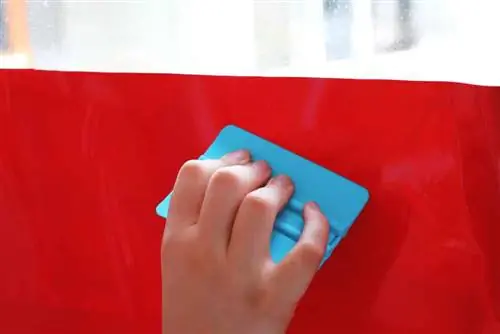
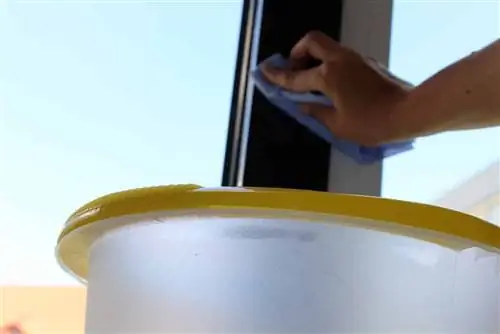
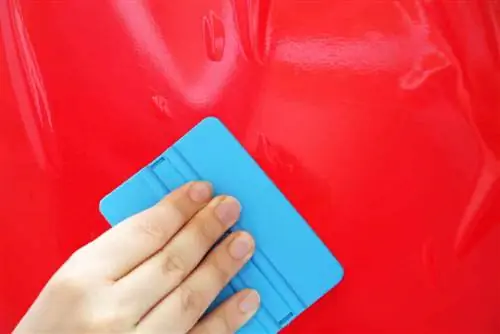
- Use the squeegee to remove moisture, air bubbles and wrinkles. The squeegee is placed in the middle of the privacy film and pulled from here to the right and left until there are no more bubbles under the film. The moisture escaping from the edges is wiped away with a cloth.
After a drying time of two days, the window can be wiped and cleaned as usual if necessary. Until then, however, greater force on the film should be avoided. In addition to the simple privacy films, which are intended to keep unwanted glances away through colors, patterns or a milky tint, there are also sun protection films. They have a reflective surface and therefore reflect a certain amount of solar radiation. This can prevent the rooms from heating up too much in summer. Some versions also offer insulation to prevent heat loss in winter.
As a rule, the films are transparent from the inside due to their reflective surface, but prevent visibility from the outside. In most variants, however, this only applies until the light in the room is switched on. If the interior is lit, you can see in from outside.
Tip:
If you want reliable privacy protection even when the lights are on, you should choose milky or colored privacy films. However, a potential disadvantage of these is that they also restrict the view from the inside to the outside.
Privacy film - apply inside or outside?
Whether it is a pure privacy film or a sun protection film, it is important to know in any case whether the film has to be applied inside or outside. Pure privacy films are usually attached to the inside of the window. However, with sun protection and privacy films it may be necessary to apply them to the outside of the panes. It is important to attach it to the outer side of the pane because otherwise the window glass can become very hot and can crack and break due to strong temperature differences.
Tip:
Please pay close attention to the manufacturer's information.
Removing privacy films - this is how it works
When the privacy film is no longer attractive or has to be removed when moving, many people struggle with a scraper. A special glass scraper can also serve you well, but removing it is relatively difficult and time-consuming.
However, there is a simple trick when it comes to detaching, which only requires the following steps:
- A mixture of water and detergent is applied to the window or the film. The foil should be completely moistened.
- A non-adhesive, waterproof film is placed over the pane. It can be attached to the frame with adhesive tape to prevent moisture evaporation.
- After about three hours of exposure, you can begin to remove the privacy film from the corners and edges. The special glass scraper mentioned above can be of good use here.
If the film can only be removed in pieces, soaking with the water and detergent mixture can be repeated several times. The film is soaked, allowed to soak in the moisture and then the privacy film is removed as much as possible before being soaked again. This procedure is particularly recommended for larger window panes because it leaves less stubborn residue on the glass and overall removal requires less effort.

