- Author admin [email protected].
- Public 2023-12-17 03:39.
- Last modified 2025-01-24 12:45.
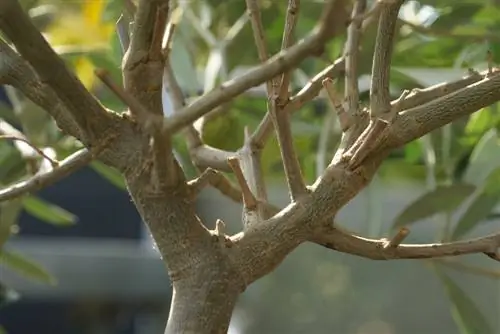
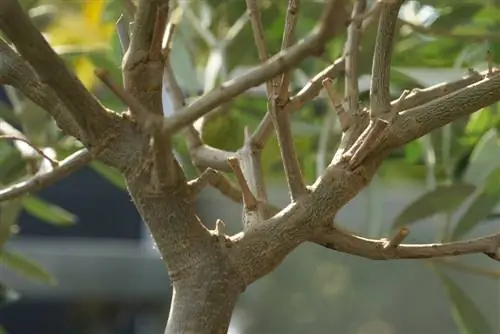
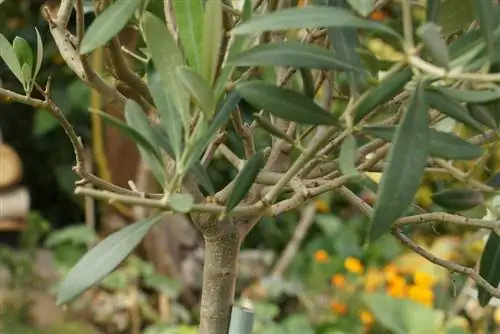
Private olive gardeners shy away from pruning because they find it too complicated and delicate. Of course, a well-shaped, densely leafy crown with numerous flowers and a rich olive harvest depends on professional pruning. In this respect, an olive tree is less complicated than expected. So take heart and cut your Mediterranean piece of jewelry according to these instructions. Here you can read all the information about the best time, the right tool and the optimal cutting route. How to properly train your olive tree.
Why does a cut make sense?
In the olive plantations around the Mediterranean, regular pruning guarantees a rich harvest and he althy trees. In this respect, commercial cultivation serves as a role model for private gardeners, as their interest also points in this direction, complemented by the desire for a well-groomed, authentic appearance. The following arguments therefore speak for a competent upbringing and professional maintenance:
- Generation of a well-proportioned crown
- Building a harmonious structure of leading and secondary shoots
- Preservation of a light-flooded inner crown structure
- Removal of dead, diseased and pest-infested branches
Thus, both training and maintenance pruning aim to guide an olive tree to optimal photosynthesis performance. Although the olive yield is relatively low north of the Alps, you benefit from regular pruning from an ideal silhouette and numerous, delicious olives.
The best time
A cut on the olive tree should not disturb the growth of its new leaves and flowers. At the same time, the date should be chosen so that the cuts close quickly. Weather conditions also play a role for a tree that has been planted out or overwintered outdoors. As long as the temperatures are still frosty, a cut would push your olive tree to its limits.
The best time for shape and maintenance pruning is therefore a day at the end of winter rest, shortly before the start of the vegetation phase. In concrete terms, this premise means that your olive tree will respond positively to pruning measures in early spring between the end of February and the beginning of March. In frost-free winter quarters, you can choose to use scissors from mid to late January.
Our recommendation for the optimal cutting time does not contradict the fact that you carry out minor corrections to the evergreen crown or the removal of water shoots in summer or autumn if necessary.
The right tool
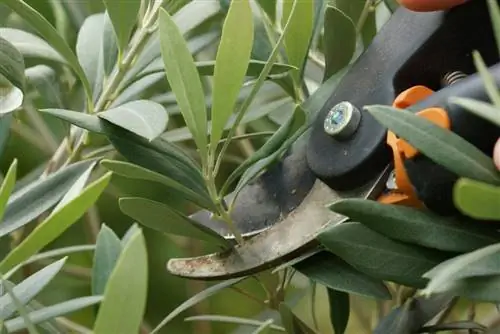
The tool plays a significant role in a successful cut on the olive tree. Several factors should be met so that a shape and maintenance cut does not end up doing more harm than good. The blades should be sparkling clean so that no pathogens can gain access to the inside of the plant. Furthermore, the tool should be sufficiently sharp, because ragged cuts are a welcome target for pests. Last but not least, the selection of the device should take into account how thick the branches are to be cut. The following cutting tools are shortlisted:
- Rose scissors for young trees and thin branches
- Pruning shears for older trees and stronger shoots
- Hand saw for all branches where rose and pruning shears are not enough
Please clean the blades thoroughly with spirit before using them for the first time. If you remove diseased or pest-infested shoots, repeat the cleaning after each individual cut. You can keep the cutting blades sharp enough with a simple whetstone. This not only leaves smooth cuts, but also reduces the amount of force required.
Instructions for the parenting cut
Where the location does not have ideal light and temperature conditions, the crown will resemble an outgrown haircut after a while. Branches with unhindered access to sunlight grow more strongly than partially shaded branches. When there is a general lack of light due to dull weather conditions, the olive tree sends out long, narrow shoots in search of more sunlight. With expert pruning you can bring the olive tree back into the desired shape. Despite its very slow growth, the Mediterranean ornamental tree sometimes exceeds the available space. In this case, you can intervene to regulate the situation with parenting measures. How to do it right:
Plan cutting route
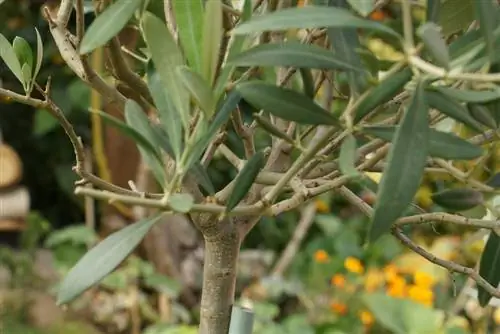
Pruning the olive tree is a greater challenge than you would find on native fruit trees. We therefore recommend taking photos of the crown from all sides in advance and printing the photos in large format. Plan the exact cutting process by marking the main shoot and the leading branches. For a shapely crown, the leading shoots are distributed in a balanced ratio around the trunk and remain slightly longer than their side shoots.
Make the cut
Detailed planning makes the actual cutting process much easier and prevents cutting errors. This is how the parenting process works:
- According to the planning, first shorten the leading branches to the desired length
- Then cut the side shoots a little shorter in the correct proportion to their respective leading branch
- Only cut the top of the main shoot when no further height growth is desired
- Cut off all inward-facing branches on Astring
- Remove the weaker ones from crossing shoots
In the correct order, make the larger cuts first. The fine cut comes next. The actual shape of the crown is up to your individual decision. A round crown suits your olive tree just as well as a triangular shape. If you are making the training cut on the ornamental tree for the first time, simple cardboard templates serve as a useful guide.
Align the amount of parenting according to the rule of thumb: Less is more. Cutting errors and gaps will no longer be noticeable for years due to the slow growth rate. If you have any doubts about whether a cut is really necessary and correct, it is better not to cut.
Tip:
The clippings are far too good to be disposed of carelessly. Every non-flowering, half-woody head cutting has the potential to become an impressive olive tree. Place half of the leafless cuttings in a pot with potting soil so that they can root in a bright, warm window seat.
Instructions for the maintenance cut
The maintenance pruning aims to maintain the he alth of your olive tree. In contrast to the parenting routine, it is part of the spring care program every year. In this way, there are only minor interventions in the growth, which benefit the plant's vitality and flowering ability. The following incision has proven to be very effective in practice:
- Cut off dead branches at the base
- Cut off branches sprouting from the trunk below the crown
- Shrink frozen branches down to he althy wood
- Remove shoots with obviously diseased leaves completely
Start at the top of the crown and work your way down. If a shoot is completely thinned out, place the scissors flat without damaging the bark of the trunk or leading shoot. If you only partially cut a branch, there should be a sleeping, outward-facing eye just below the cut point. This way you ensure further branching.
If you notice water shoots, they should be cut off as soon as possible. These are wild shoots that sprout from the rootstock and want to overgrow the crown. These grow much more quickly than the branches of the grafted crown. Therefore, cut off every wild shoot immediately, regardless of the season.
Tip:
Are there any doubts as to whether a shoot has actually died and is being thinned out? Then a vitality test will provide clarity. To do this, scrape off some of the bark with a sharp, clean knife. If green tissue appears underneath, life still pulsates in the olive branch.
Rejuvenation cut only in emergencies
If an olive tree has not received any shape or maintenance pruning for several years, the crown will become noticeably bald. The same applies if the tree is overwintered incorrectly or its root ball suffers from waterlogging. In the end, only a few shoots have a few leaves at the upper ends. You are now hoping in vain for flowers and fruit. If the noble ornamental tree is in this fatal condition, a radical rejuvenation cut can prevent it from being disposed of. Since you can't avoid making a cut into the old wood, a lot of patience, loving care and a good portion of luck are required for a successful outcome.
To rejuvenate an olive tree, all shoots are removed in winter, apart from the main shoot and 3 to 4 leading branches. New side shoots grow from the leading branches, which have the vitality to produce fresh leaves and flowers. In this way you create a new basic framework on which to build a new crown with regular training and maintenance pruning.
Care tips after the cut
Every cut involves a high level of stress for your olive tree. You can effectively cushion the strain by providing careful care. Since the tree is in the transition from hibernation to the new season at this time, promote growth with fertilizer. In the bucket, liquid fertilizer is suitable for olives or Mediterranean plants. Planted olive trees respond well to organic fertilizers such as compost, guano, bark humus or horn shavings.
Instigate a phase of regeneration between training and maintenance pruning by placing an olive tree in a pot in a partially shaded, warm location for 8 to 10 days. An abrupt change from winter quarters to full sun could cause leaf damage.
Conclusion
An olive tree is more tolerant of pruning than its original shape suggests. Follow the instructions in these instructions and have a positive influence on vitality and flowering with regular pruning. The expert training is aimed at a harmonious, ideal crown shape that emphasizes the special appeal of the Mediterranean character. Good planning effectively prevents cutting errors. The maintenance pruning keeps the tree young and he althy overall, which is rewarded with numerous leaves, flowers and olives. To do this, the crown is carefully thinned out and misaligned or frozen-back branches are removed. The best time is the end of February or beginning of March, shortly before the fresh shoots. Sharp, disinfected tools give pathogens and pests no chance. After the cut, the stressed olive tree is allowed to recover for a week in a partially shaded location, well supplied with the first fertilizer.

