- Author admin caroline@plants-knowledge.com.
- Public 2023-12-17 03:39.
- Last modified 2025-01-24 12:45.
A potato tower is a potato bed that is laid out in layers. There are small versions for the balcony or terrace and XL versions for the garden. It's fascinating how many potatoes you can get out of one potato this way. On average, you can look forward to 20 potatoes per seed potato from your own organic cultivation. If that's not a reason to build a potato tower yourself! Before we get started, a little theory to ensure the greatest possible yield.
Framing and vessel
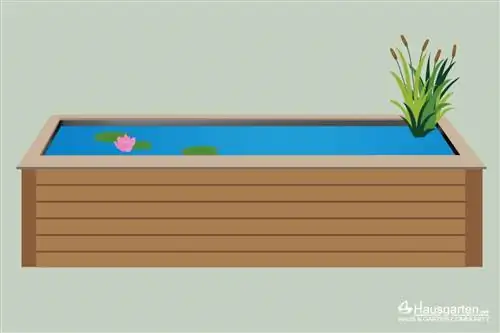
The potato tower needs a border so that the soil doesn't float away over time. A tall pot, bucket or box can be used for small towers on the balcony. The vessels should be approx. 80 cm high and have a water drain at the bottom. Depending on the size of the balcony, you can also use old car tires stacked on top of each other as a border.
For the bed variant, a border can be built from different materials:
- Rabbit wire, fine wire mesh
- Screed mat
- Reed or bamboo mats
- Wooden edging (film between the wood and the earth prevents the wood from rotting too quickly; larch wood is well suited)
- Plastic mats
- Stone constructions
Construction
The location for the potato tower should be as sunny as possible. The substrate is usually normal garden soil. Gravel is also possible if there is soil underneath and the water can seep in.
First form a tube with a diameter of approx. 60 cm and a height of 80-100 cm from the selected material. This requires approximately a 1.9 m to 2 m long piece of wire mesh or mat. The tube is best closed with cable ties or wire. The subsoil must under no circumstances allow rain and irrigation water to accumulate. The position of the roll must be at ground level and firmly anchored.
If you want to set up your potato tower on the meadow, you should dig up the turf to an appropriate extent beforehand. Then set up the edging and place the grass probe upside down again. This gives the potato tower a stable footing even on the lawn. Stability is important; if necessary, you can anchor the cylinder in the ground in some places with long bamboo sticks or something similar.
In the case of dense foil or mats, it should be possible to cut holes in the side if the potato plants want to find their way there.
Seed potatoes

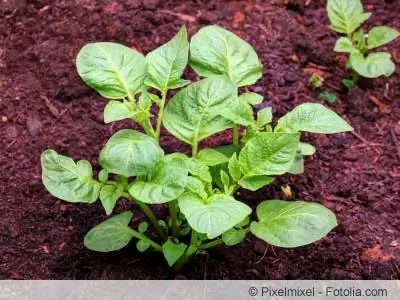
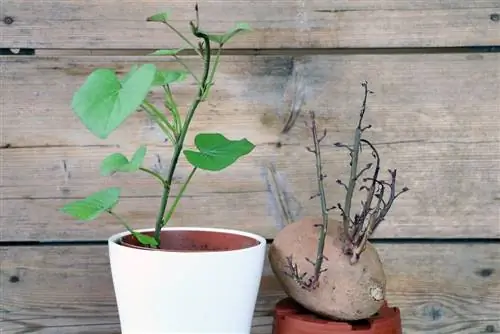
Fortunately, there is still a large selection of seed potatoes available in specialist stores. These include unusual gourmet potatoes and almost forgotten old potato varieties. Around 30 seed potatoes are needed for one plant. But you can also use normal organic potatoes. It is an advantage if you start growing with pre-germinated potatoes. To do this, you can place the seed potatoes next to each other on some soil. They then need light and temperatures of 10 to 15°C to germinate.
Filling
Potato tower in the open field:
If you want to be on the safe side, start filling your potato tower only after the Ice Saints. Potatoes don't like night frosts.
In areas at risk of voles, it is recommended to line the bottom of the cylinder with wire or a sturdy, perforated film to prevent the small rodents from entering.
Straw or dried grass clippings are then placed on top. This layer can be up to 30 cm high. This keeps you nice and warm and prevents muddy soil at the bottom of the container. The walls of the tube (made of wire mesh) are also lined with straw. But cardboard or newspaper are also suitable for this. If you have one, you can also use large rhubarb leaves. The material should definitely keep the soil from trickling out, but must always provide loopholes for the growing potato plants.
The next layer is soil or a mixture of mature compost and soil, approximately 10-15 cm high. If you use normal garden soil, you can upgrade it by first spreading a thin layer of horn shavings on the respective straw layer.
Six to eight seed potatoes are now placed on this first layer of soil at a distance of 4 cm from the edge. Some earth is then added on top. A layer of straw between the layers of soil promotes the formation of tubers. After the straw, soil and another six to eight seed potatoes were placed on the edge. Then earth, then straw and earth again. If possible, place the potatoes in the gaps from the previous layer. For the last two potato layers, the potatoes are no longer just placed in a ring around the edge, but also four to five potatoes in the middle. Because these two layers will later sprout their herbs upwards. Finally, water thoroughly. If you want to be on the safe side that all layers get enough water, you can water each layer separately.
Potato tower in a jar
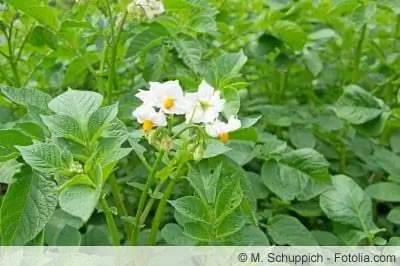
Not quite as high, not quite as much yield, but fascinating enough to prepare some delicacies with home-grown potatoes later.
The container must have enough drainage holes; waterlogging would promote rot on all parts of the plant in the soil. Normal potting soil can be used as a substrate. Mixing with compost is beneficial. You start with a 15 cm high layer of soil, on top of which the seed potatoes are placed, the distance between them is approx. 8 cm. Add 10 cm of soil on top and wait until the first germs become visible. When the small plants are about 15 cm high, you can continue. Now add soil again until the tips of the smallest green are still sticking out. This principle continues. The tower should not be higher than 80 cm. If you like, you can always add a new potato when filling up. But even without this measure, the potato plant constantly forms new nodules on its leaf axils. The soil must be kept moist. Too much moisture or even waterlogging should be avoided.
Tip:
There is also a variant for impatient people with little free time. Simply place the potatoes in a bag of potting soil. A 40 liter bag of soil is emptied except for a little soil and rolled up. Don't forget to make vent holes. Hide one or two seed potatoes in there. Now, according to the “piling up principle”, as the plants grow, roll the bag up further and fill it with soil until it is almost full again.
Care
The maintenance effort is not particularly great. It is better to water the potato tower thoroughly once a week rather than a little every day. Ultimately, the water must penetrate evenly and into the lowest layer.
You should check regularly to see whether germs want to sprout from the sides and perhaps need a little more space to grow out. At this point, holes must be enlarged or newly cut.
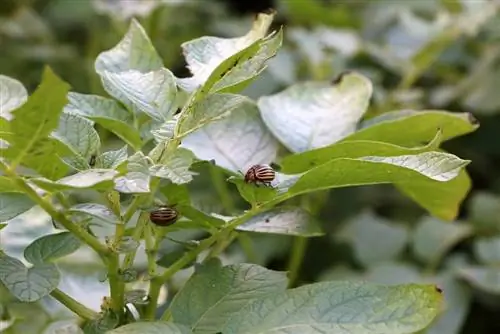
Snail control is also very important, because unfortunately they like the potato weed. This means taking appropriate measures in good time. With this relatively low maintenance effort, you can now wait in peace until the harvest.
Harvest
Depending on the type of potato, it can be harvested from late summer to autumn. The sure sign of the right harvest time is the dry herb. Depending on the container, there are two methods for harvesting. You begin carefully, removing layer by layer with a shovel or your hands. The advantage of this method is that the potatoes are fresh and harvested shortly before consumption.
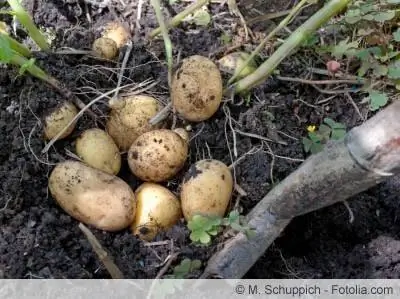
The second method can be to simply reopen the mat tower. Then it collapses and the potatoes roll out. If you can wait a little longer to harvest: After the herb dies, the potatoes will continue to grow for about two weeks.
Tip:
If you leave the potatoes in the ground longer, you can improve their storage life. Because over time the shell becomes a little thicker.
Conclusion
If that doesn't bring joy. Or, to put it another way, neither lack of space nor time are now arguments against growing your own potatoes. The tower makes it possible! When you see the wide range of potatoes from some suppliers, you inevitably get the desire to grow potatoes yourself. With the Bamberger Hörnchen or the Kerklauer Kipfler against the always same range in the supermarkets!

