- Author admin caroline@plants-knowledge.com.
- Public 2023-12-17 03:39.
- Last modified 2025-01-24 12:45.
A mole is a useful animal. It loosens the earth and the rain is absorbed better. He is nice and leaves the roots of our plants alone. Its hills are made of the finest earth, perfect for flower pots. It destroys snails, mosquitoes and other vermin. Don't you think so? Fine, then just lock him out.
The mole is under special protection
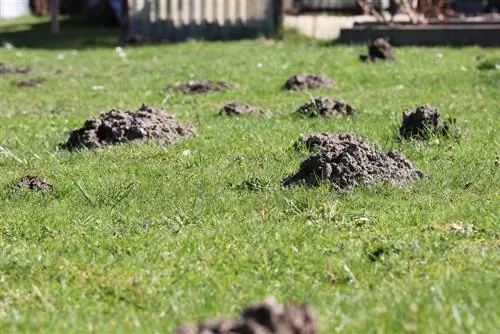
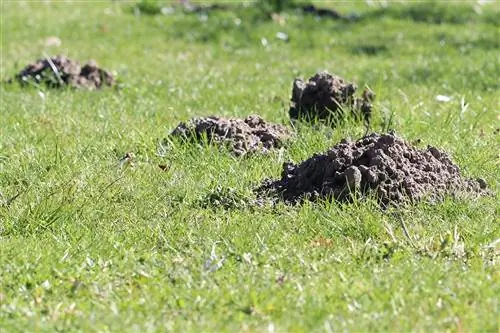
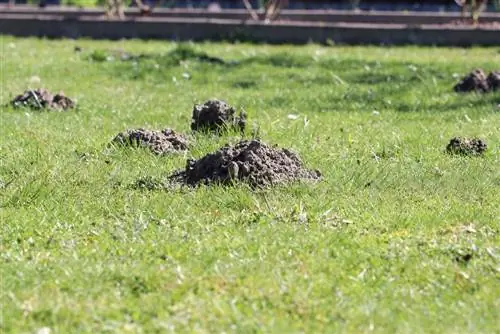
A mole digs in its territory for about three years, then its lifespan comes to an end. If you don't want to endure the regularly thrown up molehills for so long, you have to do something about it. But caution is advised here! Moles cannot be caught or killed. Both the Federal Nature Conservation Act (§ 44) and the Federal Species Protection Ordinance (§ 1 Sentence 1) protect him from this.

But how to solve the molehill problem if the mole has to be left alive? There are only two conceivable ways to get rid of your annoying mounds:
- You make him leave/not enter your property.
- They prevent him from throwing up hills.
Note:
Anyone who breaks the law and hunts or kills moles risks a heavy fine.
Various control methods
There are various tips circulating on how to get rid of a mole. For example with odor drops, sound devices, water flooding, etc. This costs money, but experience shows that it does not lead to success, or not in the long term. A smell disappears after a short time, and annoying noises and sound waves quickly get used to it. Water isn't enough of a deterrent, moles are good swimmers.
The conclusion:
The mole remains or will soon return and with it his mounds, which are the real problem.
It looks different with mole grids and mole barriers. They promise a solution that will last a long time. A mole barrier makes the boundaries of your property impassable for moles. The mole grid is laid under the lawn and prevents the mole from raising its mounds.
If your garden is already planted, the effort involved in subsequently installing a barrier must be carefully considered. Choosing a horizontal mole grid means that the garden will then have to be redesigned.
Horizontal mole grid
With a mole grid that is laid horizontally under the lawn, the mole is not driven away from the property. He can continue to dig his underground tunnels. However, where the grid is located, he can no longer reach the surface of the earth to deposit the earth. This area remains free of molehills.
Requirements for the grid/mesh
The soil in which the lawn grows forms its own little ecosystem. The mole grid, also known as the mole net, must not seriously disrupt or disturb this ecosystem. It must ensure the following:
- the grass roots must be able to continue to grow unhindered
- the grid must not be blocked so that waterlogging does not form
- Earthworms should be able to hatch through and do their useful work
The material of the grille must also be such that it has a long service life and cannot be bitten by a mole.
Suitable material
Laying a mole screen is a complex matter. Ideally, it should therefore last for decades. It may become brittle or rust in the moist earth. High-quality grilles are made from high-density polyethylene plastic, the so-called PE-HD.
- the grid is resistant
- insensitive to fats, alcohol and acids
- knotfree
Knot-free means the grid meshes are made without knots. This is important because the mole could move the nodes and enlarge the hole.
Optimal mesh size

Finding the right mesh size is more important than you might initially think. If the mesh is too big, the mole can push its snout through and bite the mesh. Then the grid is completely useless. If the mesh is too small, the mole is deterred, but there are other disadvantages. Earthworms can't get through. The roots cannot grow well and clog the grid, causing moisture to build up. The ideal mesh size is 11 mm x 11 mm.
Required weight
The mole digs its tunnels tirelessly, covering several meters per hour. He brings the excess soil to the surface. In order for him to be prevented from doing so, he must encounter something that is difficult and insurmountable for him. So that the mole cannot push the grid upwards, it should have a certain weight. 500 grams per square meter is sufficient. Together with the earth above it, it is heavy enough to reliably prevent the mole from building the mounds above ground.
Necessary materials and tools
You can place the laying of a horizontal mole barrier in professional hands. A horticultural company sets up such barriers and supplies the necessary materials. However, if you have manual skills and can spare some time, you can lay the mole screen yourself. This can save a lot of money. You will then need the following material:
- suitable, high-quality grid/net
- stable cable ties
- carpet knife
- Steel nails/staples
- Wire hanger
- Stainless steel clamps
- Topsoil and stones
Laying mole screens horizontally step by step
- Measure the area and get enough suitable grids.
- Make sure the surface is smooth. Smooth does not mean flat. Mole mesh can also be laid on hilly terrain.
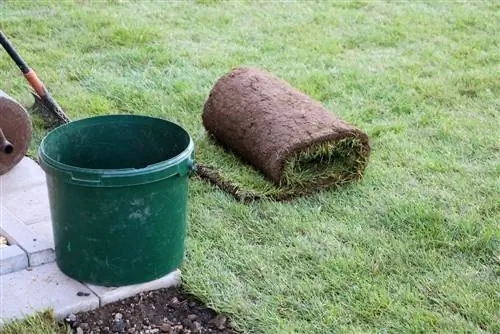
- Roll out the grid on the smooth floor and cut it to size with the utility knife. At the border, the grid must be pulled up to the surface of the earth.
- Roll out the next strips and cut them to size. The individual strips must overlap by approximately 15 cm.
- When laying, fix the grids half a meter apart with cable ties, stones or steel staples so that they cannot slip.
- If there is a flagpole, clothes dryer in the middle of the garden or if a sprinkler is to be installed later, the grid around it must be firmly secured so that the mole cannot slip through.
- Spread the topsoil on the grid about 5 cm high. Work from the edge without entering the grid directly. The grid must not be moved.
Tip:
The grille, which borders the house walls, should be folded down 20 cm and laid. So don't cut it too tight.
Vertical mole barrier
The vertical mole barrier at the property boundary does not take up as much space as the horizontal mole gate, so it does not have to meet as many requirements.
Material
The vertical mole barrier is also exposed to the weather for years. Cold, heat and moisture must not gnaw at it, nor should the mole. The plastic polyethylene called PE-HD is also well suited for this. HD stands for “High Density”, which means high density. The meshes of the grid must also be knot-free. The mole could move the knot, thereby expanding the hole and slipping through.
Mesh size
Since the grid is laid vertically, there is no need to pay special attention to the growth of the grass roots. The mesh size can be smaller than 11 mm x 11 mm. A narrower choice of mesh would even have the advantage that the barrier at the edge of the lawn could also serve as a root barrier.
Weight
The weight of the mole barrier is a crucial factor for its stability. Just like the horizontal mole screen, the weight should be 500 grams per square meter. Then the mole's strength is not enough to move it.
Necessary materials and tools
If you do not hire a gardening company to build the barrier and would rather build it yourself, you will need a suitable trellis and tools beforehand.
- high-quality grid that is suitable for vertical use (at least 50 cm high)
- Spade and Shovel
- Boards and nails
- if applicable strong plastic glue
Building a mole barrier step by step

Most mole barriers are sold in rolls with a depth of 50 cm because moles rarely dig deeper.
- Dig a trench along the border about 2 cm deeper than the mole barrier. The upper edge of the barrier should therefore be almost 2 cm below the ground surface.
- Roll out the first roll of mesh in the trench.
- Roll out more mesh rolls so that they overlap each other by about 15 cm. The grid must not create any waves.
- Fix the overlapping ends so that they do not slip and create a hole through which the mole can later slip through.
- Backfill the trench with soil. The earth puts pressure on the barrier, giving it stability and keeping it in place.
Tip:
You can easily connect the grid ends of two panels with plastic glue. Or you can place a board in the trench and nail the ends of the grid to it, overlapping.

