- Author admin caroline@plants-knowledge.com.
- Public 2023-12-17 03:39.
- Last modified 2025-06-01 06:48.
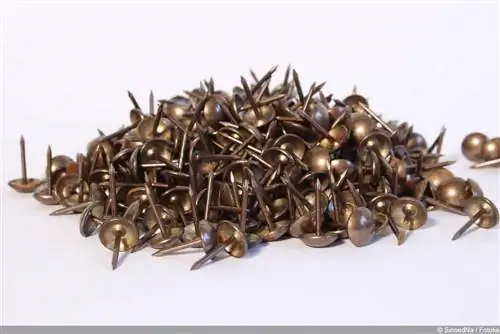
Upholstery nails are mainly found on armchairs and chairs, but can be used in a much more versatile way. Many do-it-yourselfers and hobbyists therefore want to save them when old upholstered furniture needs to be disposed of or reupholstered. But removing and attaching the nails requires the right approach. We offer instructions on how to pull it out and hammer it in correctly here.
Tool
In order to be able to pull out the decorative nails and hammer them in again without damage, you need the right tool. This is important on the one hand not to destroy the nails themselves but also to protect the piece of furniture. If it's going to be disposed of anyway, it doesn't matter too much. However, if it is reupholstered, scratches and dents on the wood would of course be annoying.
The following are suitable:
- Upholstery hammer
- Chisel and mallet
- Nail lifter
The special thing about these tools is that they can remove nails very gently. They are available in upholstery workshops, upholsterers and sometimes also in hardware stores with a comprehensive range. They can of course also be purchased online.
Remove
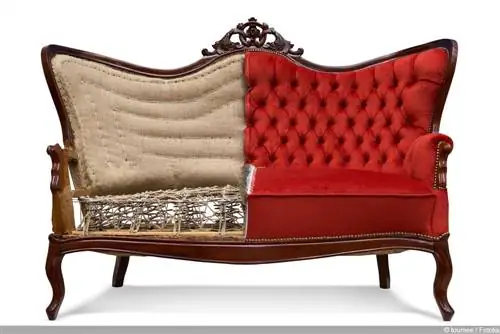
Removing upholstery nails from old furniture is a very dusty task. Allergy sufferers in particular should therefore protect themselves accordingly and, if necessary, wear a breathing mask and protective goggles in order to keep contact with dust and possible allergens as low as possible. In addition, the work should be carried out outdoors or in a well-ventilated workshop.
Depending on the tool selected, the procedure is as follows:
Upholstery hammer
The upholstery hammer has one side for hammering and one side for pulling nails. The nail pulling side slides under the edge of an upholstery nail and then pulls up. If you do not want to damage the piece of furniture, levering movements should be avoided and the hammer should not rest on the surface of the furniture during removal. If necessary, a felt pad can be placed between the hammer and the surface of the furniture to protect the furniture.
Chisel and mallet
The chisel is placed under the edge of the upholstery nail. Use the wooden hammer to carefully hit the handle of the chisel in order to remove the nail piece by piece from the wood.
Nail lifter
The nail lifter is recommended if the upholstery nail is close to visible furniture parts and the piece of furniture needs to be preserved and protected from damage. The tip is inserted under the edge of the nail and the nail is pulled out. To avoid dents and bending of the upholstery nail, no levering movements should be carried out.
Attachment - step by step instructions
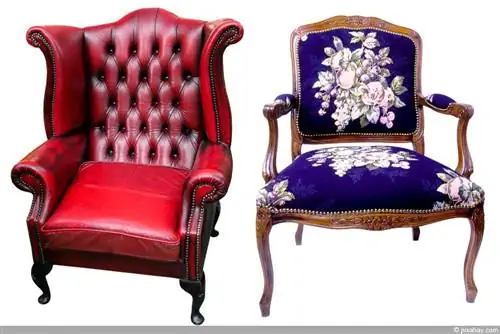
Regardless of whether the piece of furniture needs to be reupholstered or the nails need to be reinstalled, there are a few points that should be taken into account when hammering in. Proceed as follows:
- The desired distances between the nails are measured and recorded on a strip of cardboard. It doesn't matter whether the nails should be applied in a line or in a pattern.
- The cardboard strip is attached to the piece of furniture or other surface so that it cannot slip. Adhesive tape is usually sufficient for this. The strip can also be clamped in difficult places. All you have to do is make sure that the wood is not dented or scratched.
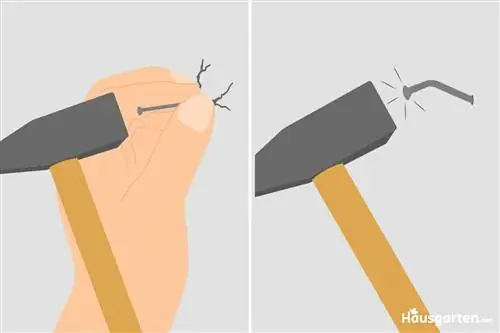
- Use the upholstery hammer to hammer in nail by nail so that it is stable in the ground. However, the nails should not be fully hammered in yet. For upholstery nails with sensitive heads, it can also make sense to place a protective pad between the nail and the upholstery hammer, such as a piece of felt or other solid material.
- The cardboard is removed. To avoid accidentally pulling out or bending the nails, the cardboard can be cut up to the nail and then removed. This is particularly useful for very solid, thick cardboard.
- Finally, the nails are completely driven in. Again, a protective pad can be used to ensure that neither the nail nor the furniture surface is damaged during the impact. You should also use short blows and a measured amount of force to avoid accidentally driving the nails in too far.
Tip:
Using a strip of cardboard as an aid may initially seem unnecessarily complicated to some people. However, the exact distances can be marked and maintained much more precisely on it than is possible by repeatedly measuring the piece of furniture or even by eye. In addition, effort can even be saved because there are no repeated measurements or corrections.

